
The Veeam Backup & Replication console is installed on the backup server automatically when you install Veeam Backup & Replication v13. You can utilize the web user interface (UI) or install the Veeam Backup & Replication console on a dedicated computer to access Veeam Backup & Replication remotely.
1.Login to the Veeam Backup and Replication Console machine.
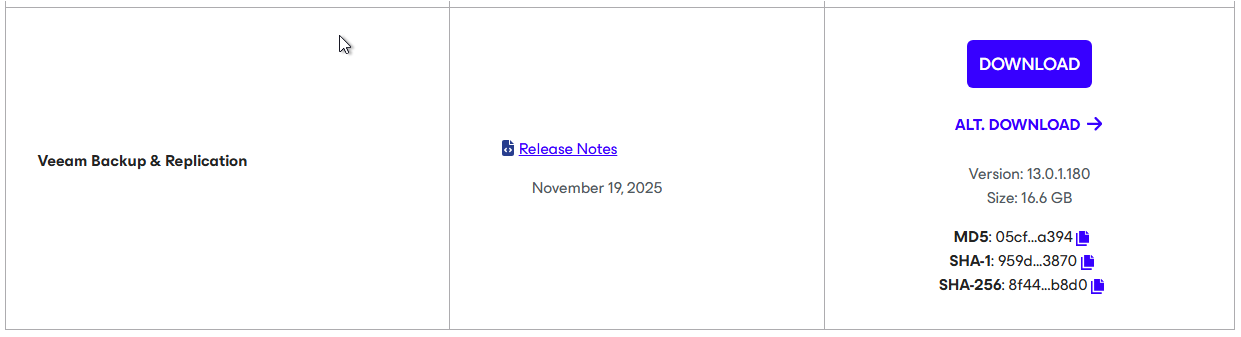
2.Sign in to your Veeam account and download the Veeam Backup and Replication v13 ISO image.
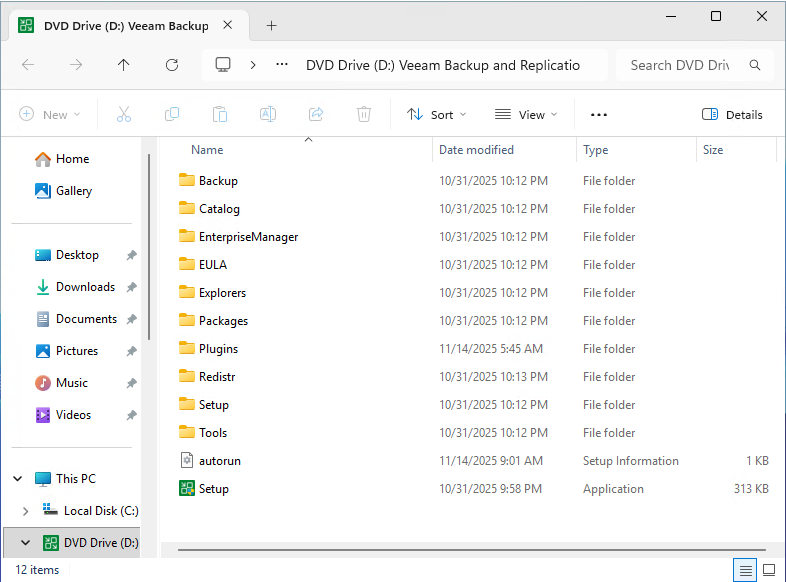
3.Mount the VeeamBackup&Replication_13.0.1.180_20251114.iso file.
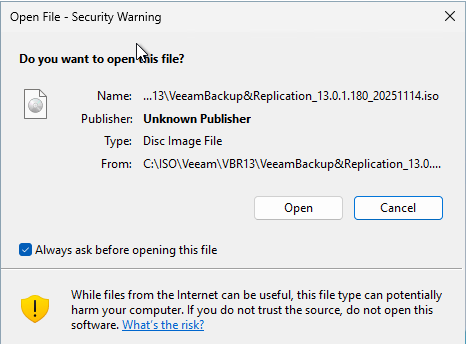
4.Run Setup.exe.
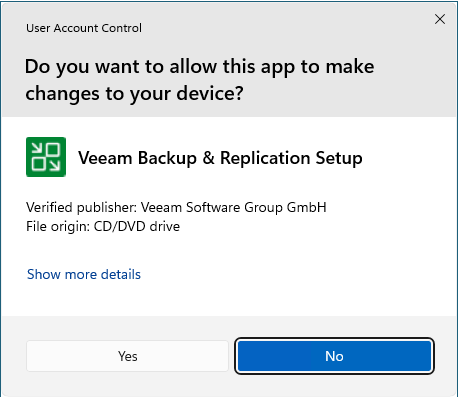
5.Click Yes on the User Account Control.
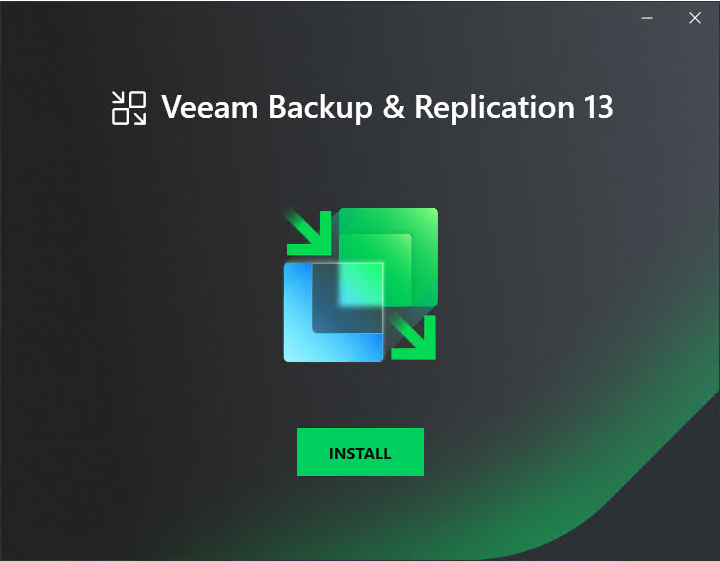
6.On the Veeam Backup & Replication 13 page, click Install.
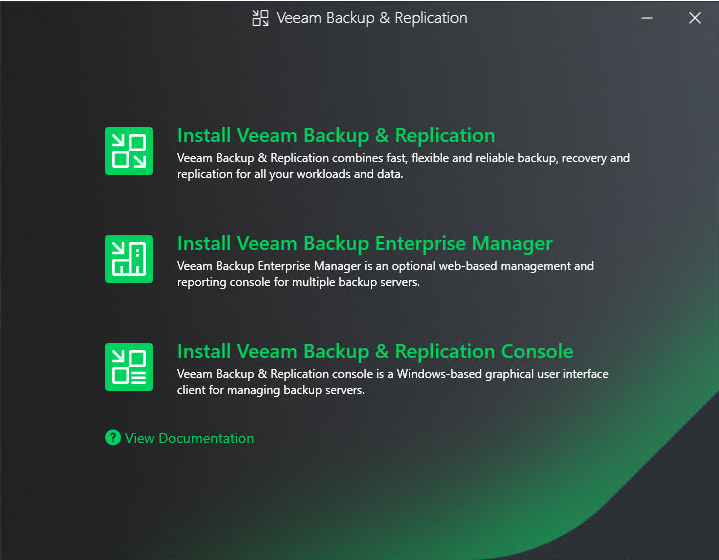
7.Select Install Veeam Backup & Replication Console on the Veeam Backup & Replication page.
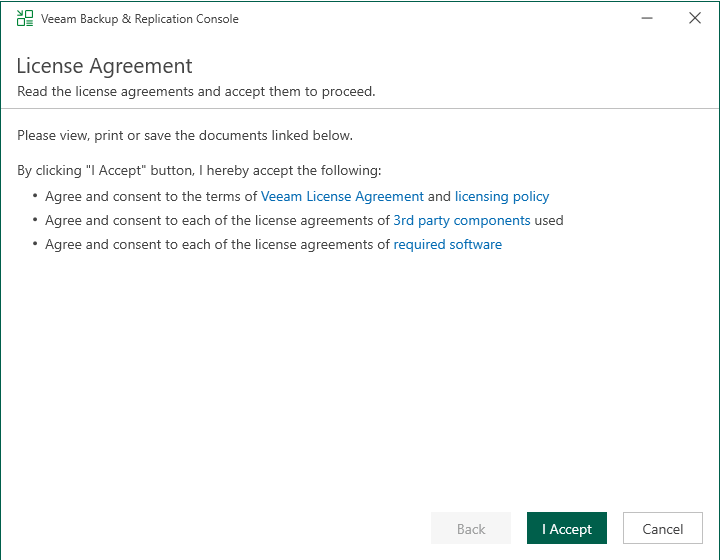
8.Click I Accept on the License Agreement page.
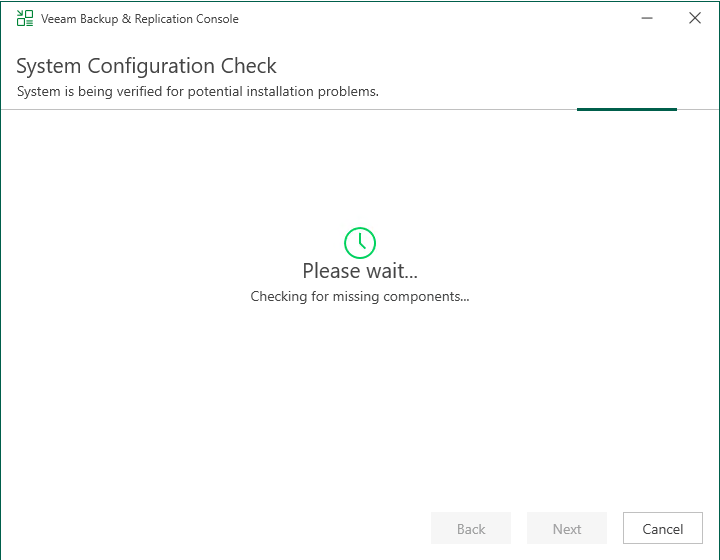
9.On the System Configuration Check page, the setup wizard checks if all prerequisite software is installed on the machine. If required software components are missing, the setup wizard will install them.
10.Click Install with the default Data Location on the Ready to Install page.
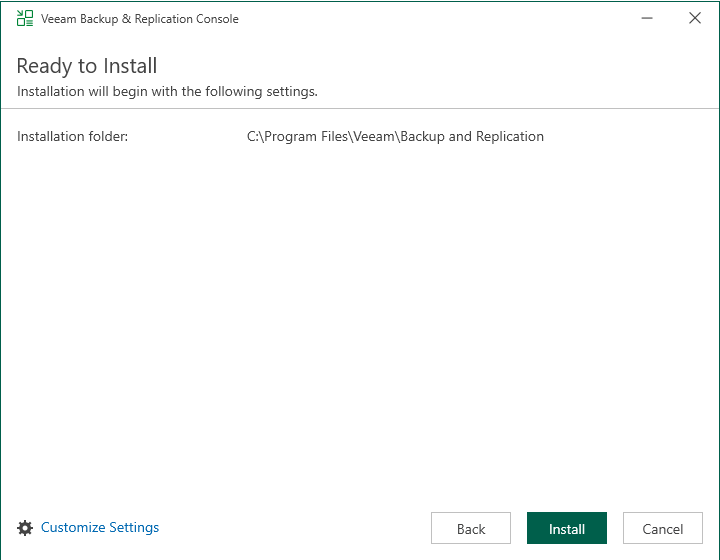
11.Click Customize Settings If you would like to change the Data Location.
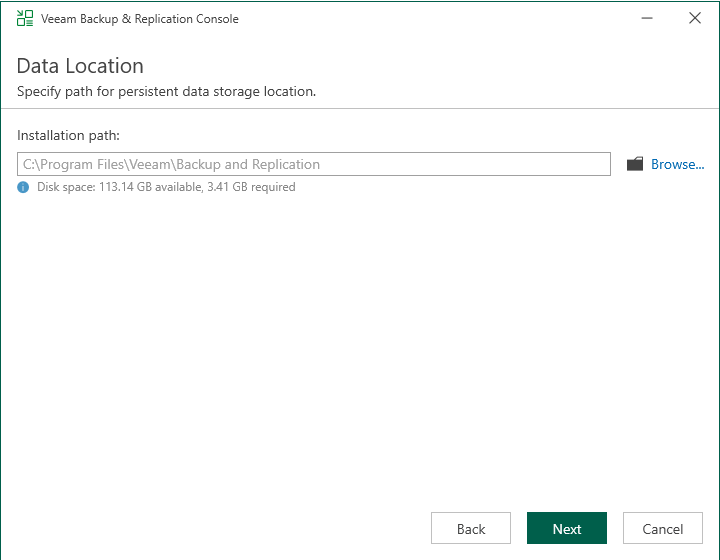
12.Change the Installation path on the Data Location page, click Next.
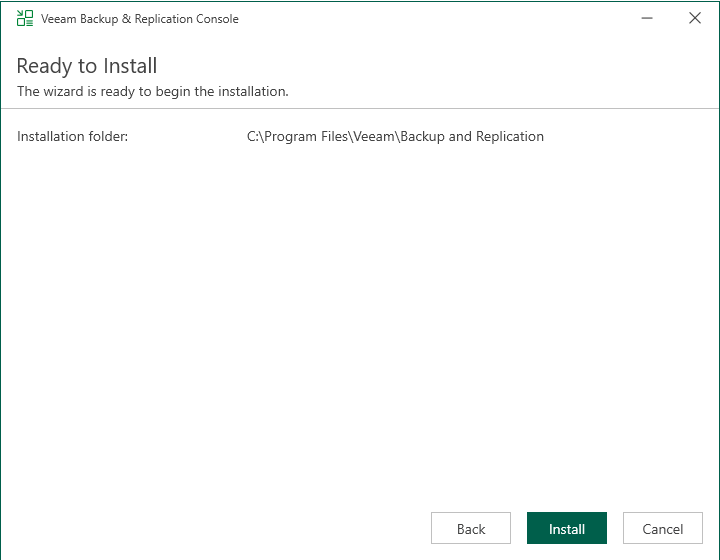
13. Click Install on the Ready to install page.
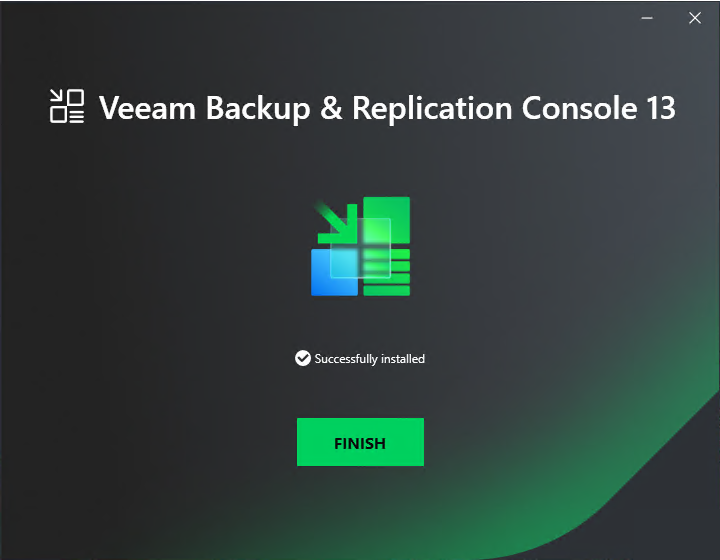
14.Click Finish on the Veeam Backup & Replication Console 13 Successfully installed page.
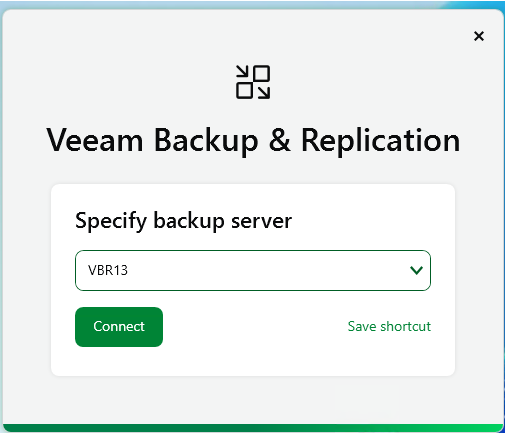
15.Open the Veeam Backup & Replication Console 13, enter the Backup & Replication Manager server name or IP address, and click Connect.
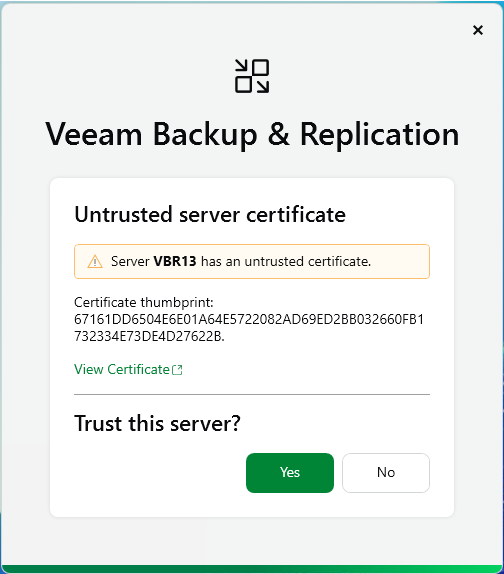
16.Click Yes to trust this server on the Untrusted server certificate.
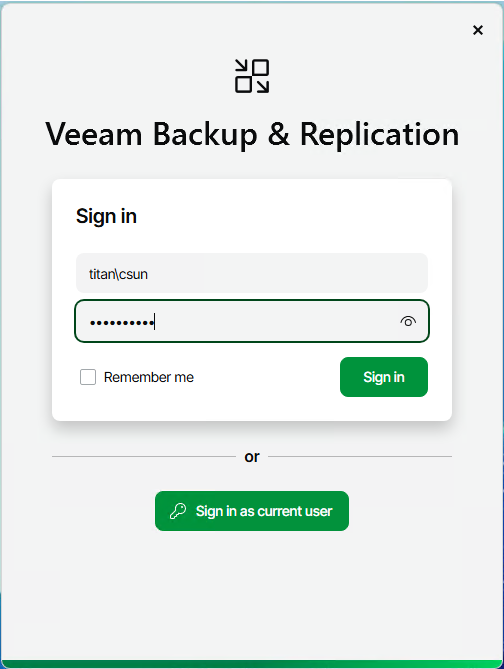
17.Click Sign in after enter the user name and password.
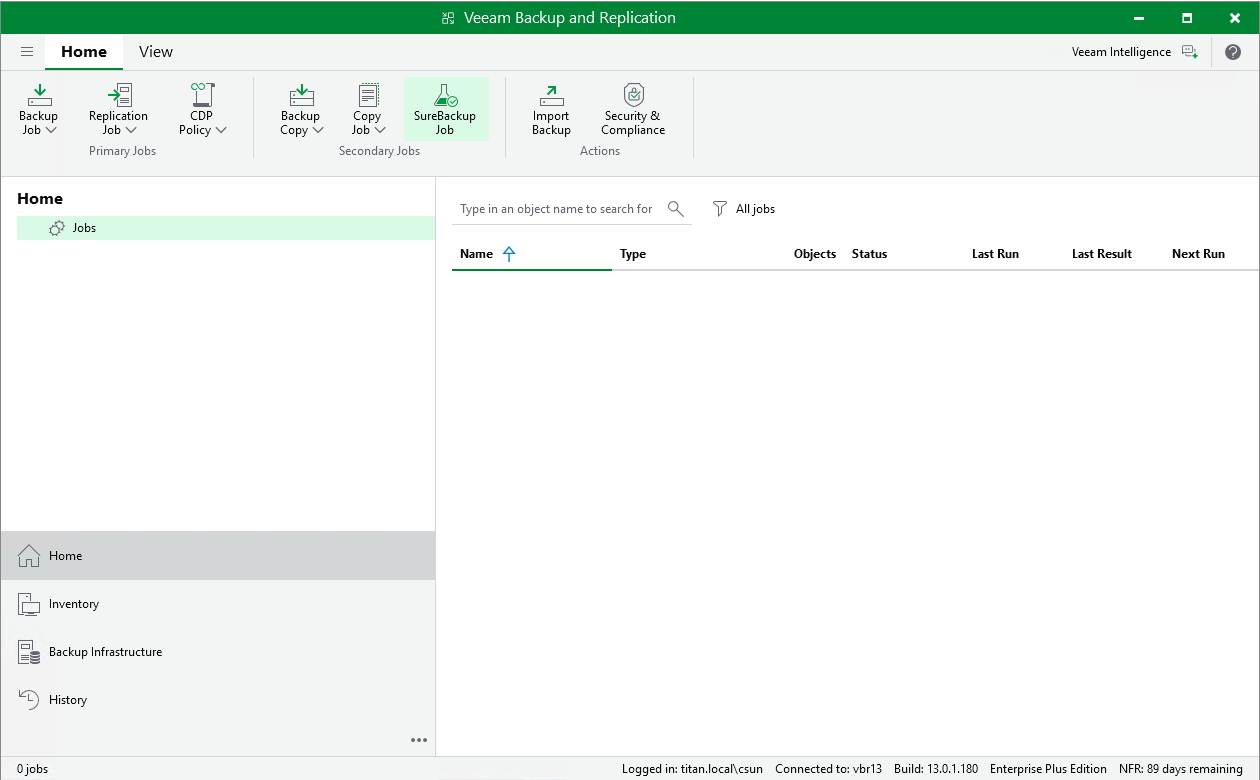
18.Ensure you can connect to the Veeam Backup & Replication manager server without issue.
I hope you enjoy this post.
Cary Sun
X: @SifuSun
Web Site: carysun.com
Blog Site: checkyourlogs.net
Blog Site: gooddealmart.com
Amazon Author: Amazon.com/author/carysun