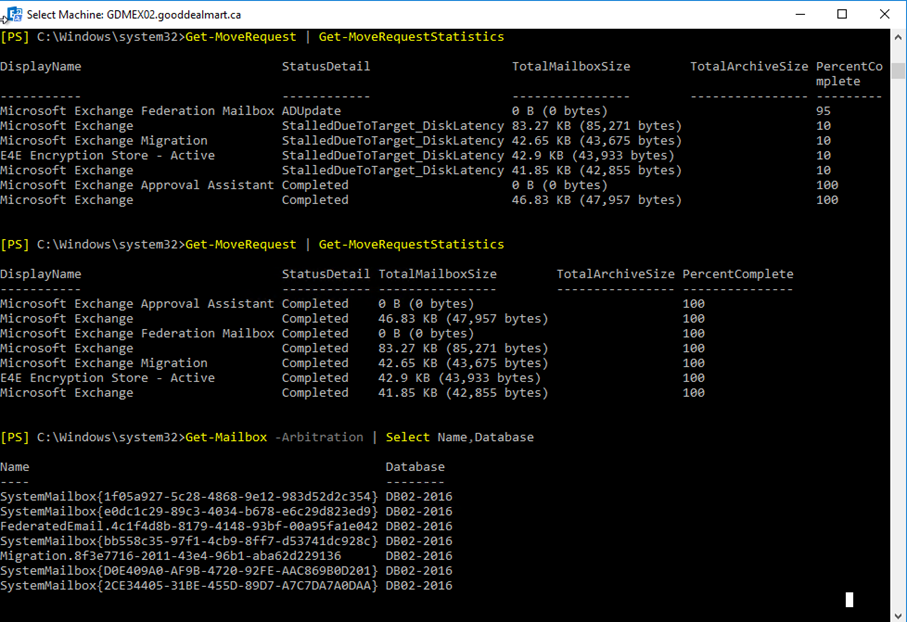
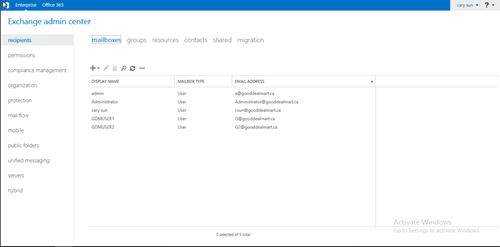
After you’ve completed your deployment of Exchange 2016, and test connectivity via Exchange Remote Connectivity tool, you can move mailboxes to your Exchange 2016 Mailbox server.
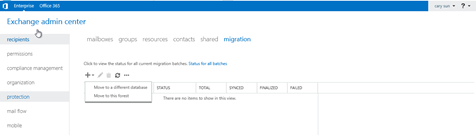
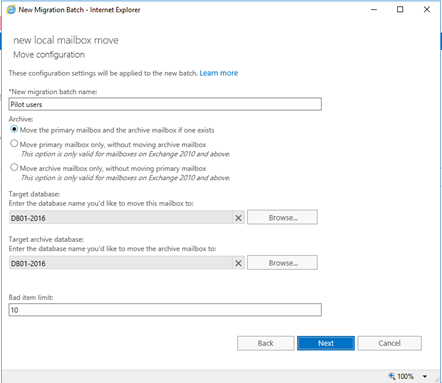
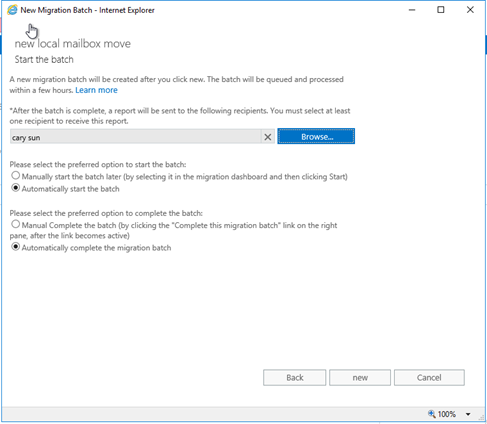
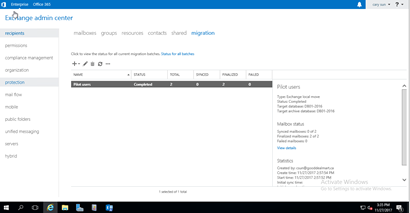
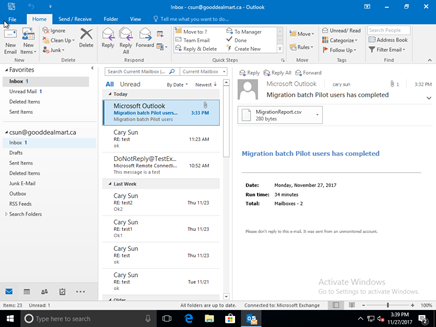
Migrate Mailboxes
Configuring the Default Mailbox Database for Exchange Server 2016
Logon Exchange 2016 Server, open Exchange Management Shell.
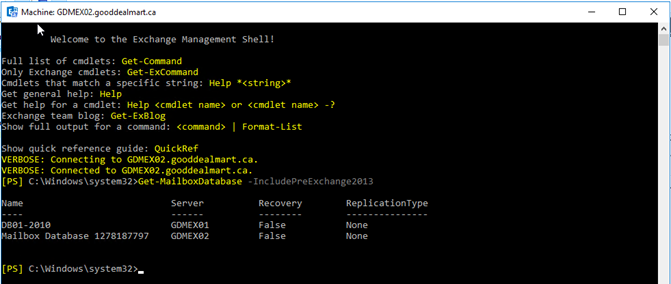
Get all mailbox databases information via follow cmdlet.
Get-MailboxDatabase -IncludePreExchange2013
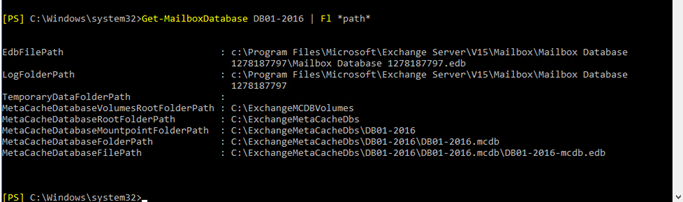
3. Change the Default Mailbox Database name via follow cmdlet.
Cary Sun has a wealth of knowledge and expertise in data center and deployment solutions. As a Principal Consultant, he likely works closely with clients to help them design, implement, and manage their data center infrastructure and deployment strategies. With his background in data center solutions, Cary Sun may have experience in server and storage virtualization, network design and optimization, backup and disaster recovery planning, and security and compliance management. He holds CISCO CERTIFIED INTERNETWORK EXPERT (CCIE No.4531) from 1999. Cary is also a Microsoft Most Valuable Professional (MVP), Microsoft Azure MVP, Veeam Vanguard and Cisco Champion. He is a published author with several titles, including blogs on Checkyourlogs.net, and the author of many books. Cary is a very active blogger at checkyourlogs.net and is permanently available online for questions from the community. His passion for technology is contagious, improving everyone around him at what they do. Blog site: https://www.checkyourlogs.net Web site: https://newcarysun-dacvdccdesfnhnfh.canadacentral-01.azurewebsites.net Blog site: https://gooddealmart.com Twitter: @SifuSun in: https://www.linkedin.com/in/sifusun/ Amazon Author: https://Amazon.com/author/carysun