
The REST API and Restore Portal can be configured on a separate Server. To configure this, follow the steps below.
1. Log in to Veeam Backup for Microsoft 365 Manager server.
2. Open Veeam Backup for Microsoft 365 console.
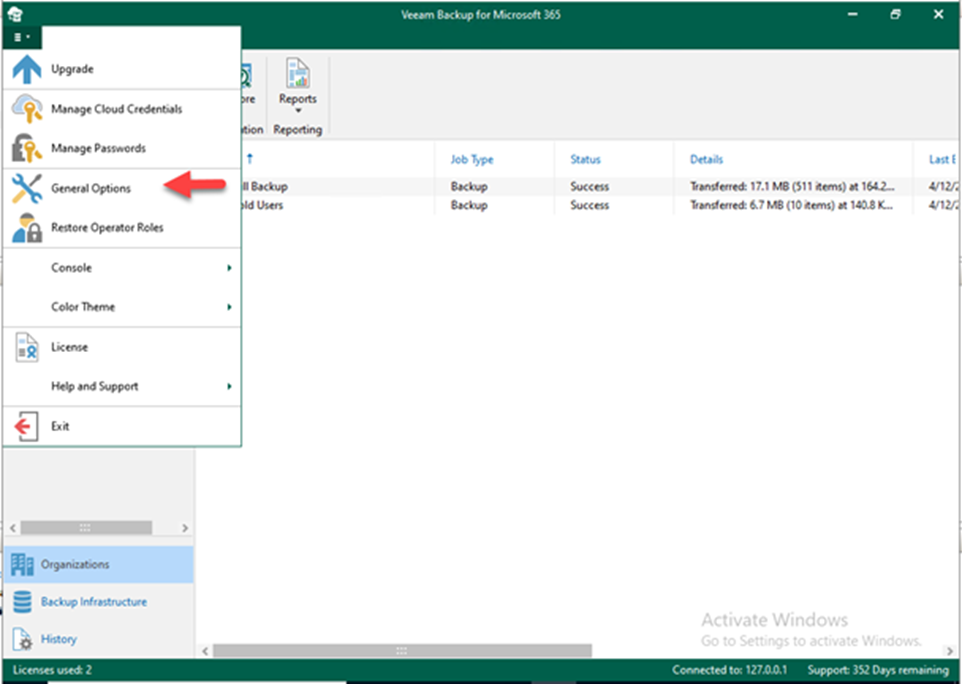
3. On the Veeam Backup for Microsoft 365 console page, click General Options in the main menu.
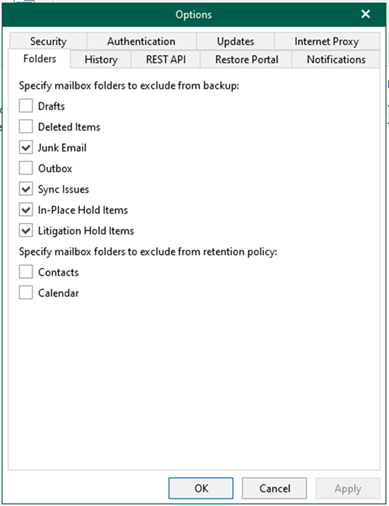
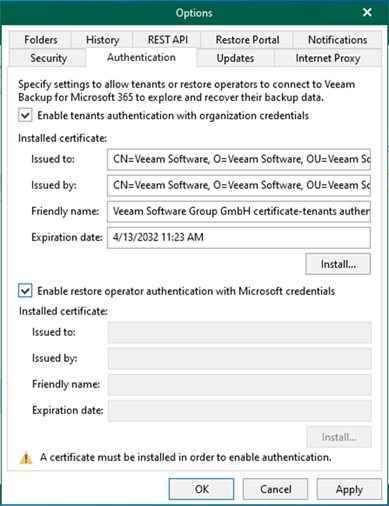
4. On the Options page, select Authentication.
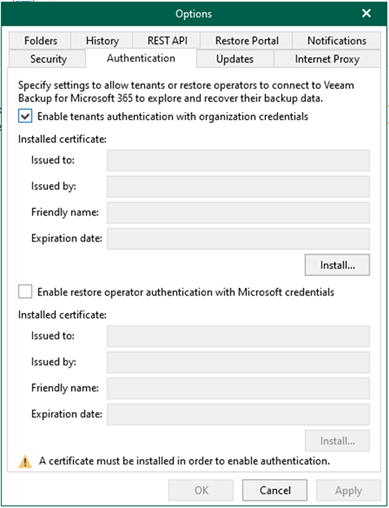
5. Select Enable tenants authentication with organization credentials on the Authentication page and click Install to install the certificate.
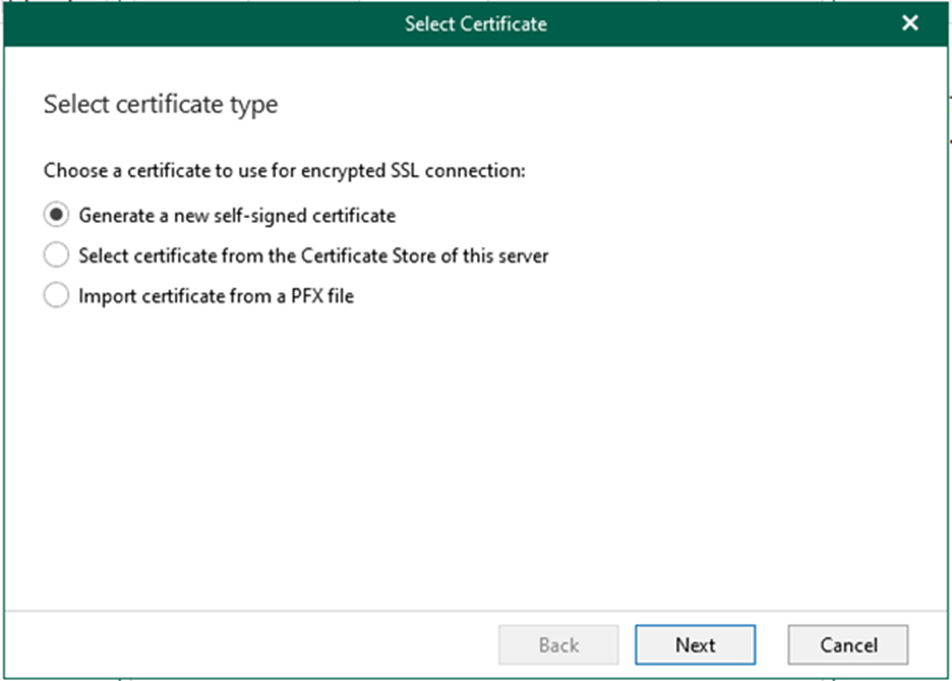
6. On the Select certificate type page, select the specified certificate for encrypted SSL connection and click Next. In my case, select Generate new self-signed certificate.

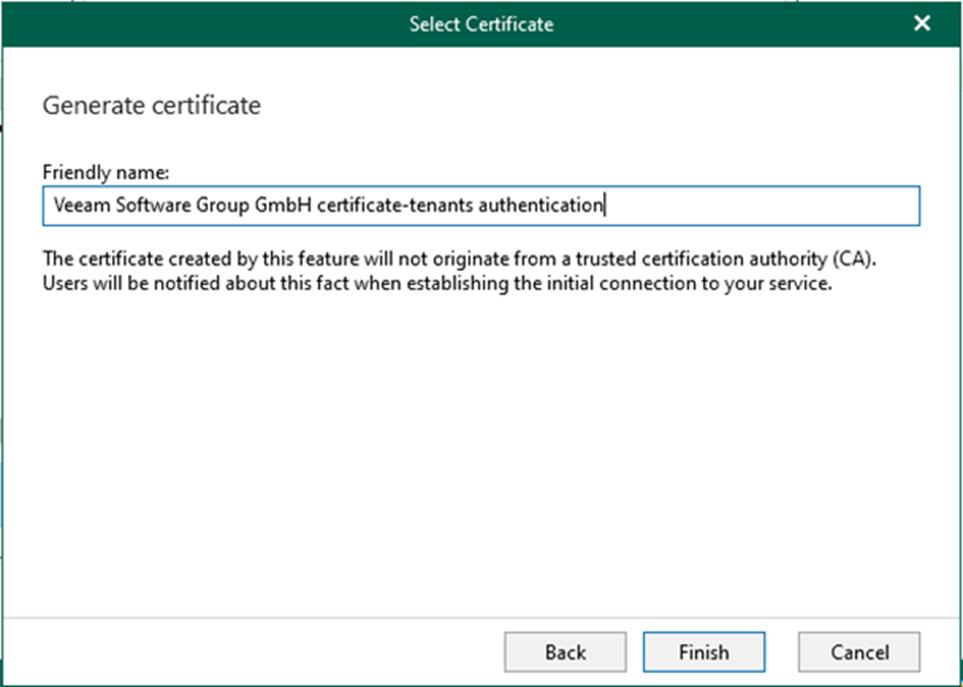
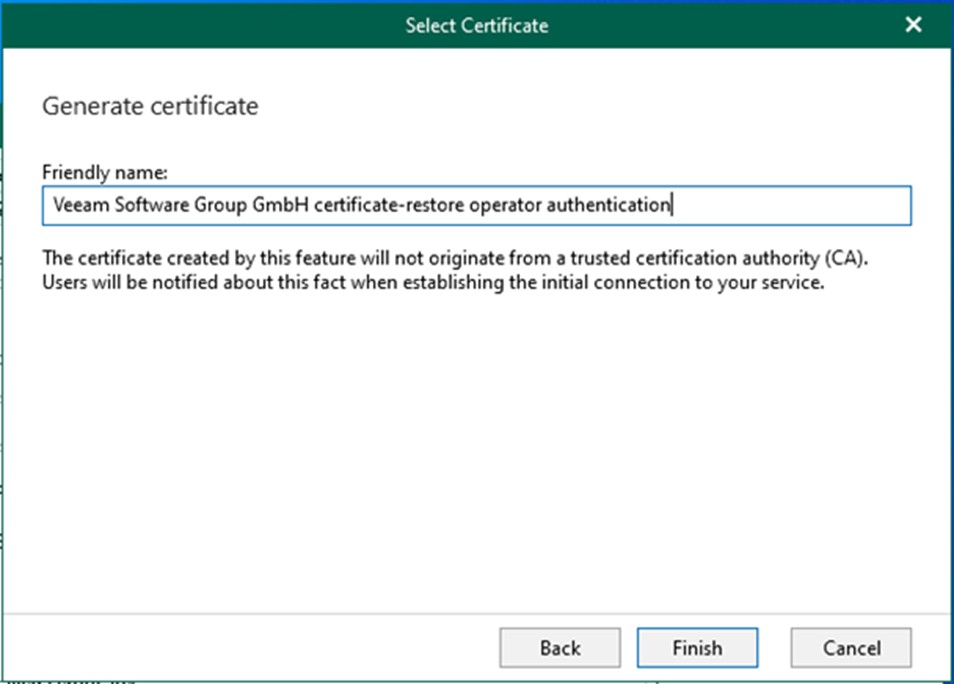
7. On the Generate Certificate page, enter the specific name for the certificate in the Friendly name field and click Finish.
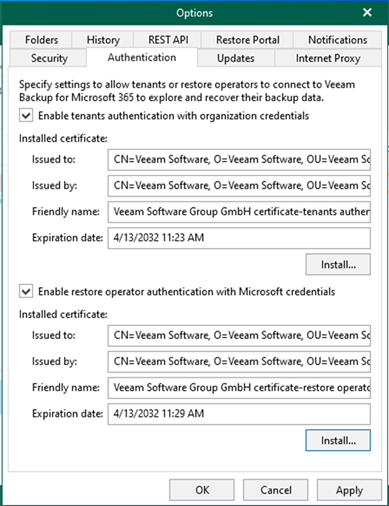
8. Select Enable restores authentication with Microsoft credentials and click Install to install the certificate on the Authentication page.
9. On the Select certificate type page, select the specified certificate for encrypted SSL connection and click Next. In my case, select Generate a new self-signed certificate.
10. On the Generate Certificate page, enter the specific name for the certificate in the Friendly name field and click Finish.
11. On the Authentication page, click OK.
Note:
Suppose you are going to generate a new self-signed certificate for restore operators. You must import this certificate to the Trusted Root Certification Authorities certificate store on the Veeam Backup for Microsoft 365 REST API server with REST API installed.
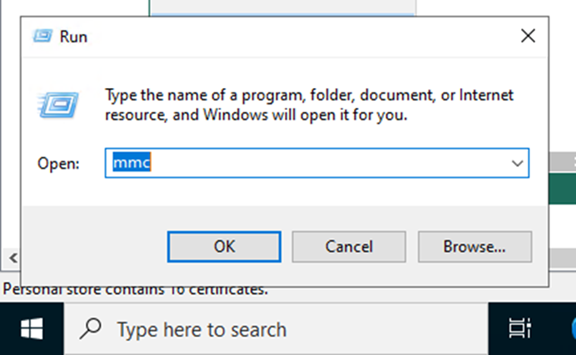
12. Open the MMC.
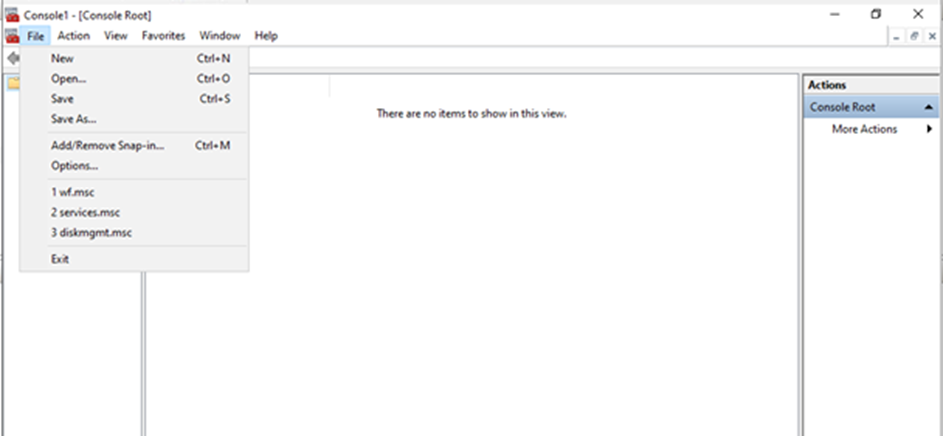
13. On the MMC Console, drop-down File, select Add / Remove Snap-In.
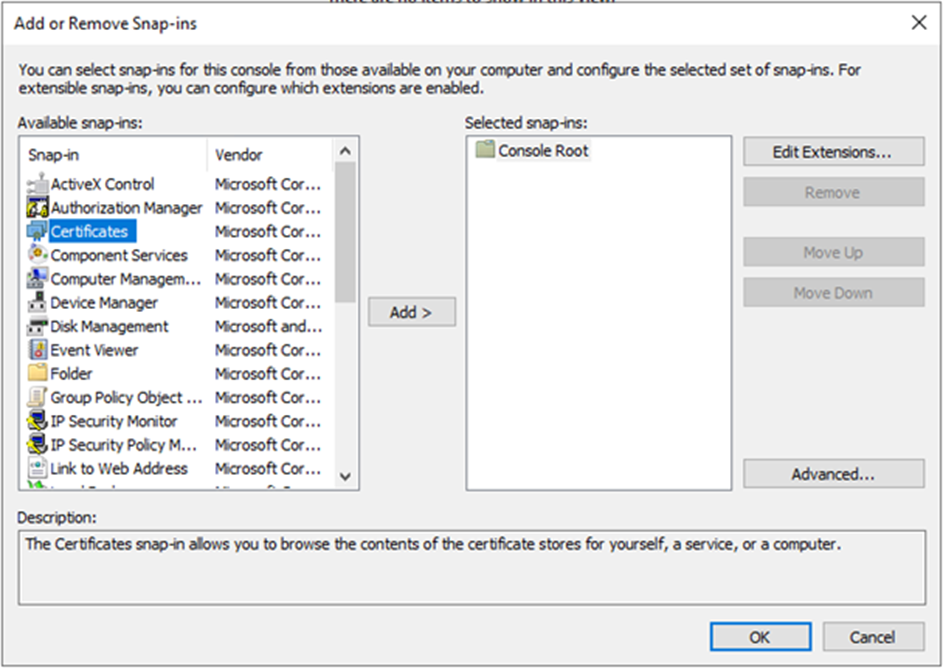
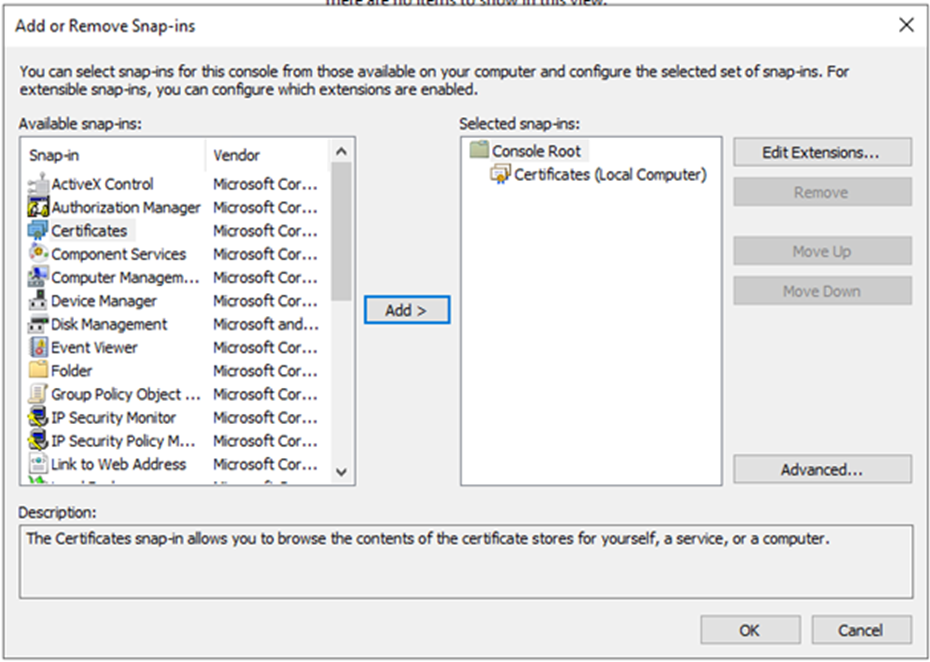
14. On Add or Remove Snap-in page, select Certificates, and click Add.
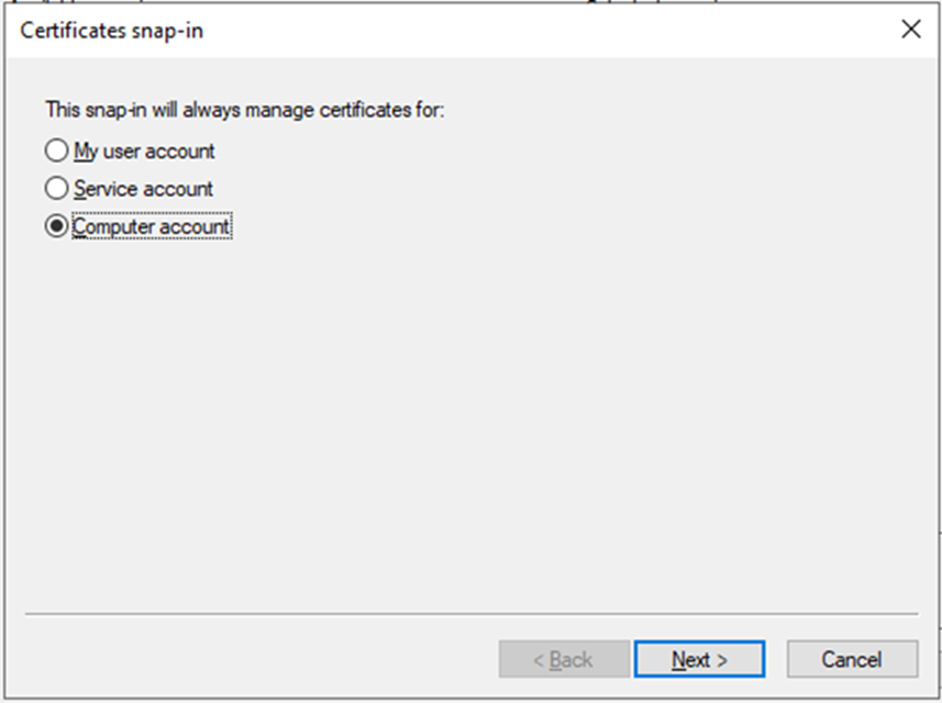
15. On the Certificates snap-in page, select Computer account and click Next.
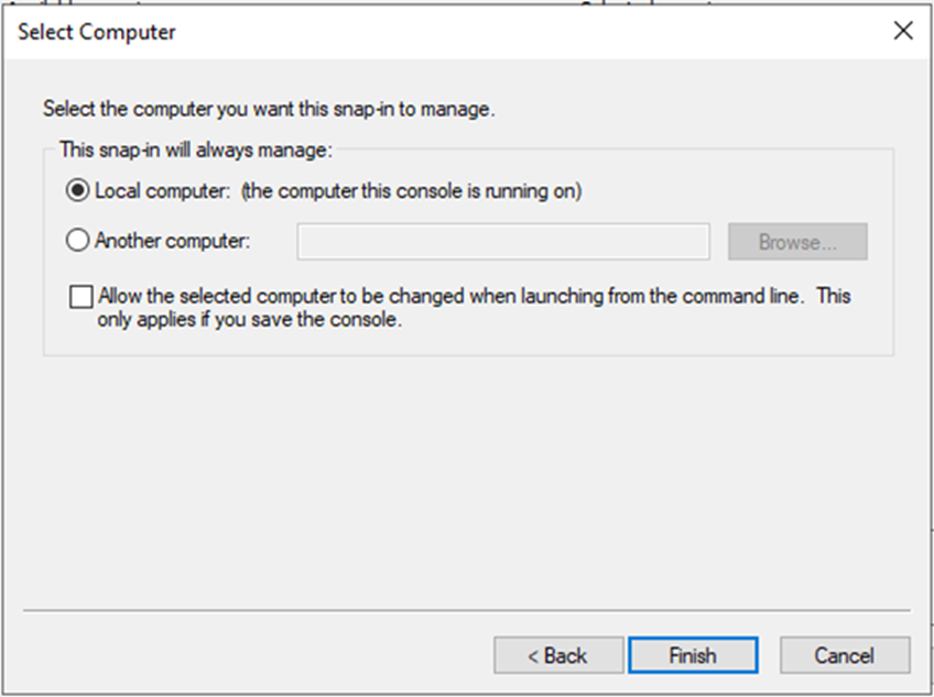
16. Select Local Computer and click Finish on the Select Computer page.
17. On Add or Remove Snap-in page, click OK.
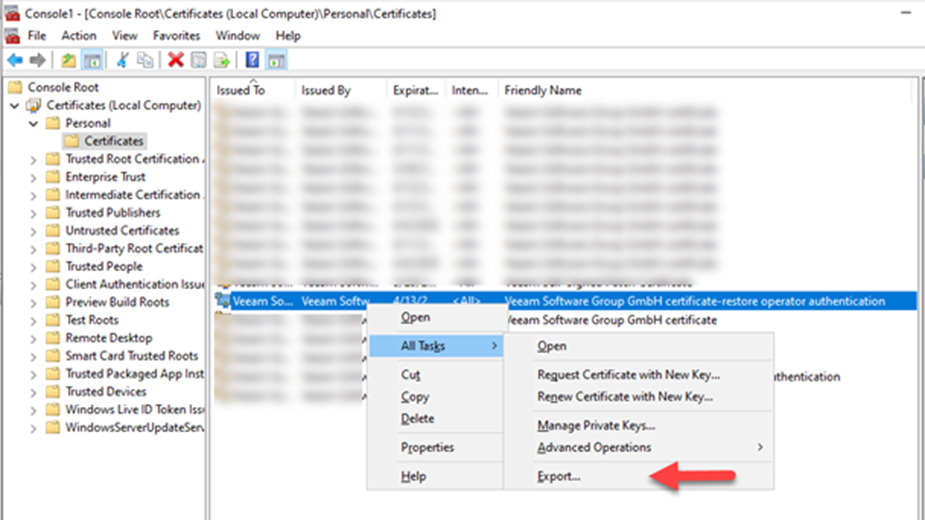
18. Expand Certificates, expand Personal, and select Certificates. Right-click Veeam Software Group GmbH certificate-restore operator certificate.
19. Select All Tasks and click Export.
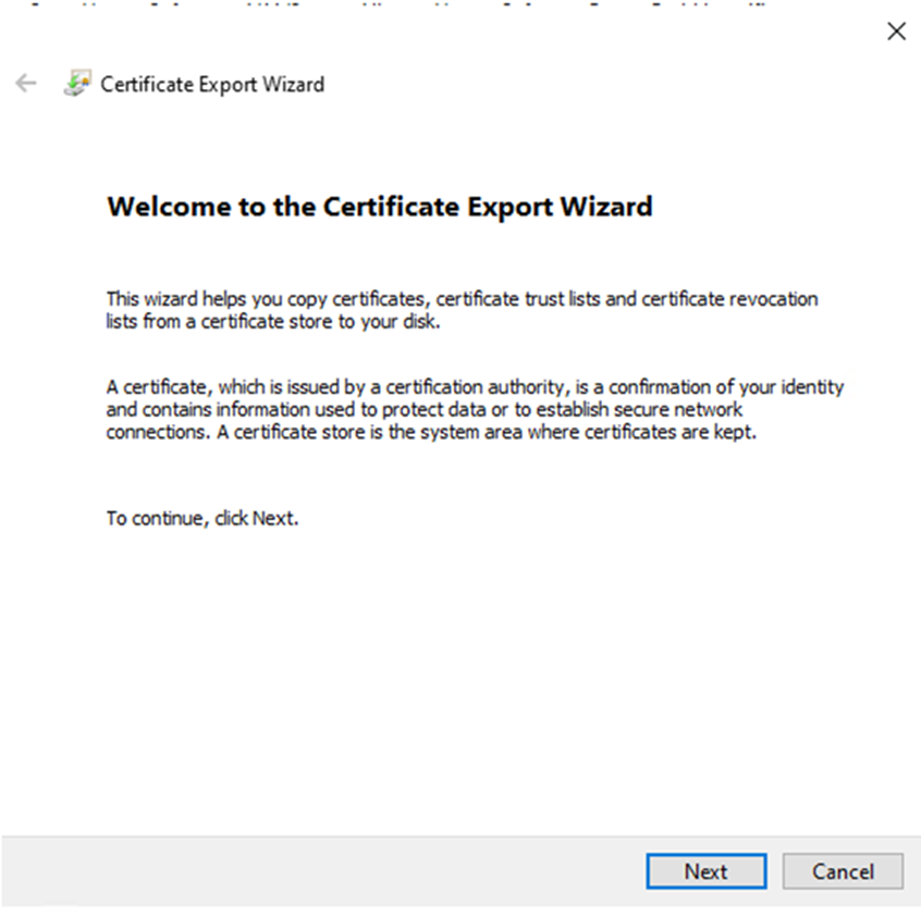
20. On the Welcome to the Certificate Export Wizard page, click Next.
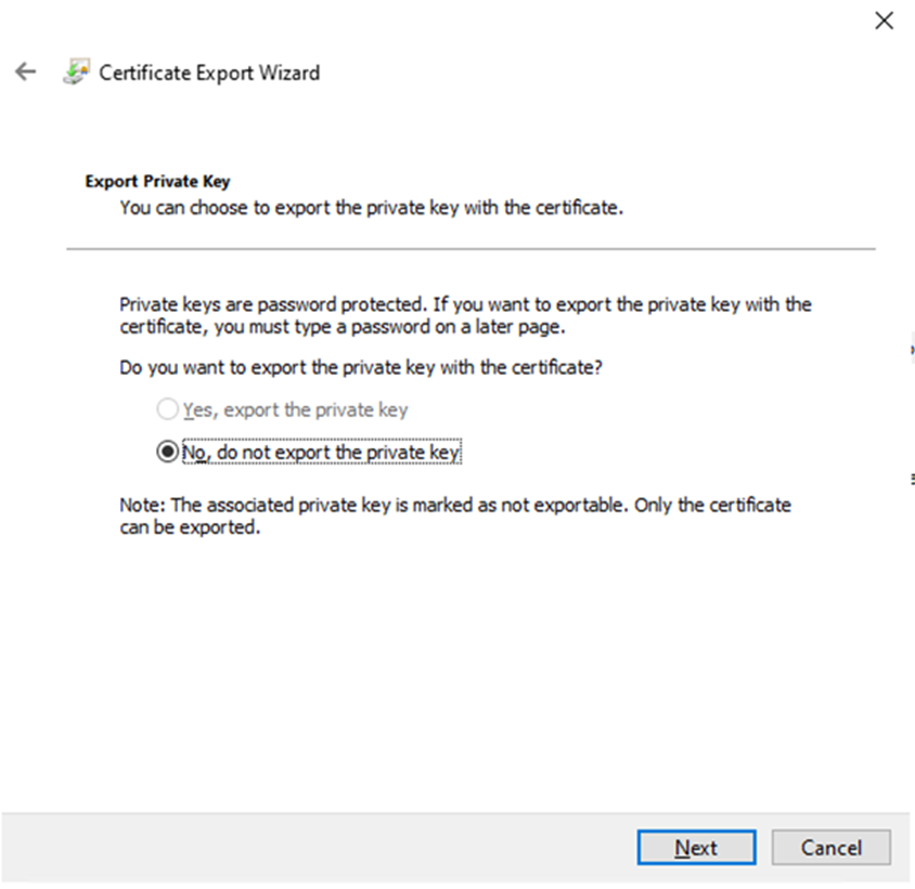
21. On the Export Private Key page, click Next.
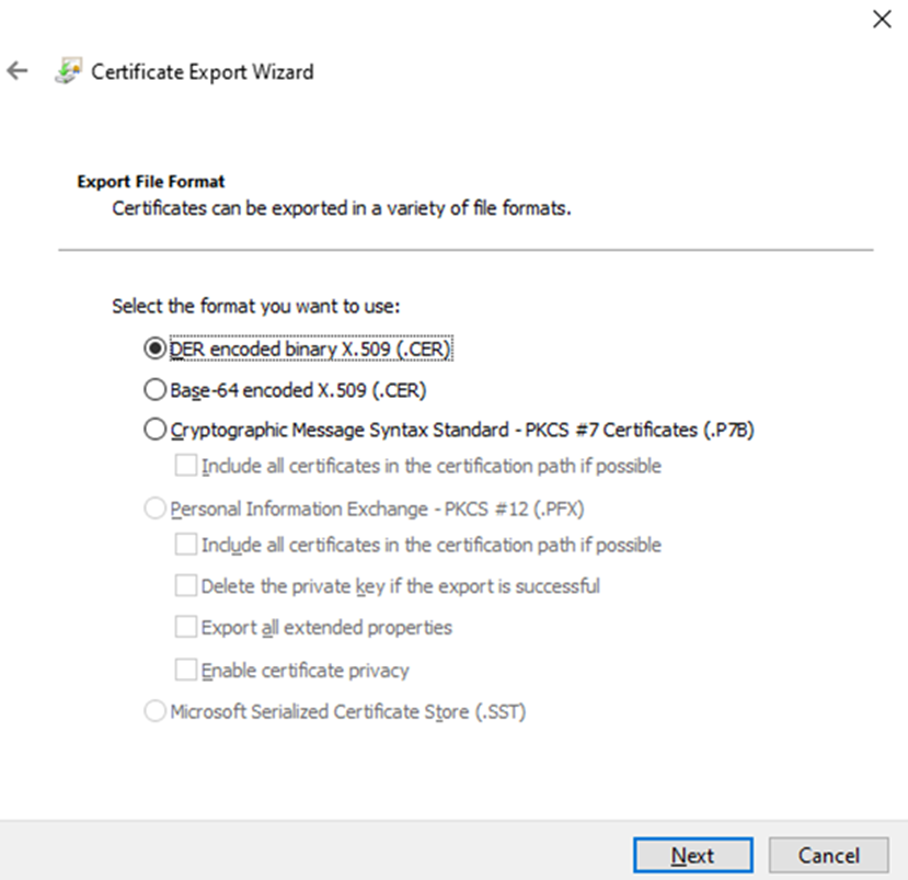
22. On the Export File Format page, click Next.
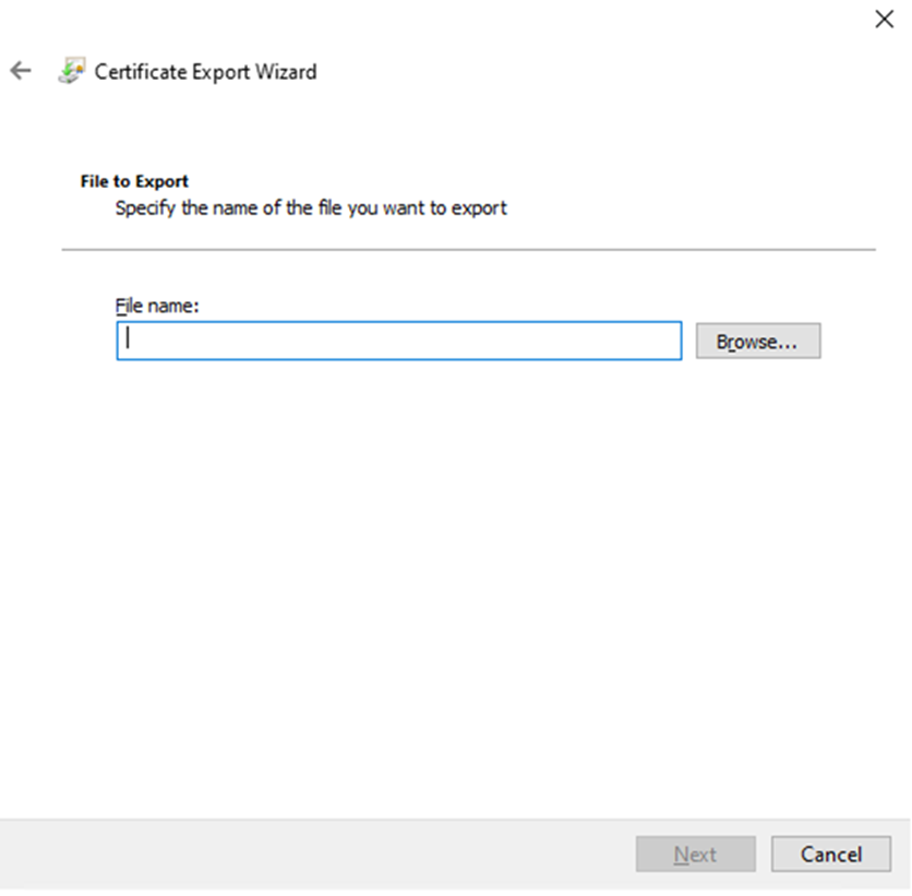
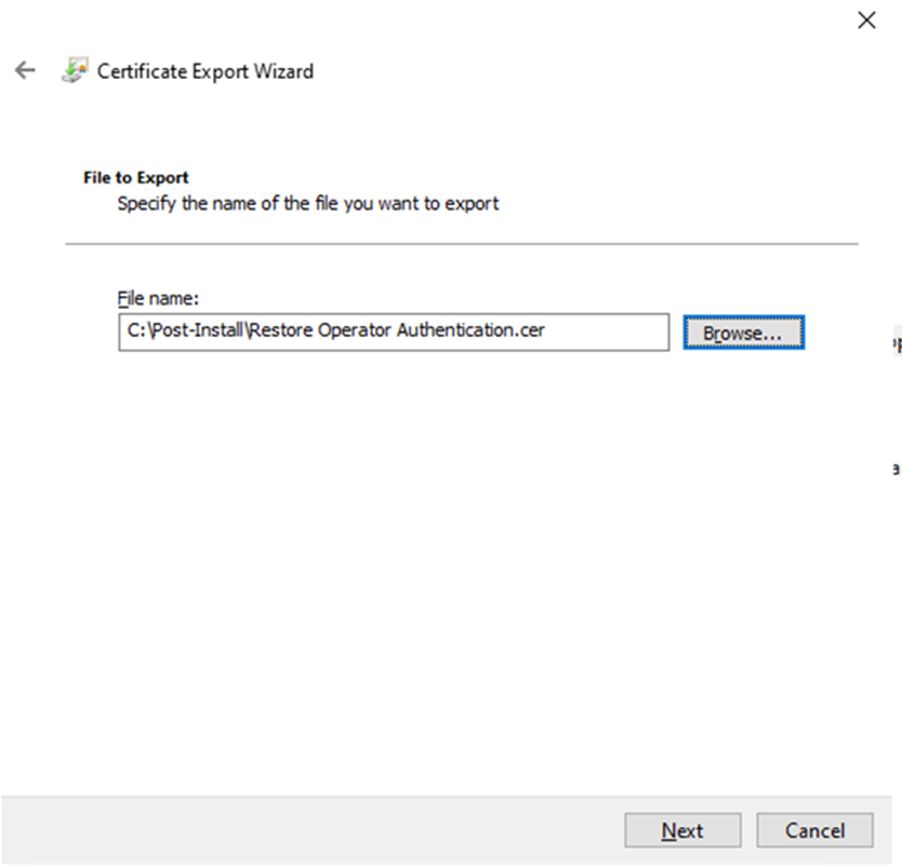
23. On the File to Export page, click Browse.
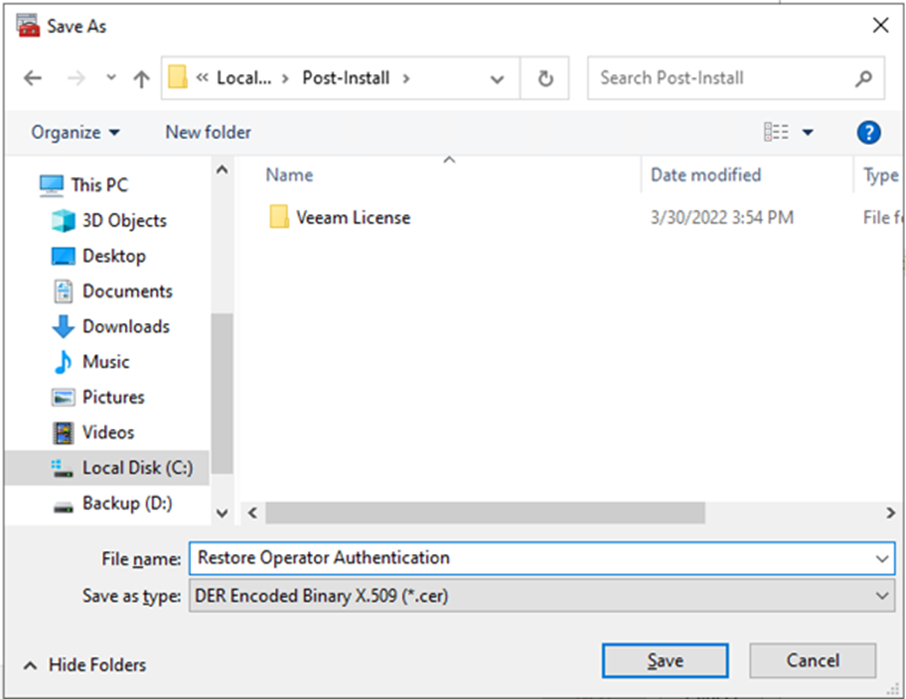
24. Type Restore Operator Authentication and click Save.
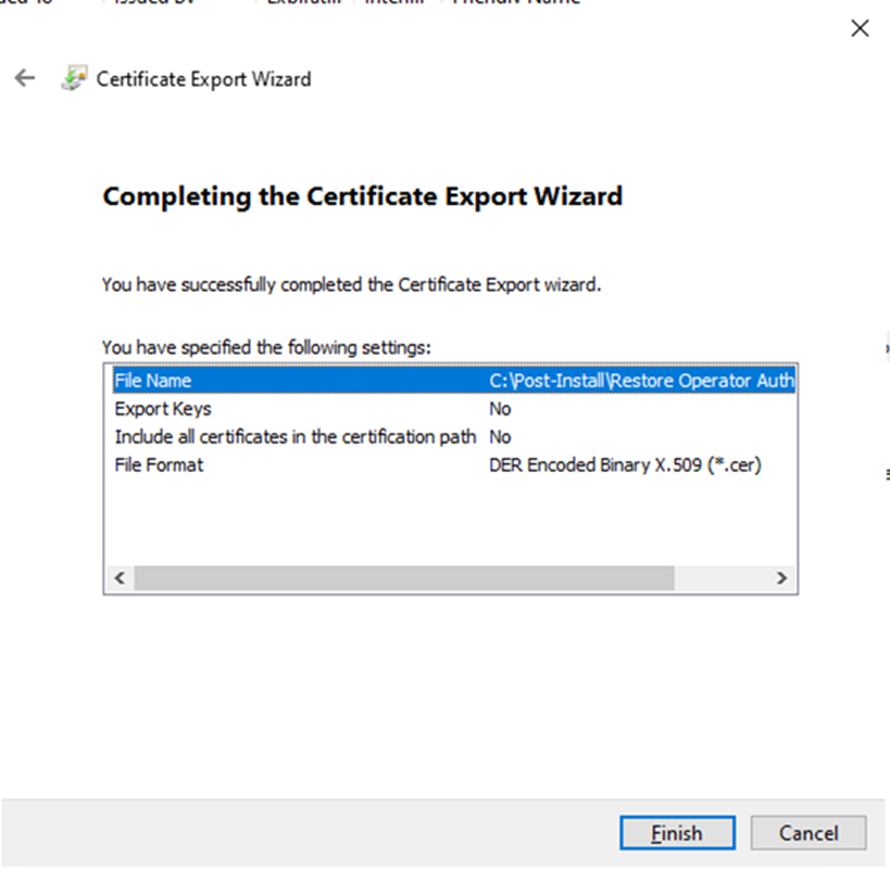
25. On the Certificate Export Wizard, click Next.
26. On the Completing the Certificate Export Wizard page, click Finish.
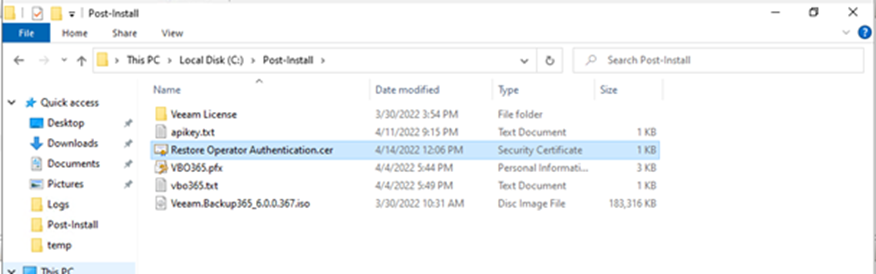
27. Ensure the export was successful and click OK.

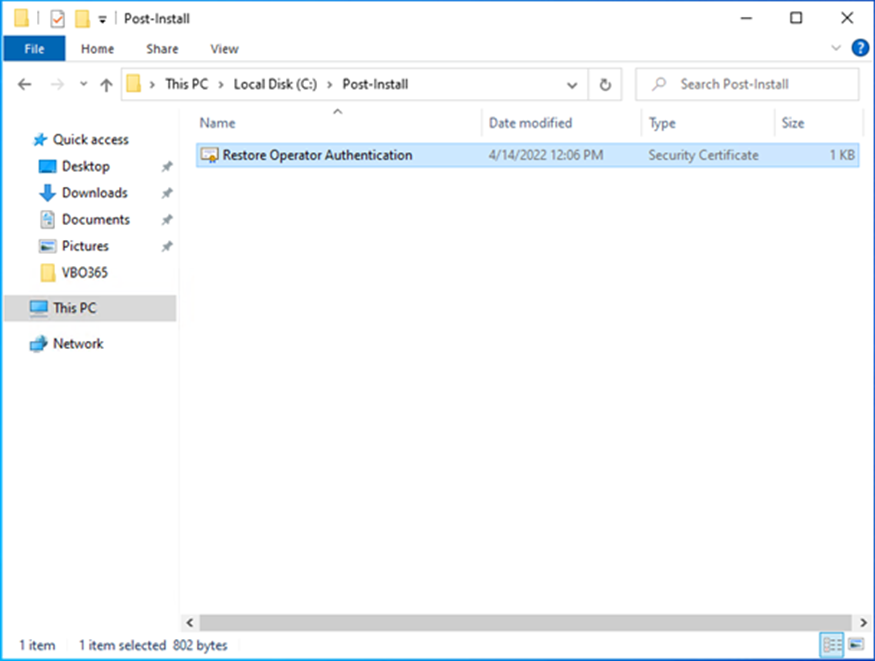
28. Copy the export certificate file to the Veeam Backup for Microsoft 365 REST API server.
29. Log in to Veeam Backup for Veeam Microsoft 365 REST API server.
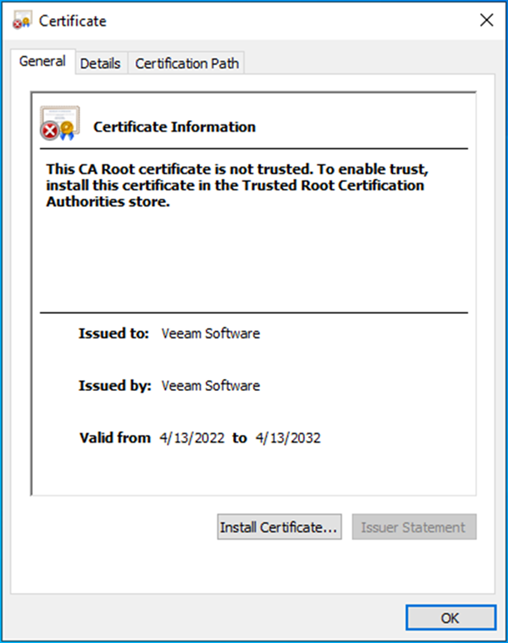
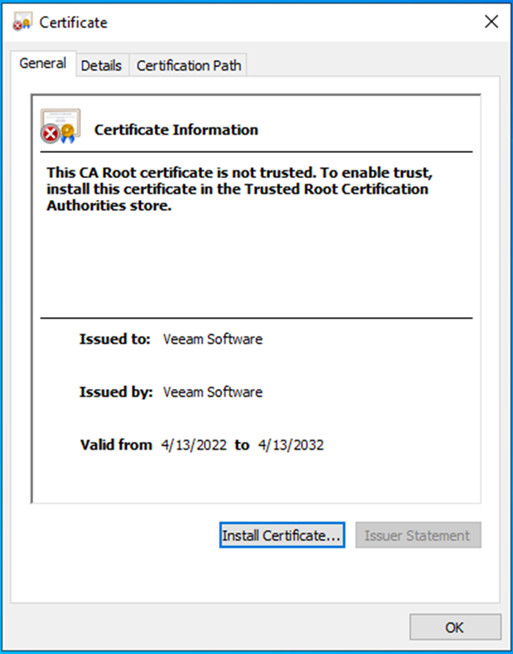
30. Double-click the certificate file you copy from Veeam Backup for the Microsoft 365 Manager server.
31. On the Certificate page, Install Certificate.
32. On the Welcome to the Certificate Import Wizard page, select Local Machine and click Next.

33. On the User Account Control page, click Yes.
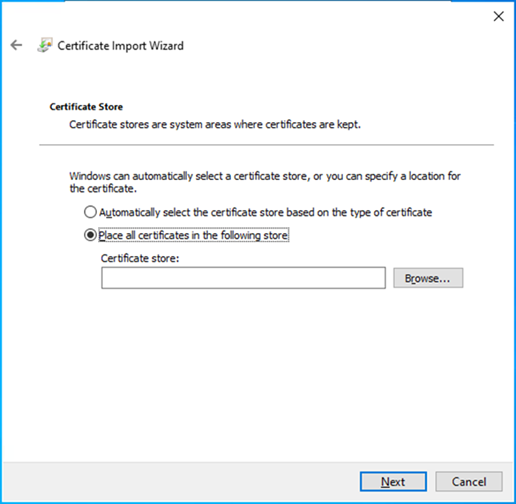
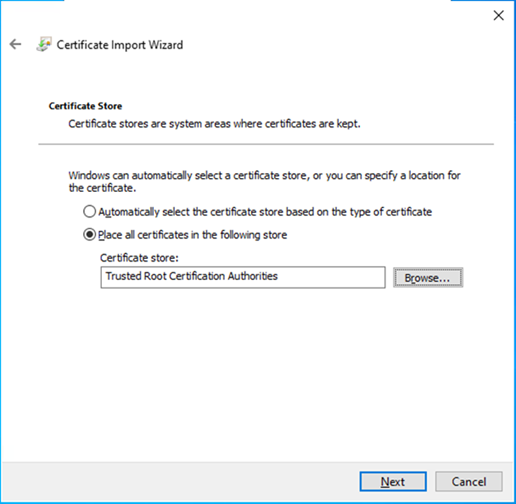
34. Select Place all certificates in the following store on the Certificate Store page and click Browse.
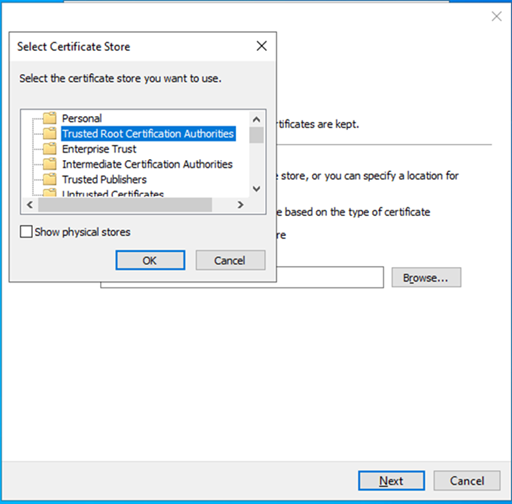
35. Select Trusted Root Certificate Authorities and click OK on the Select Certificate Store page.
36. On the Certificate Store page, click Next.
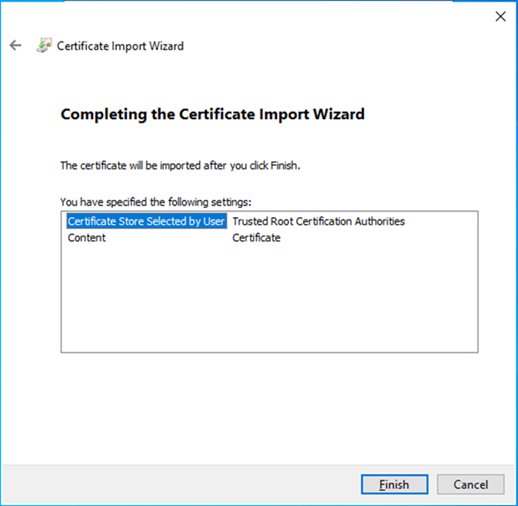
37. On the Completing the Certificate Import Wizard page, click Finish.
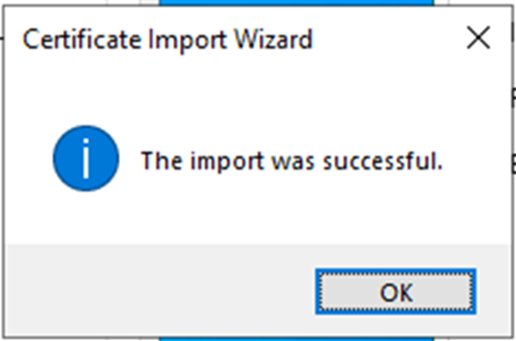
38. Ensure the Import was successful and click OK.
39. On the Certificate page, click OK.
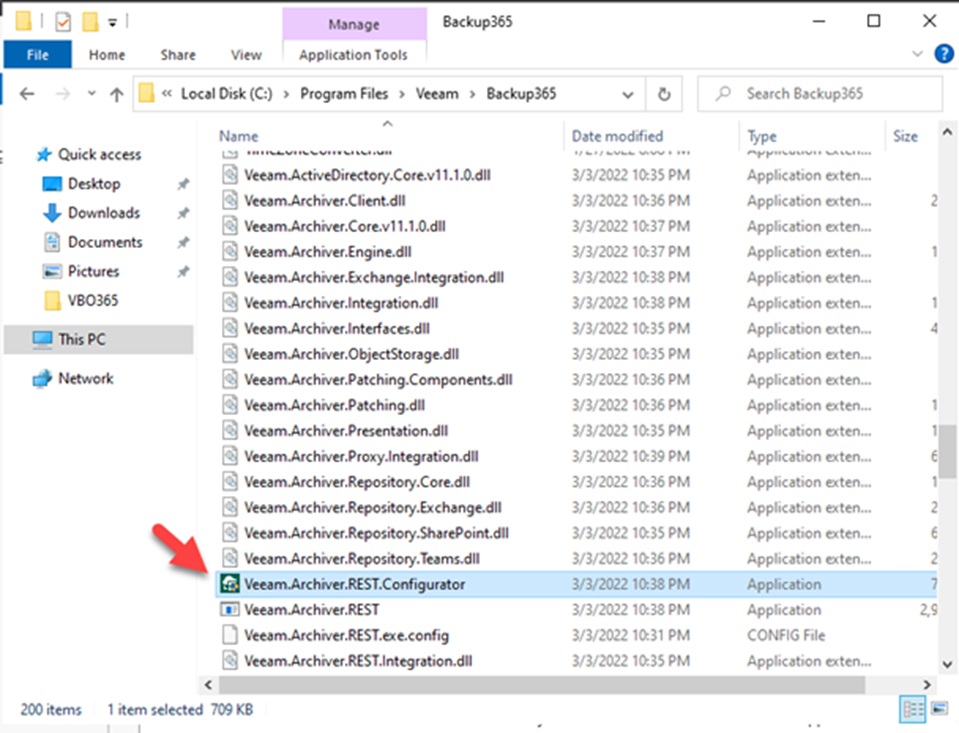
40. Open the Veeam Backup for the Microsoft 365 REST API component installation folder and run the Veeam.Archiver.REST.Configurator.exe file.
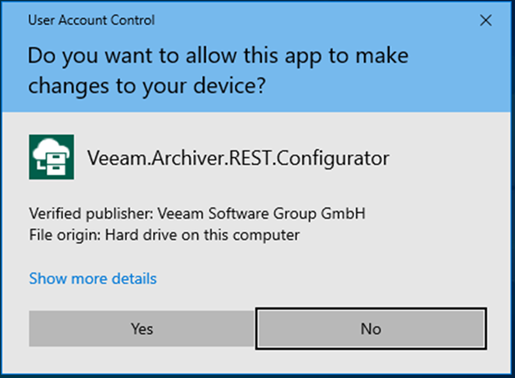
41. On the User Account Control page, click Yes.
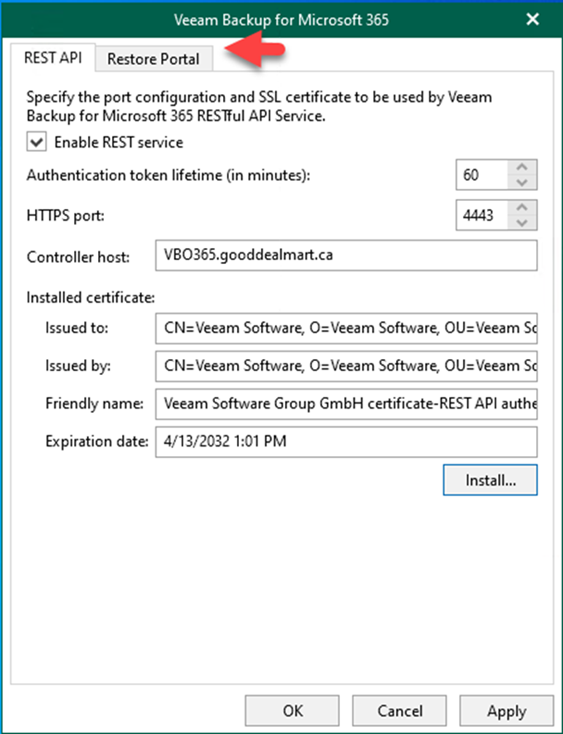
42. On the Veeam Backup for Microsoft 365 page, select REST API.

43. On the REST API page, select Enable REST service.
44. In the Authentication token lifetime field, type 60.
45. In the HTTPS port field, specify a port number that Veeam Backup for Microsoft 365 uses to access the Veeam Backup for Microsoft 365 RESTful API Service.
46. In the Controller host field, specify a DNS name or IP address of the Veeam Backup for the Microsoft 365 server.
47. Click Install to specify an SSL certificate.

48. On the Select certificate type page, select the specified certificate for encrypted SSL connection and click Next. In my case, select Generate a new self-signed certificate.

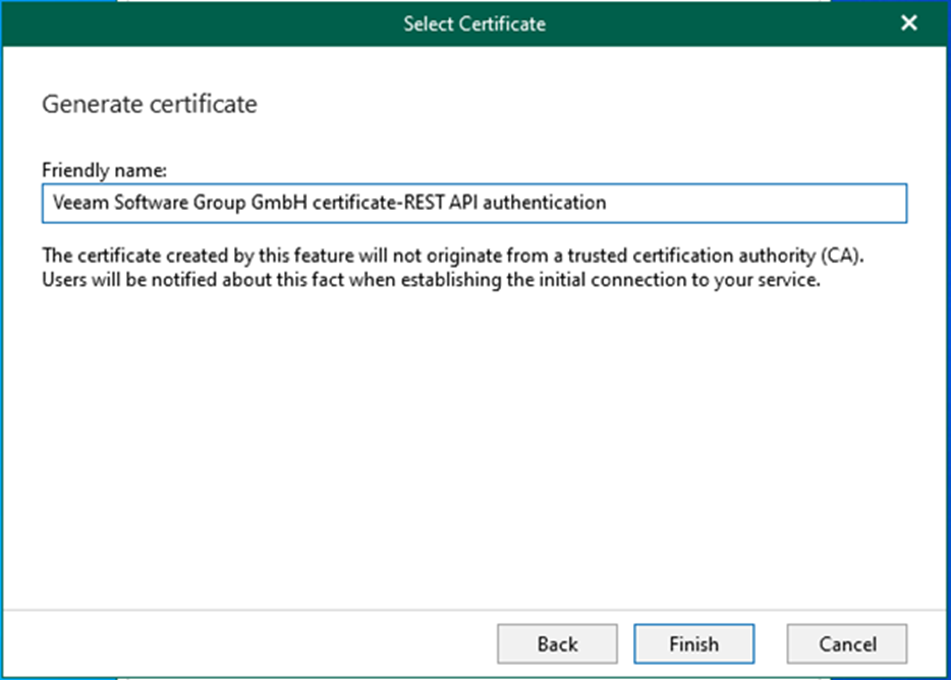
49. On the Generate Certificate page, enter the specific name for the certificate in the Friendly name field and click Finish.
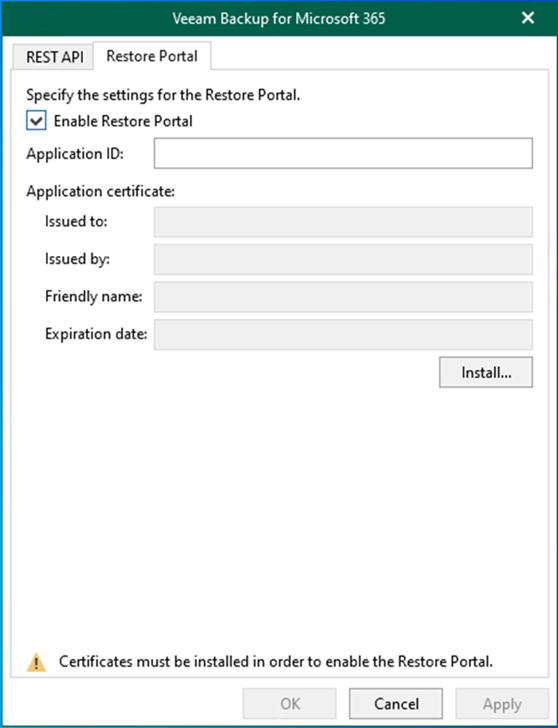
50. On the Veeam Backup for Microsoft 365 page, select Restore Portal.
51. On the Restore Portal page, select Enable Restore Portal.
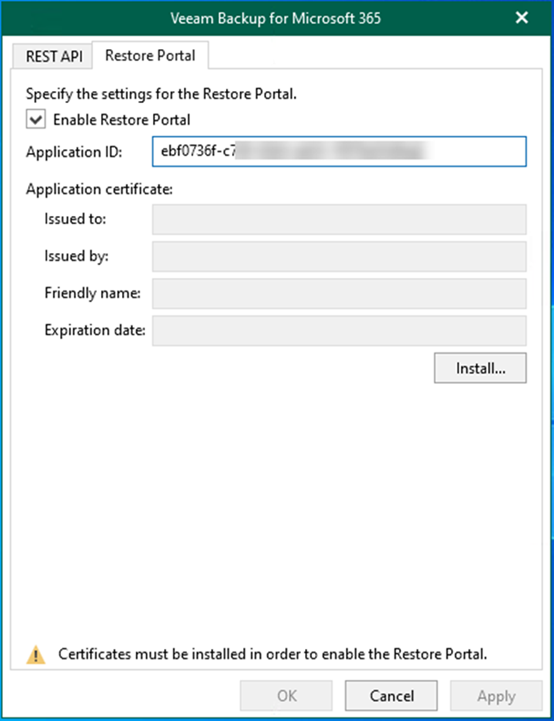
52. Enter the Azure AD Application ID. (you can check it from the Veeam Manager server or Azure portal)
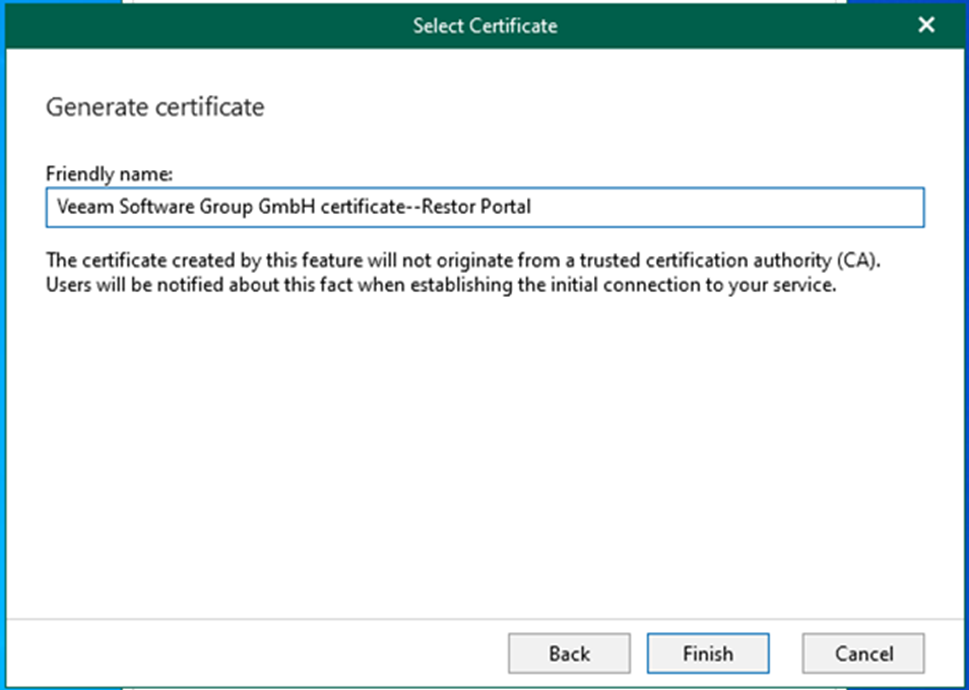
53. In the Certificate to authenticate with the Azure AD field, click Install.
54. On the Select certificate type page, select the specified certificate for encrypted SSL connection and click Next. In my case, select Generate a new self-signed certificate.

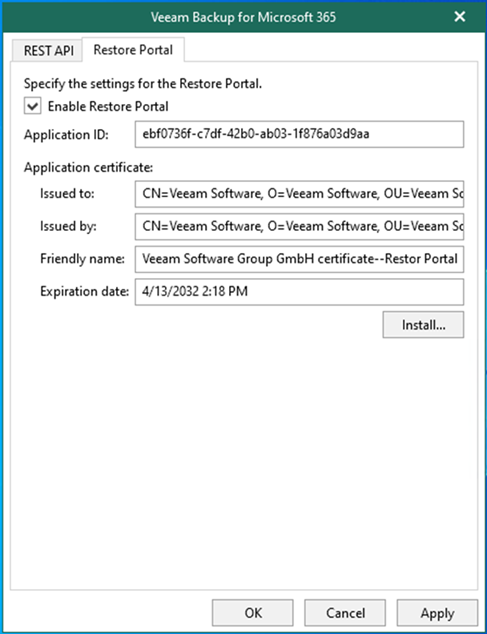
55. On the Generate Certificate page, enter the specific name for the certificate in the Friendly name field and click Finish.
56. Click OK.
I hope you enjoy this post.
Cary Sun
Twitter: @SifuSun
Web Site: carysun.com
Blog Site: checkyourlogs.net
Blog Site: gooddealmart.com