
As we know, starting on November 15, 2017, outbound email messages that are sent directly to external domains (such as outlook.com and gmail.com) from a virtual machine (VM) are made available only to certain subscription types in Microsoft Azure. Outbound SMTP connections that use TCP port 25 were blocked. (Port 25 is primarily used for unauthenticated email delivery.), so you will notice the VM at Azure won’t send out email.
One of solution is using SMTP relay service to send email from VM of Azure, there is a good news for Azure customers, Azure customers can unlock 25,000 free emails each month. Today, I am going to show you how to create a free SendGrid account as SMTP relay to help you send email out successful.
- Login to the Azure portal.
-
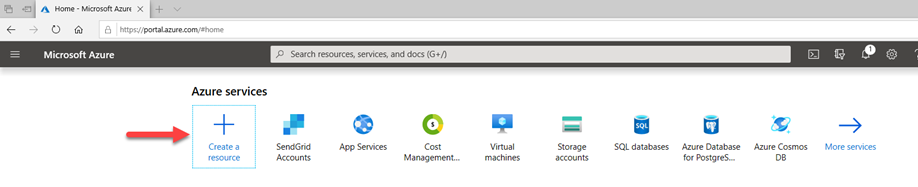
On the Azure services page, click +Create resource.
-
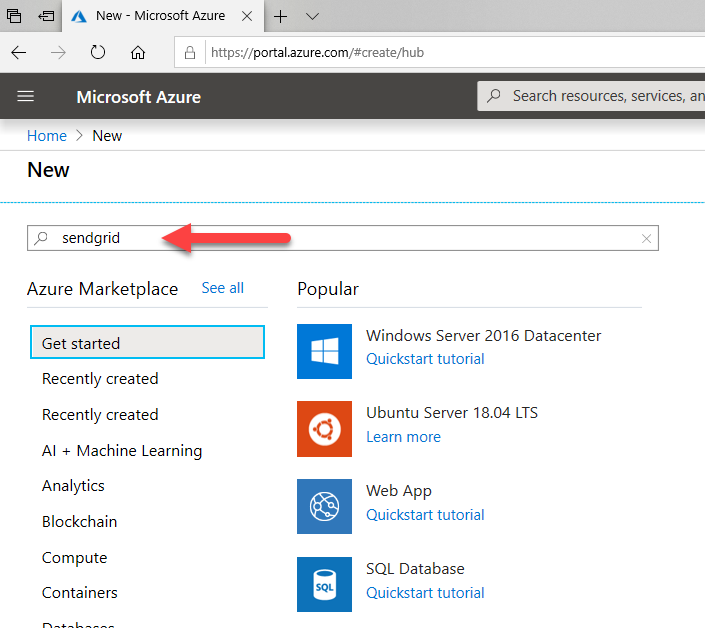
On the New page, Type SendGrid at Search bar and enter.
-
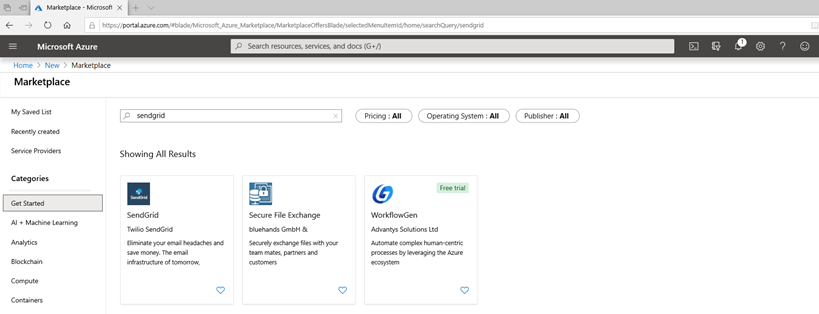
On the Marketplace page, select SendGrid.
-
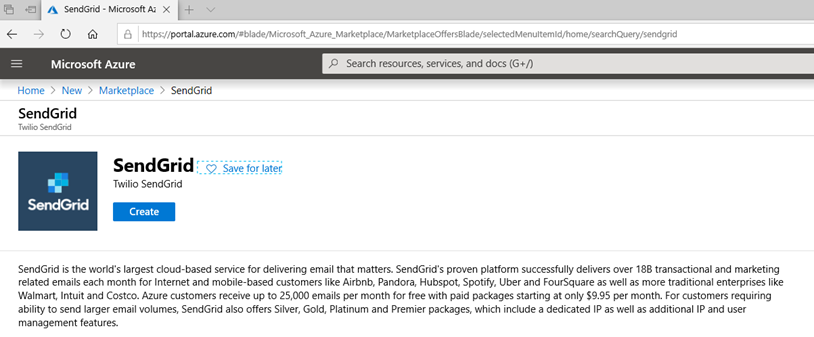
On the SendGrid page, click Create.
-
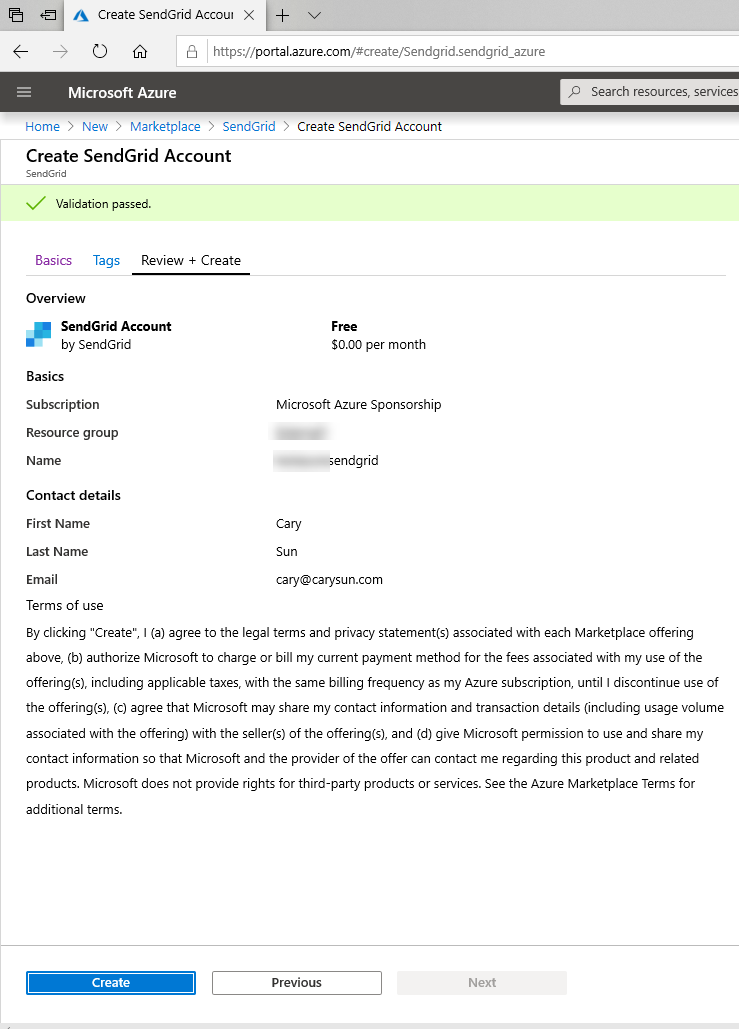
On the Create SendGrid Account page, enter all of information and then click Review + Create.

-
On the Review + Create page, make sure Validation passed and click Create.
-
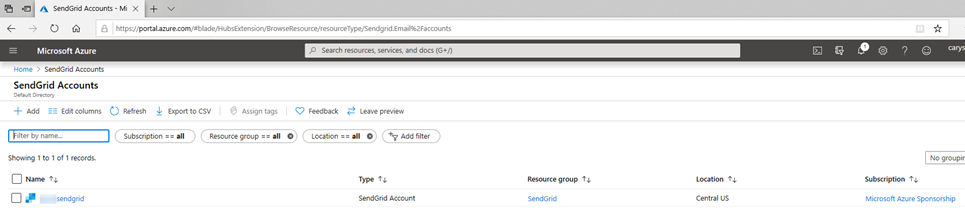
After creating successful you will see a Deployment Succeeded pop-up and you will see your account listed. Click the SendGrid account.
-
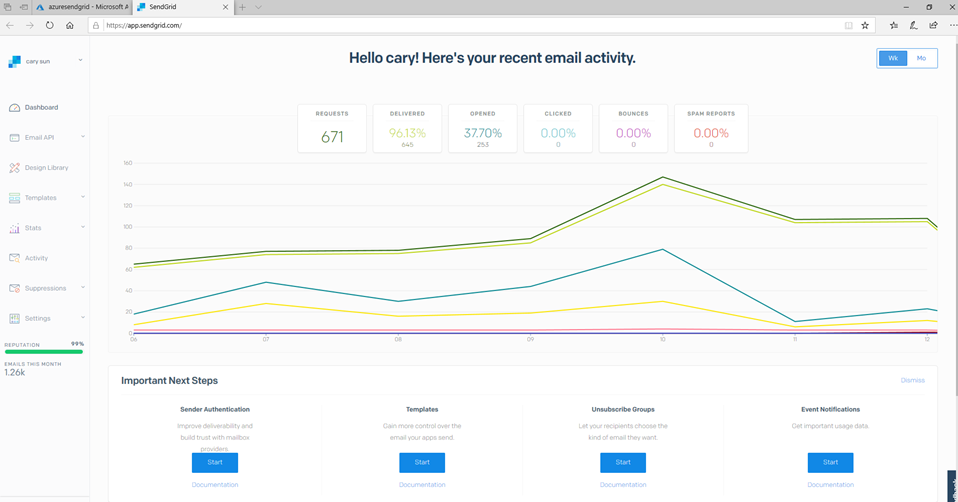
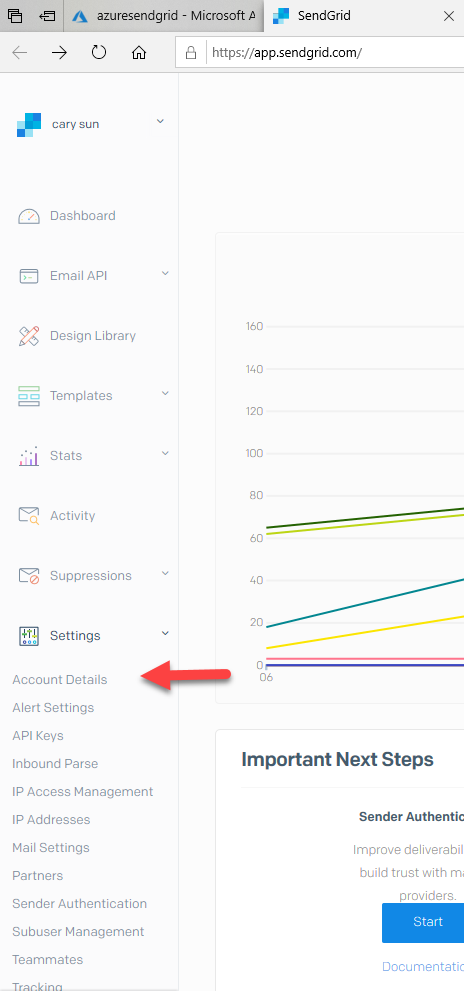
On the SendGrid Account page, select Manage. It will redirect to the SendGrid account management page. Click Settings.
-
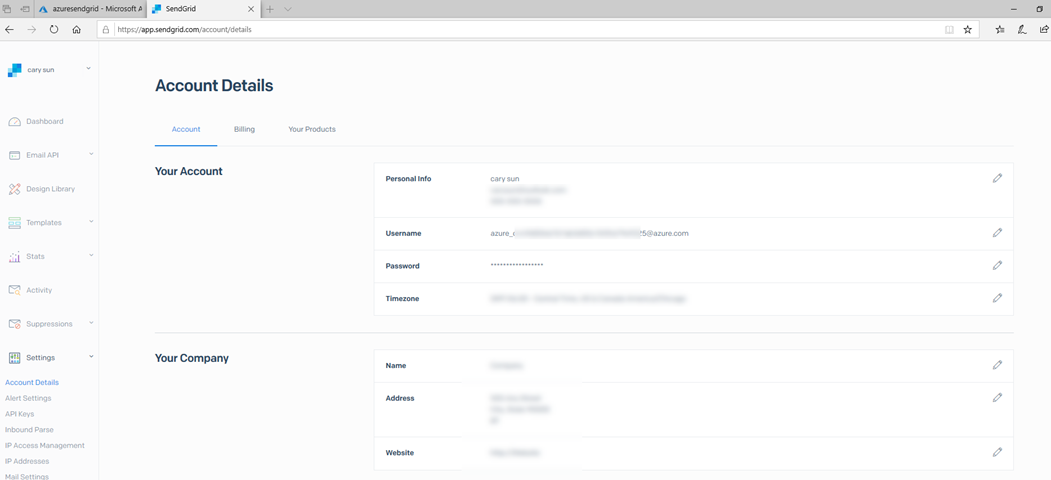
Click Account Details.
-
Write down your user name (it will be used at exchange server send connector settings), you also can create API key and use it.
Congratulation! I have a free SendGrid account as SMTP relay for your mail server at Azure.
Hope you enjoy this post.
Cary Sun
Twitter: @SifuSun