
Microsoft change the Azure Active Directory (Azure AD) name to Microsoft Entra ID from July, 2023. A key component of Microsoft Entra Connect is the Microsoft Entra Connect synchronisation services (Microsoft Entra Connect Sync). It handles the procedures associated with synchronising identity data across your on-premises environment and Microsoft Entra ID. With the Microsoft Entra Connector enabled, Microsoft Entra Connect Sync is the replacement to DirSync, Azure AD Sync, and Forefront Identity Manager.
Today, I will show you how to migrate Microsoft Entra Connect (Azure AD Connect) to v2.
1. Login to the existing Azure AD Connect server.
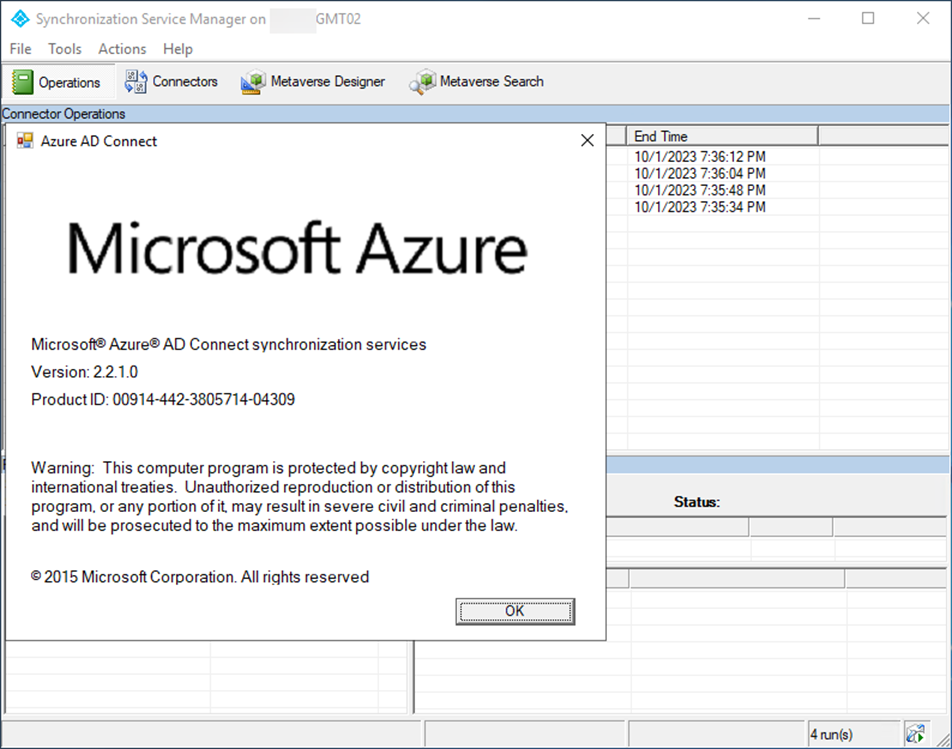
2. Open Synchronization Service Manager to verify the exiting Azure AD connect version.

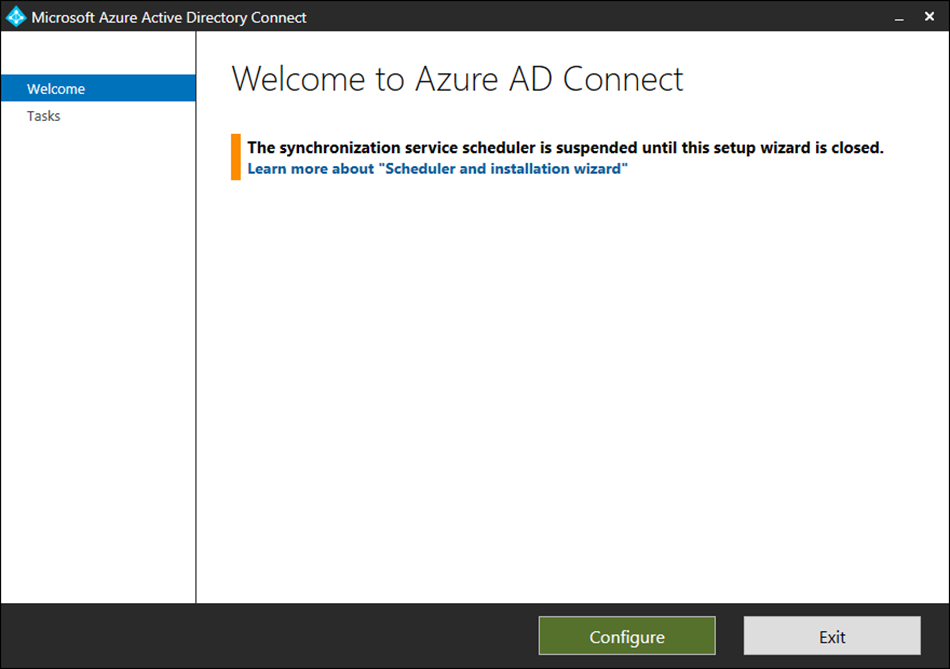
3. Open Azure AD Connect and click Configure.

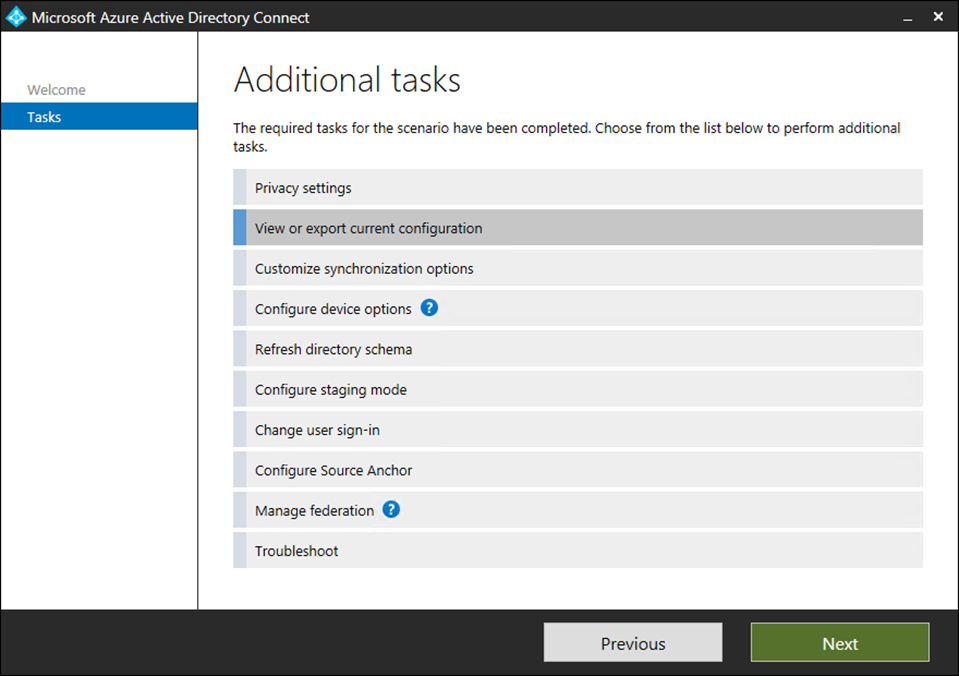
4. Select View or export current configuration on the Tasks page and click Next.
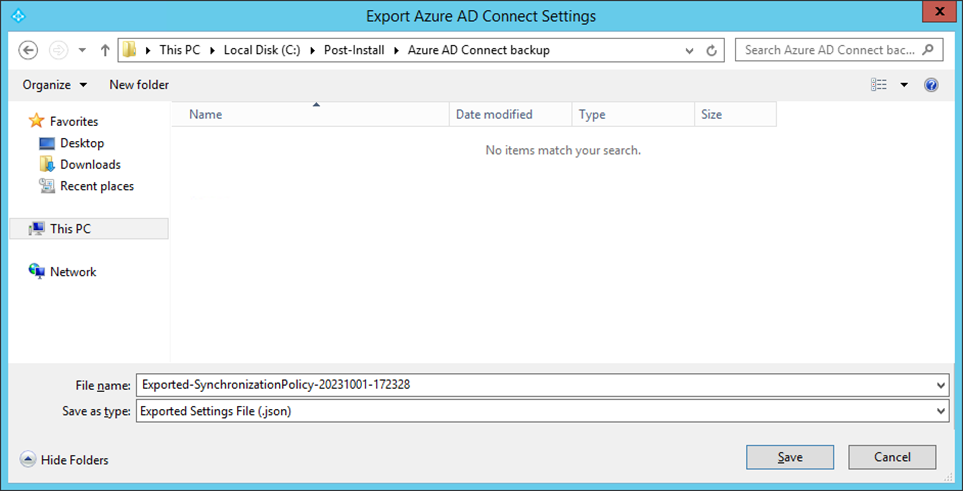
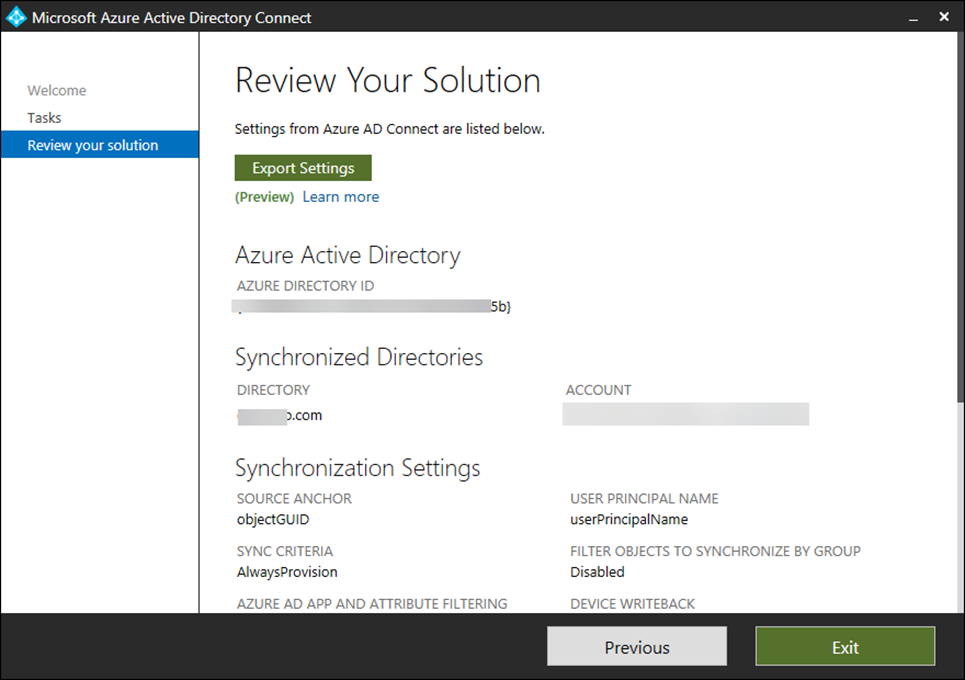
5. On the Review your solution page, click Export Settings.

6. Save the .jason file and copy it to the new server.
7. On the Review your solution page, click Previous.
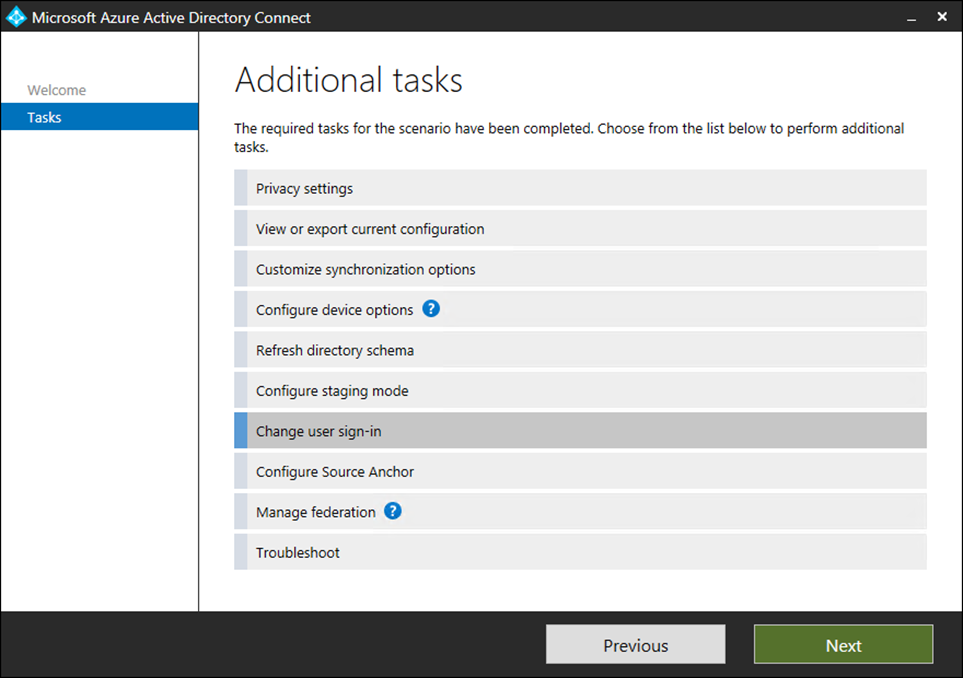
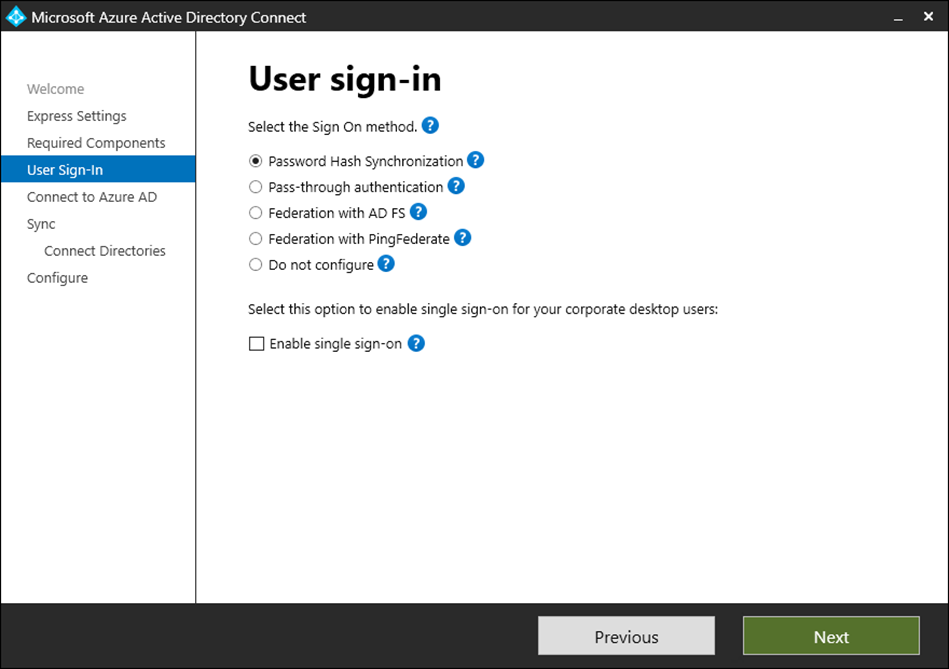
8. Select Change user sign-in on the Tasks page and click Next.
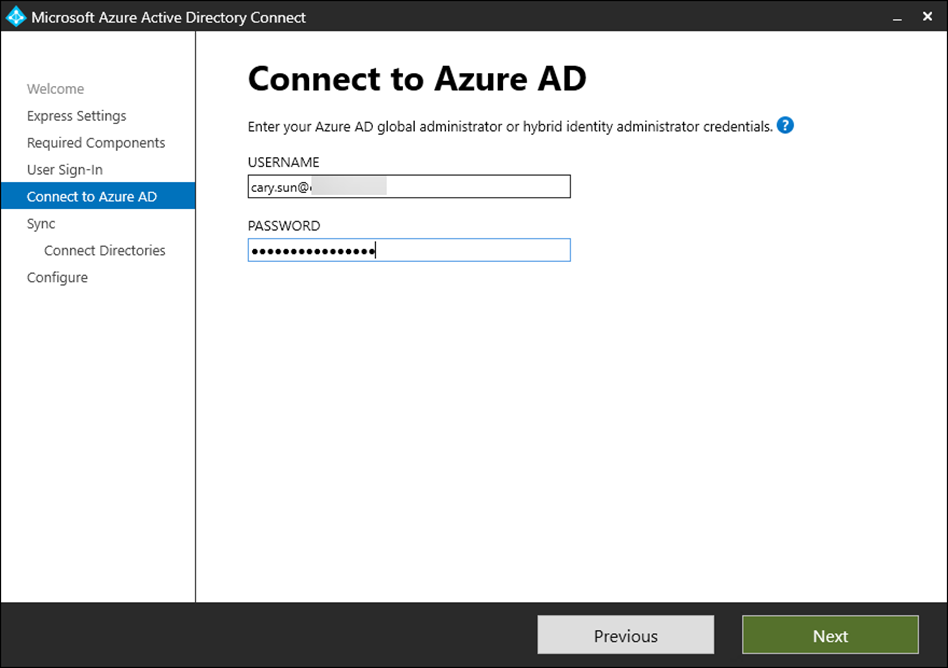
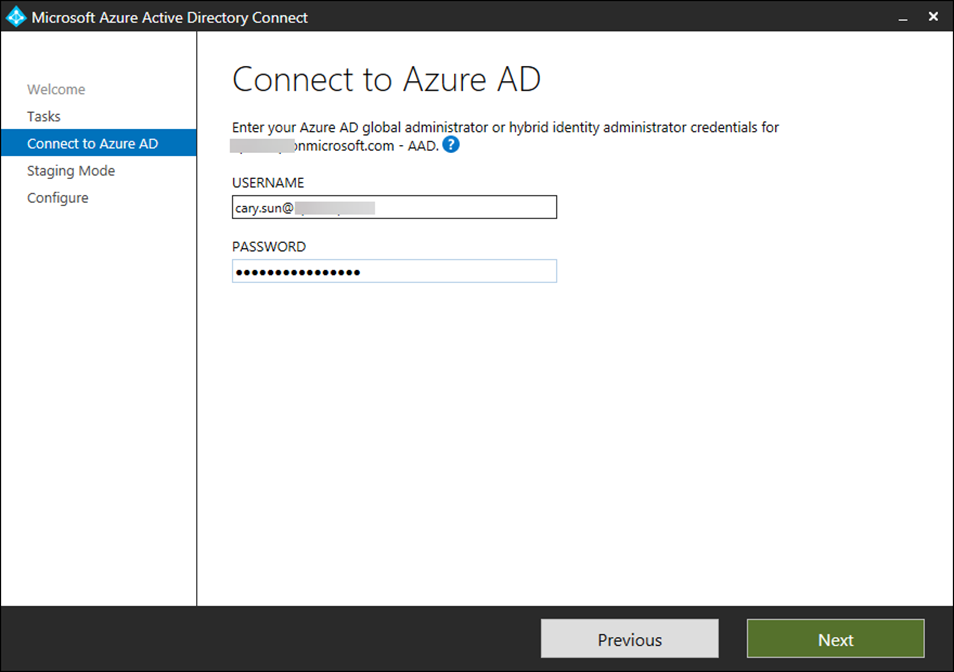
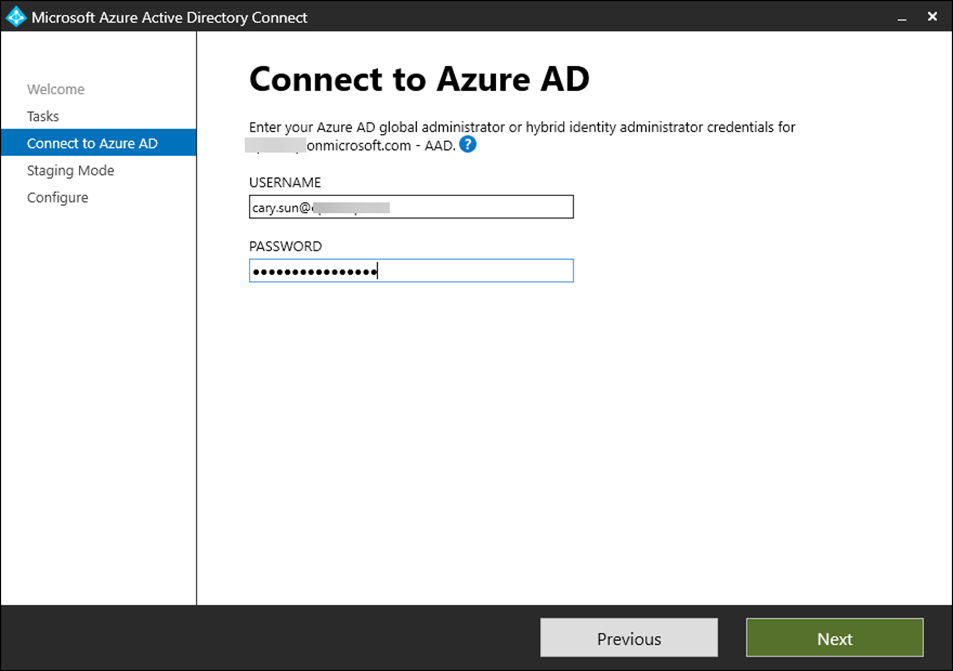
9. Enter your Username and password on the Connect to Azure AD page.
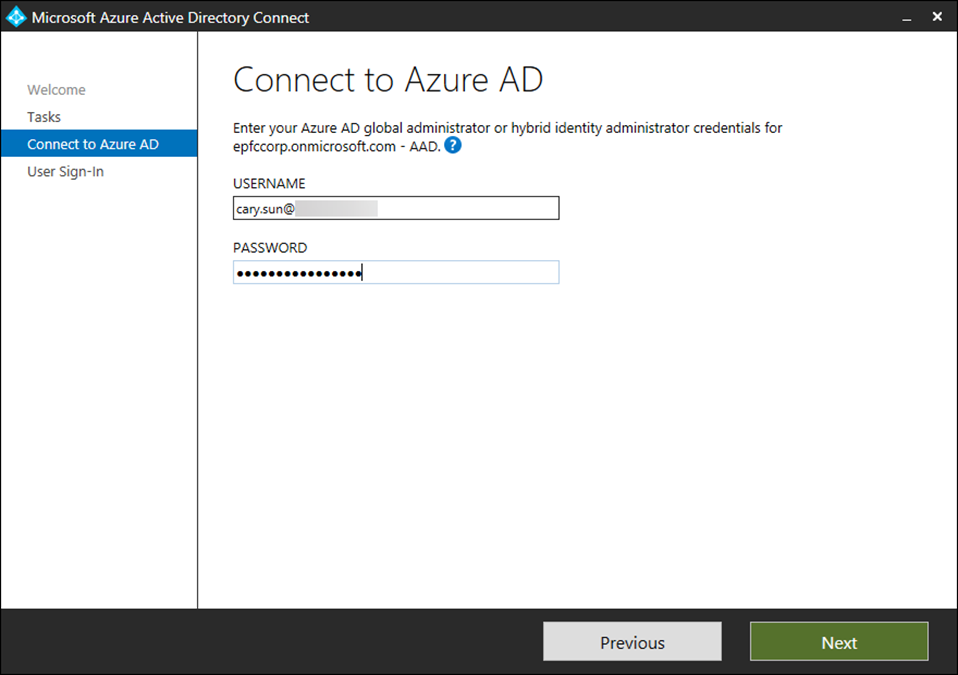
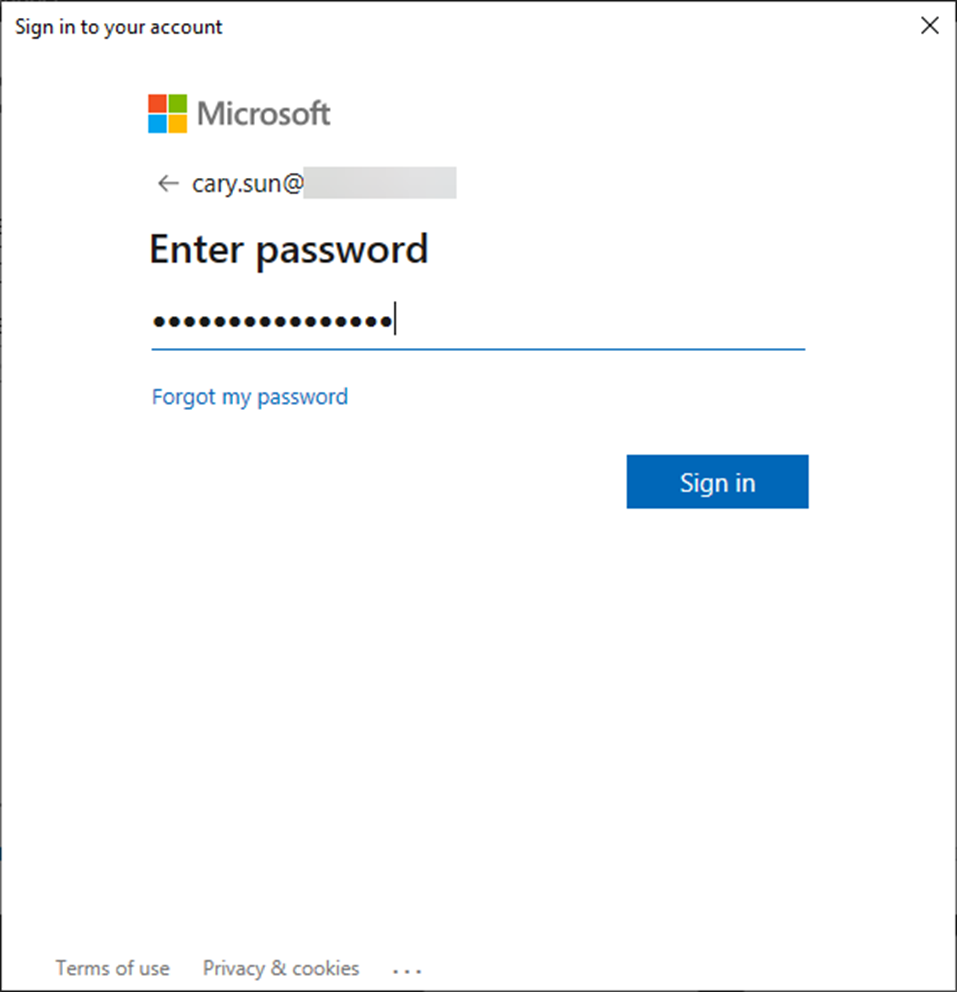
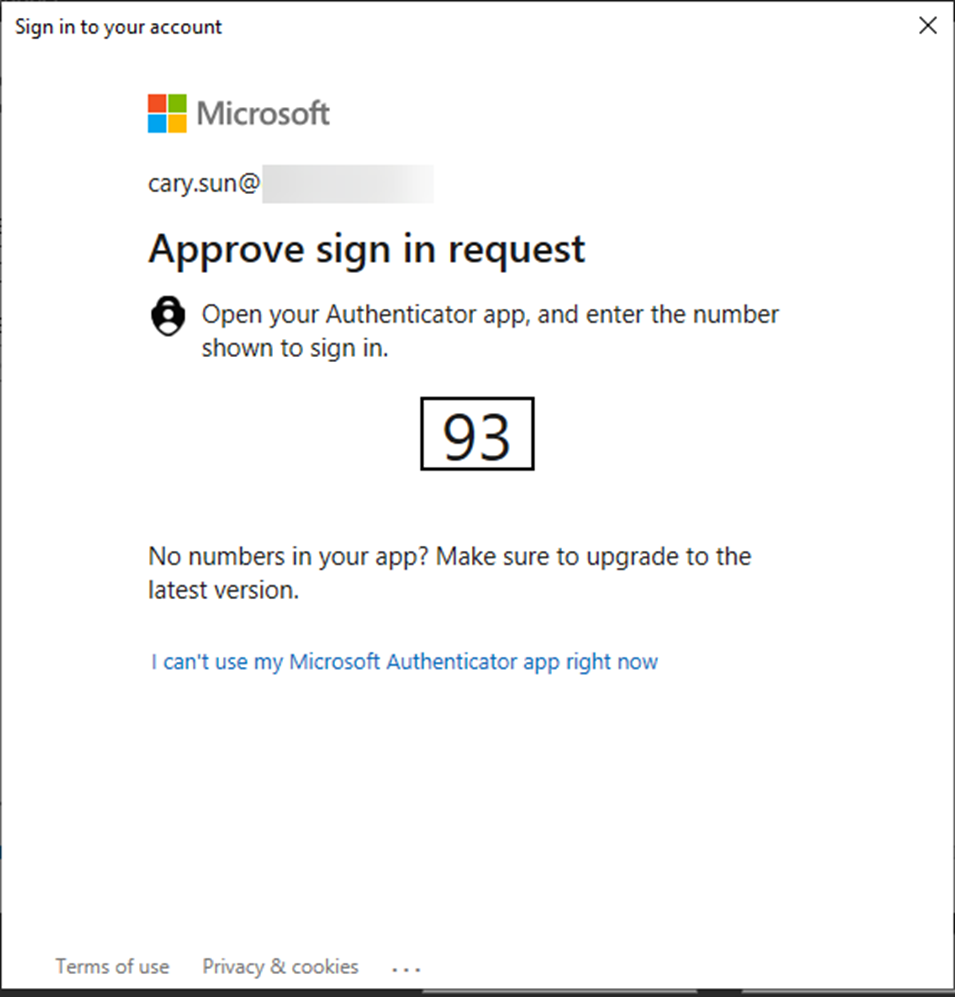
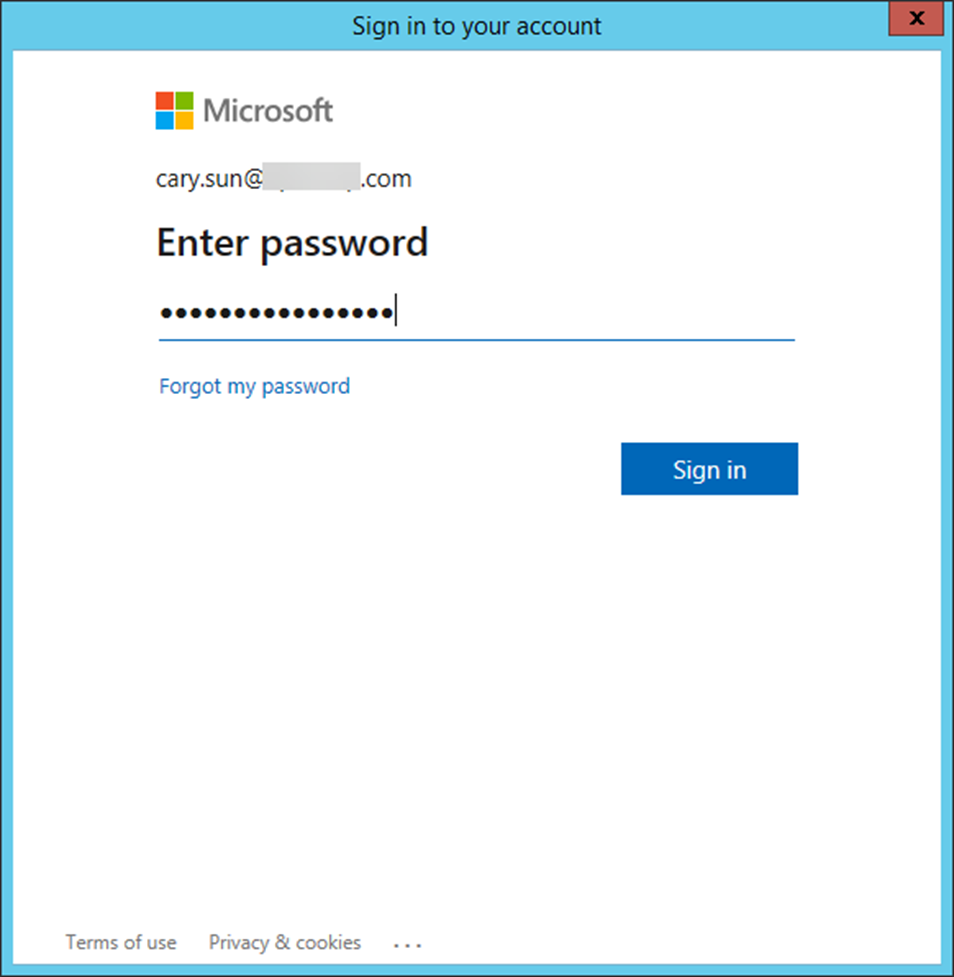
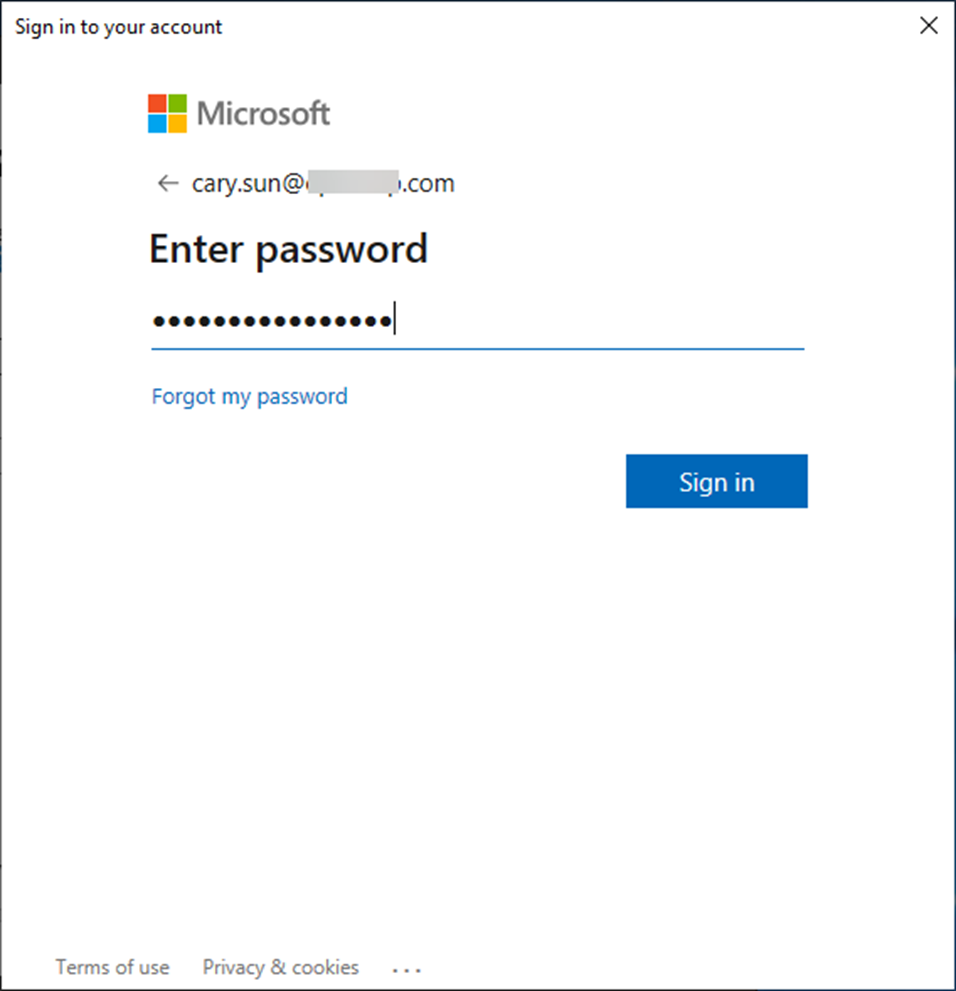
10. Enter the password and click Sign in.

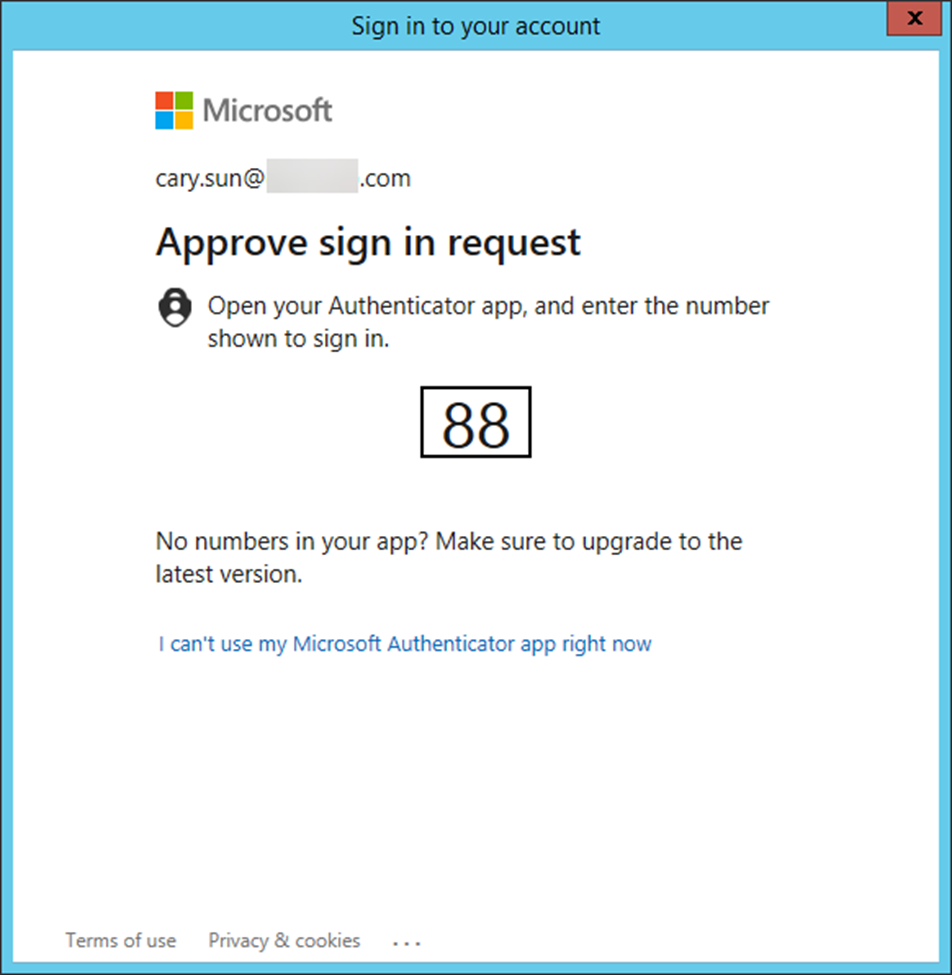
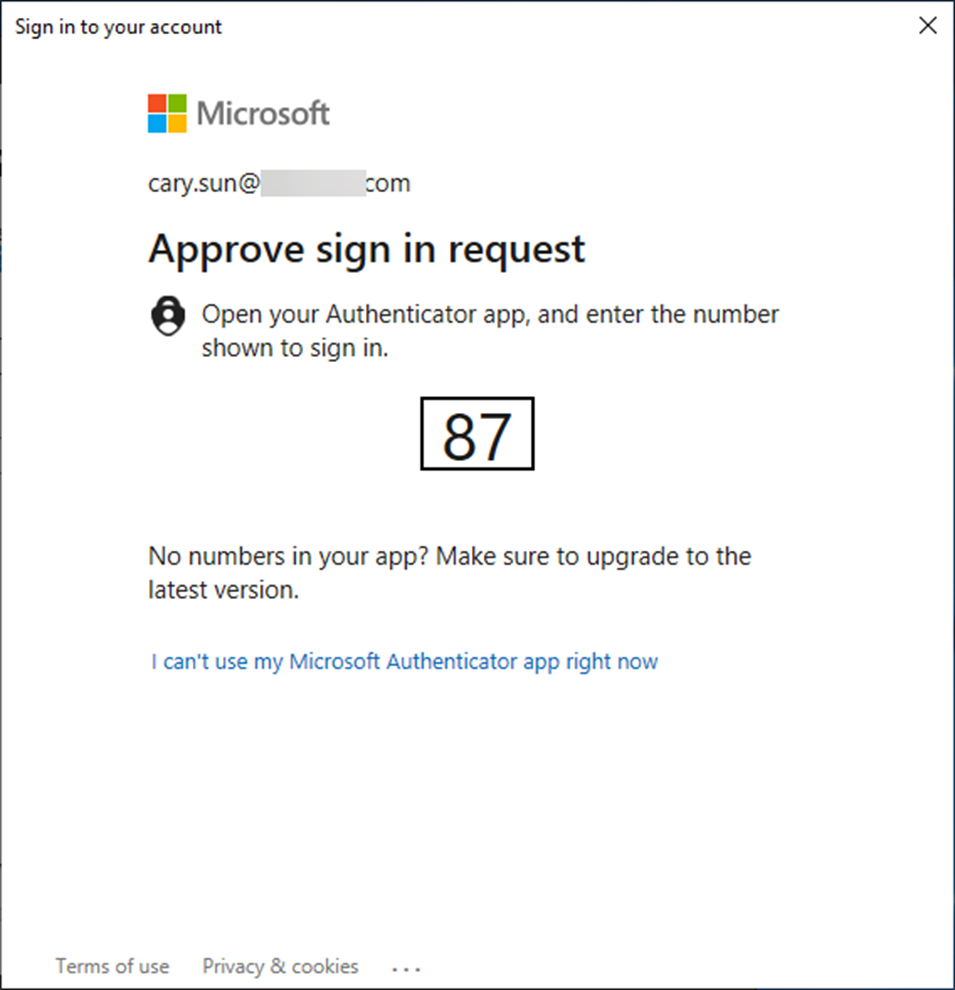
11. Open your authentication app and enter the number, click Yes.

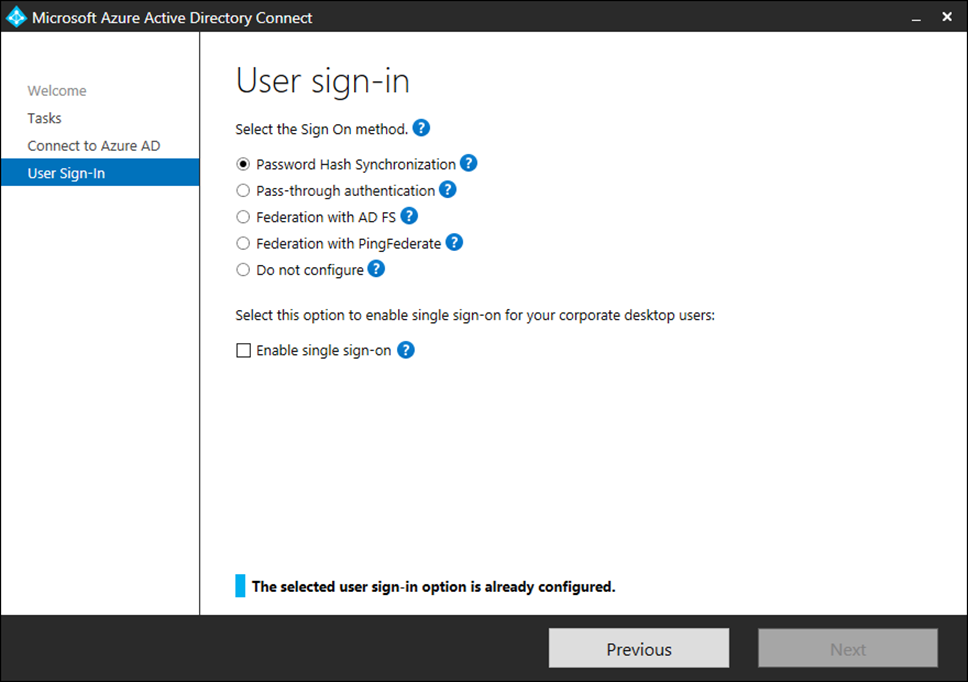
12. Take a note of the User Sign-in settings, they need to match the settings on the new server, close Azure AD Connect.
13. Login to the new server.
14. You need to enable TLS 1.2 on the new server before installing Microsoft Entra Connect V2.
15. Download and run the TLS12Check.ps1 script to check TLS 1.2 registries.
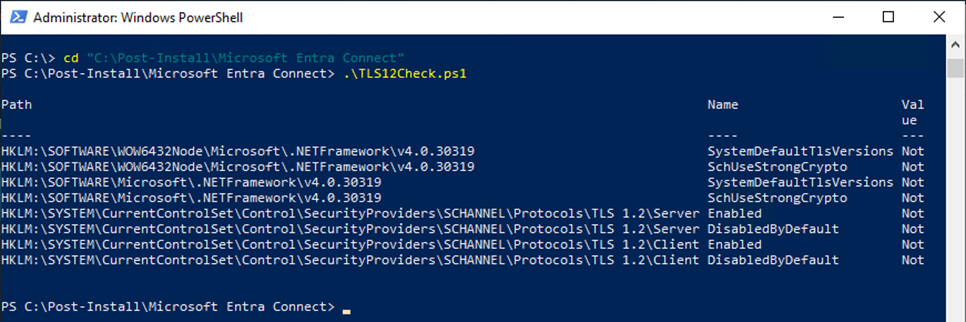
16. If TLS 1.2 is not enabled, download, and run the TLS12Enable.ps1 script to enable TLS 1.2.
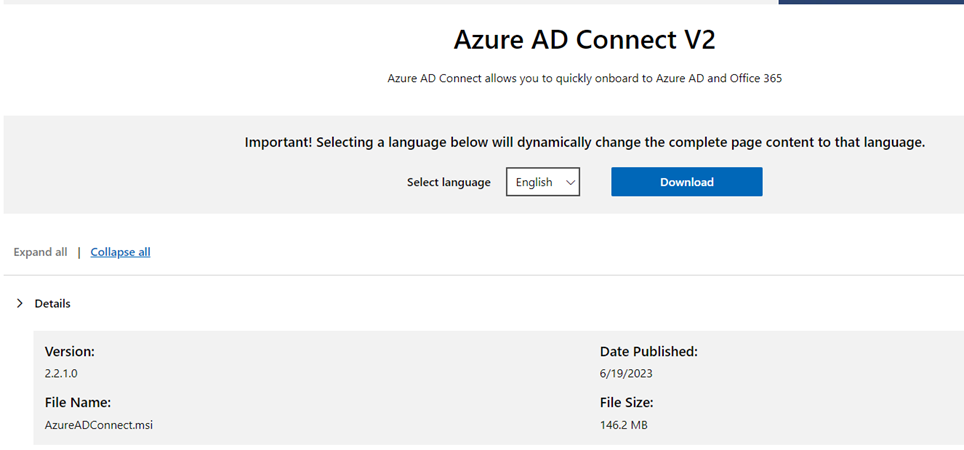
17. Download the Microsoft Entra Connect Azure AD Connect V2).
https://go.microsoft.com/fwlink/?LinkId=615771
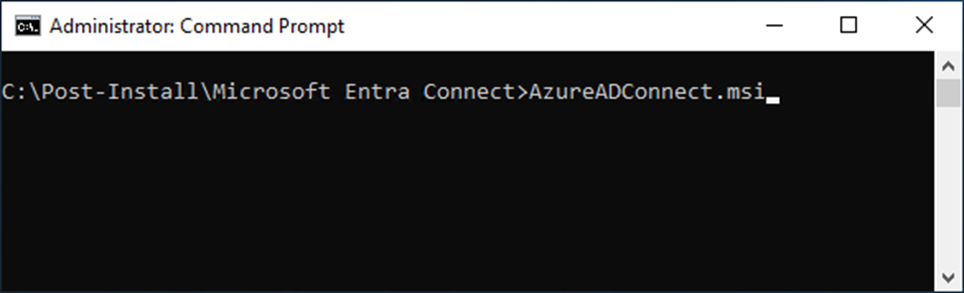
18. Open Command Prompt as Administrator.
19. Run AzureADConnect.msi to install Microsoft Entra V2.
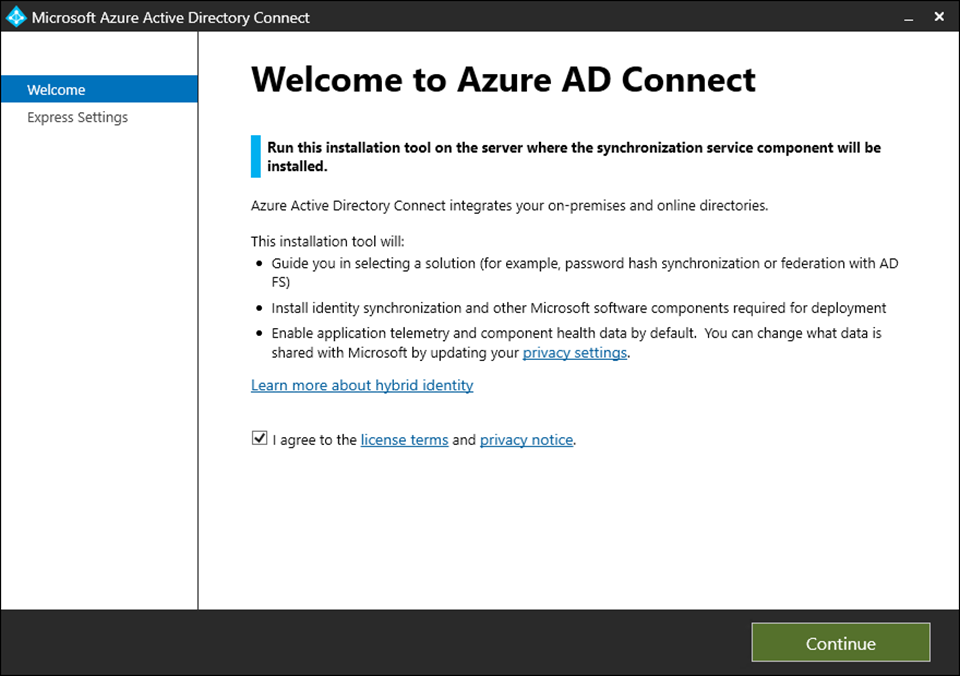
20. Select I agree to the license terms and privacy notice on the Welcome page, click Continue.
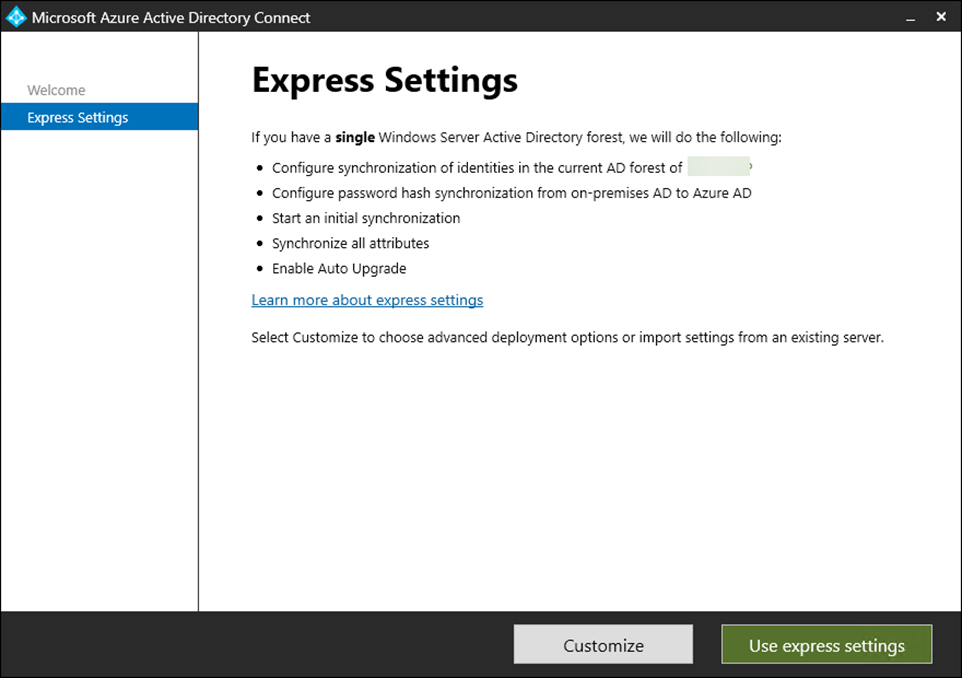
21. Click Customize on the Express Settings page.
22. On the Install required components page, select Import synchronization settings and click Browse.
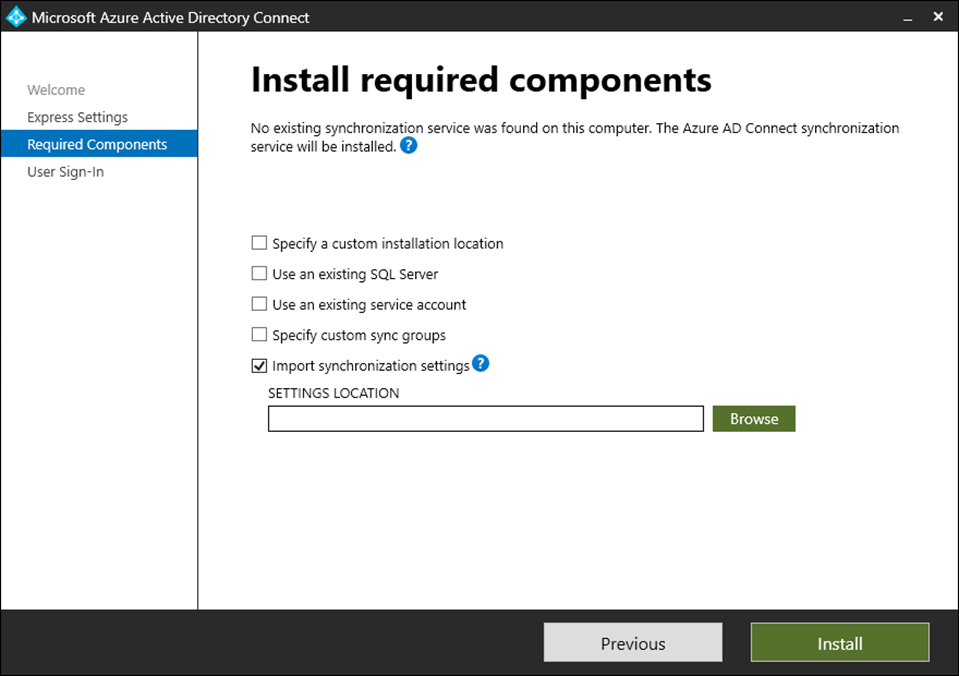
23. Select the backup file that is copied from the old Azure AD Connect server, click Open.

24. Click Install on the Install required components page.

25. On the User sign-in page, ensure the settings are the same as the old server and click Next.
26. On the Connect to Azure AD page, enter the Azure AD global administrator or hybrid identity administrator credentials, and click Next.
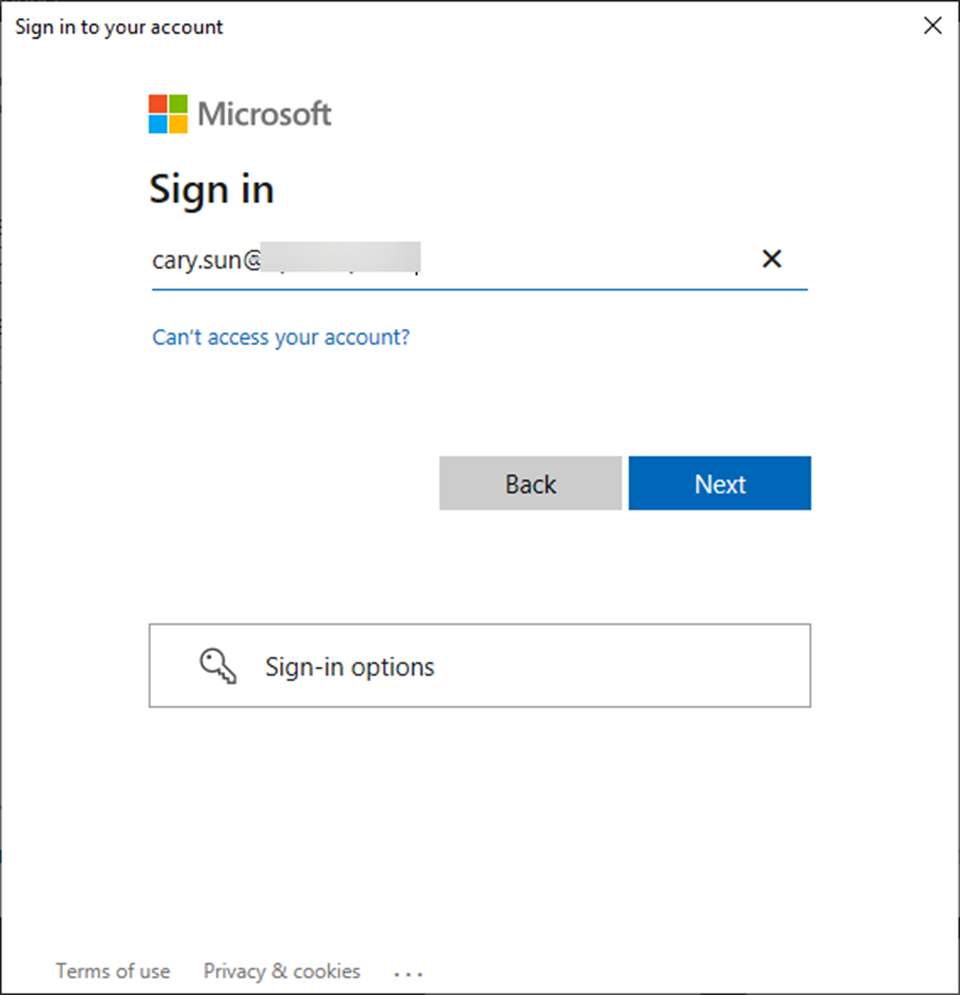
27. Enter username on the Sign in page and click Next.
28. Enter password and click Sign in.
29. Open your authentication app and enter the number, click Yes.
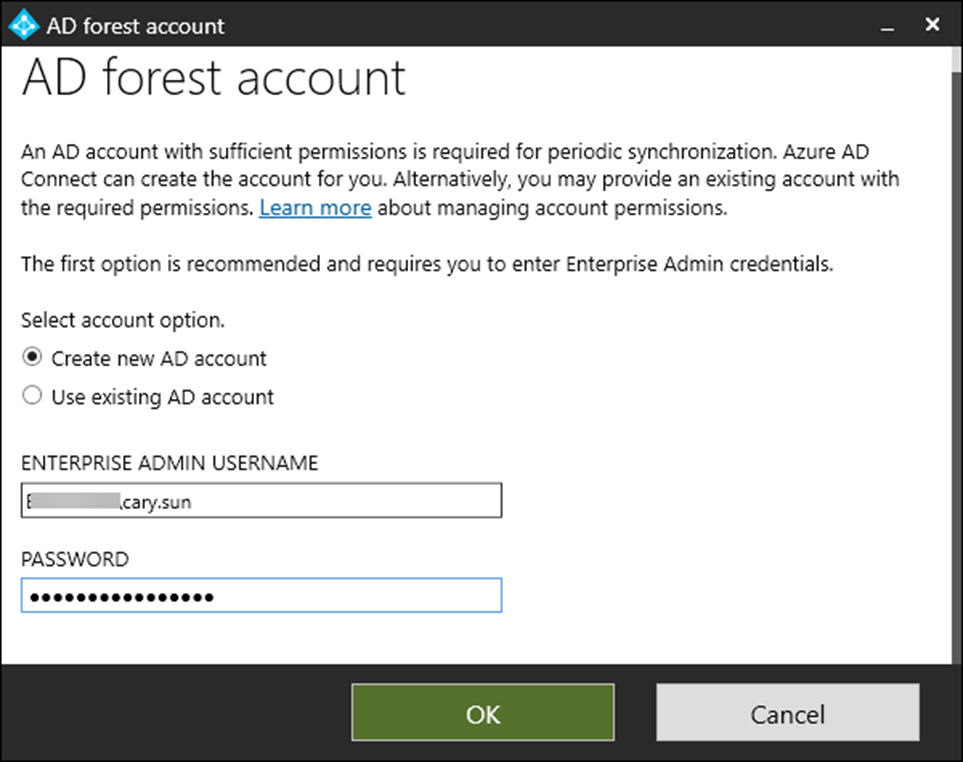
30. On the Connect Directories page, click Change Credentials.
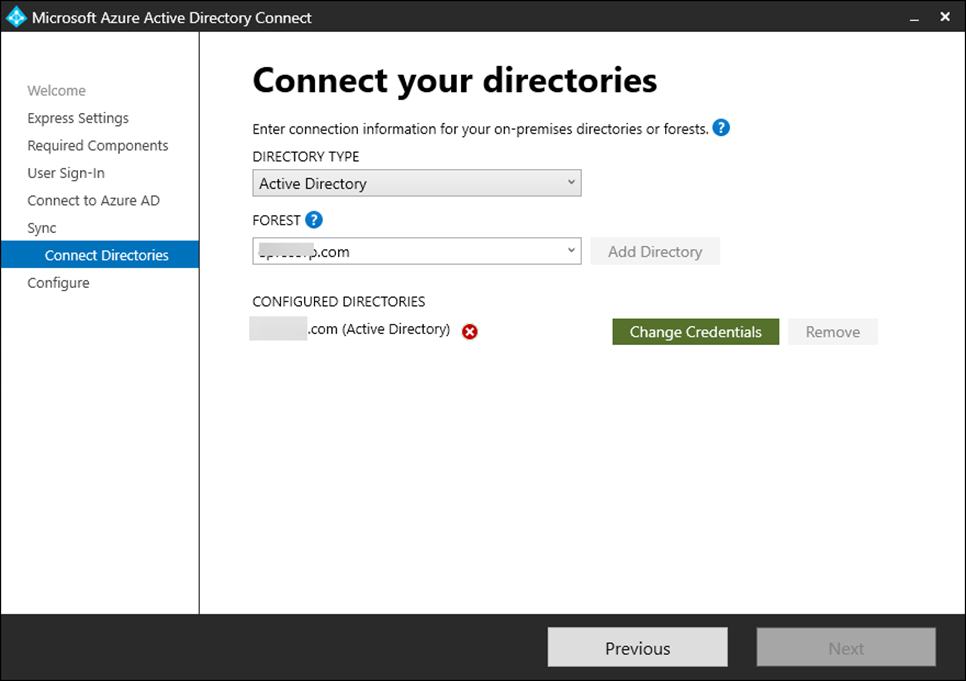
31. On the AD forest account page, select Create new AD account, enter the enterprise admin username and password, and click OK.
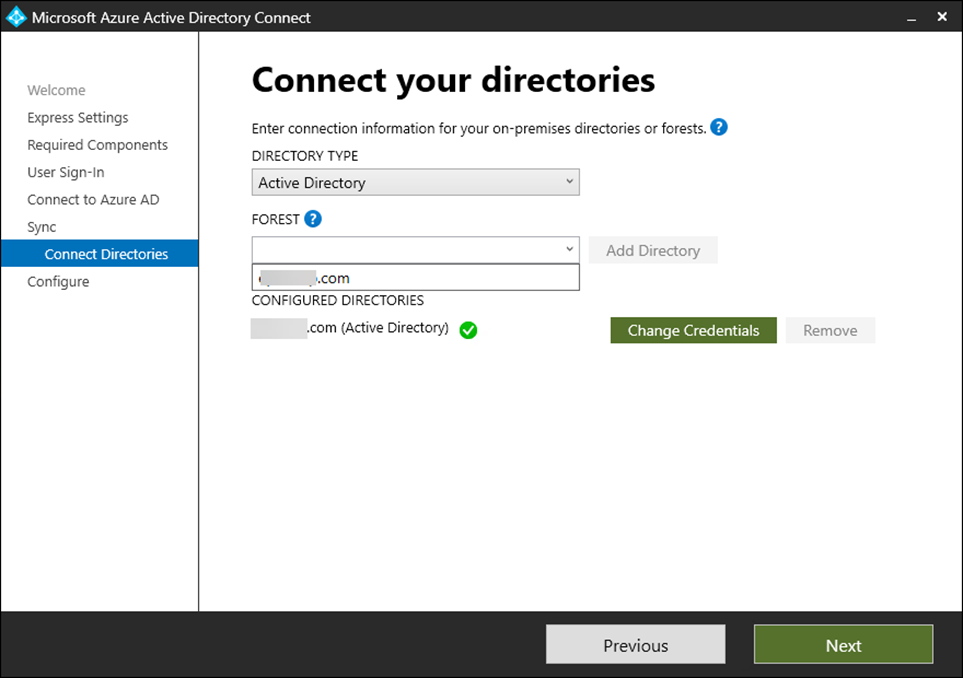
32. Select the domain forest from the FOREST drop-down list on the Connect Directories page and click Next.
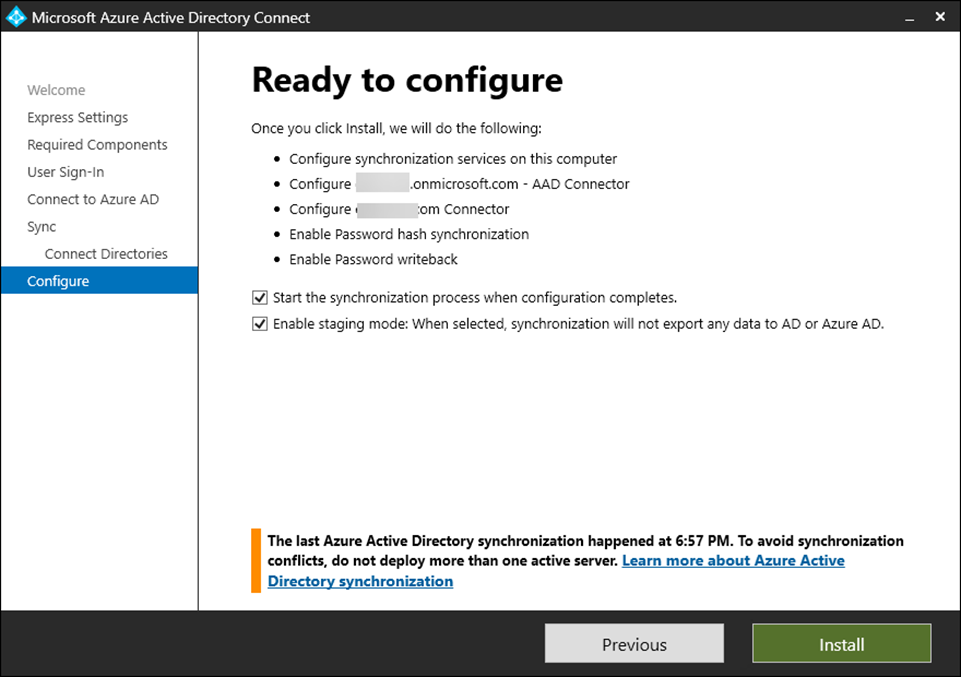
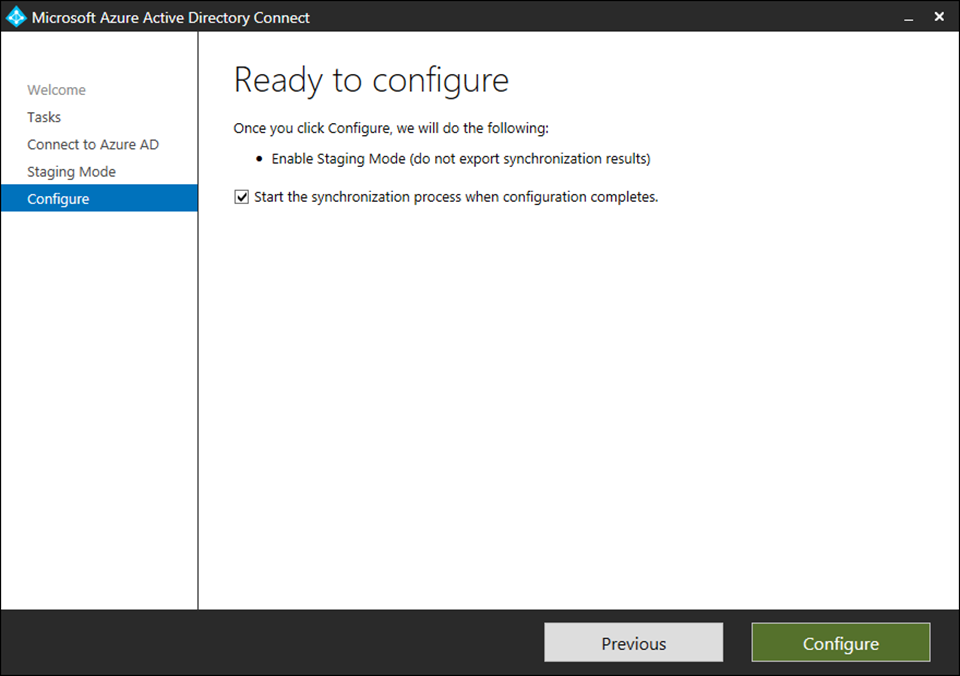
33. On the Configure page, select Start the synchronization process when the configuration completes.
34. Select Enable staging mode: When selected, synchronization will not export any data to AD or Azure AD, click Install.
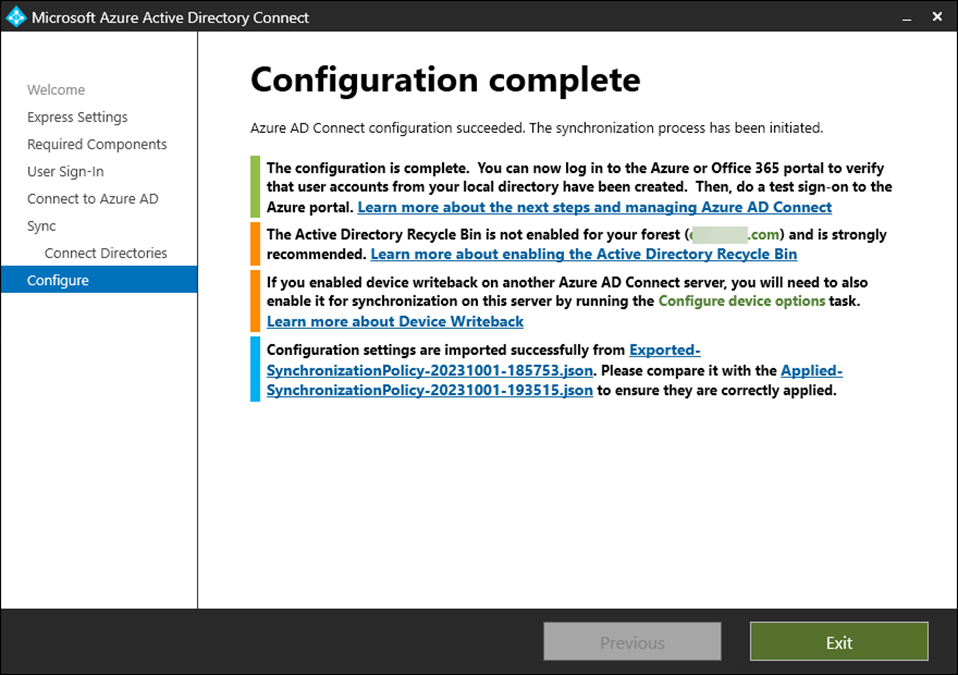
35. Click Exit on the Configuration complete page.
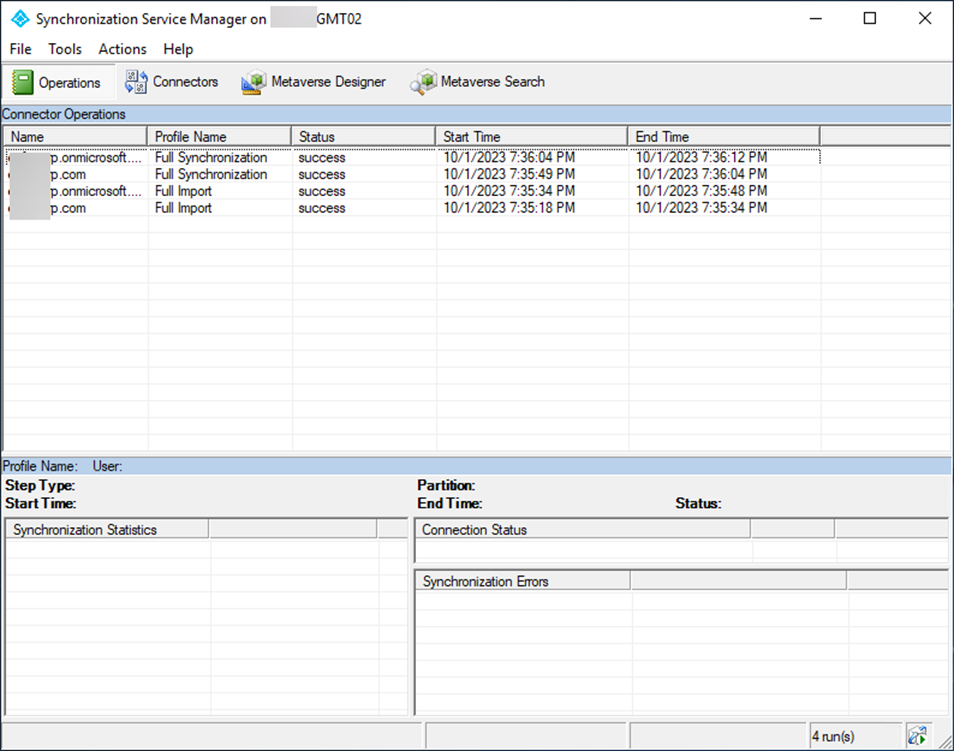
36. Open Synchronization Service and verify the Microsoft Entra Connect version.
37. Ensure all synchronization status shows success.
38. Login to the old server.
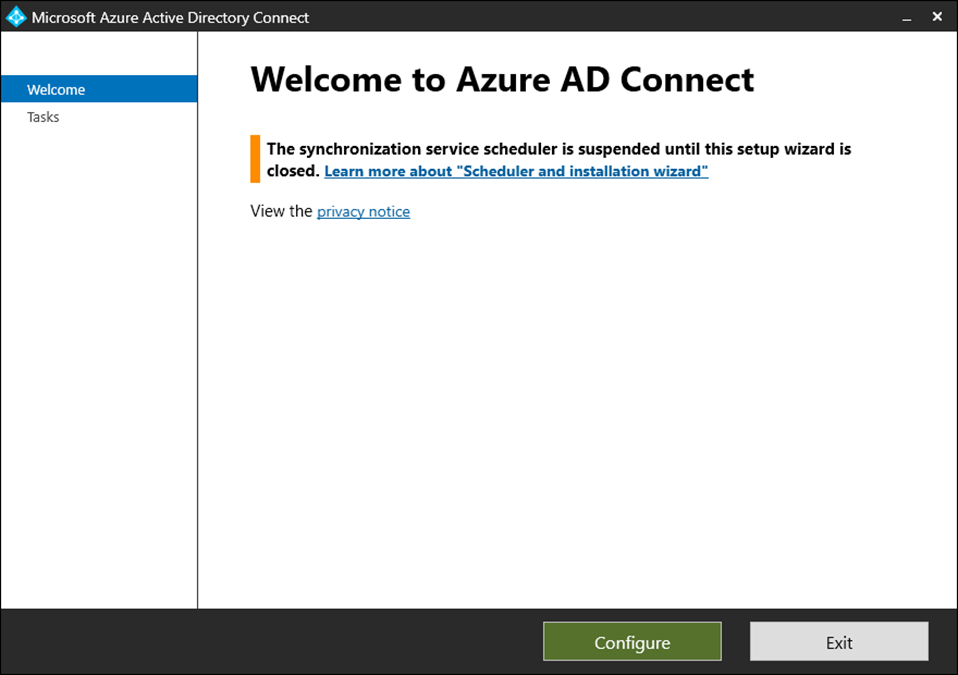
39. Open Azure AD Connect and click Configure.
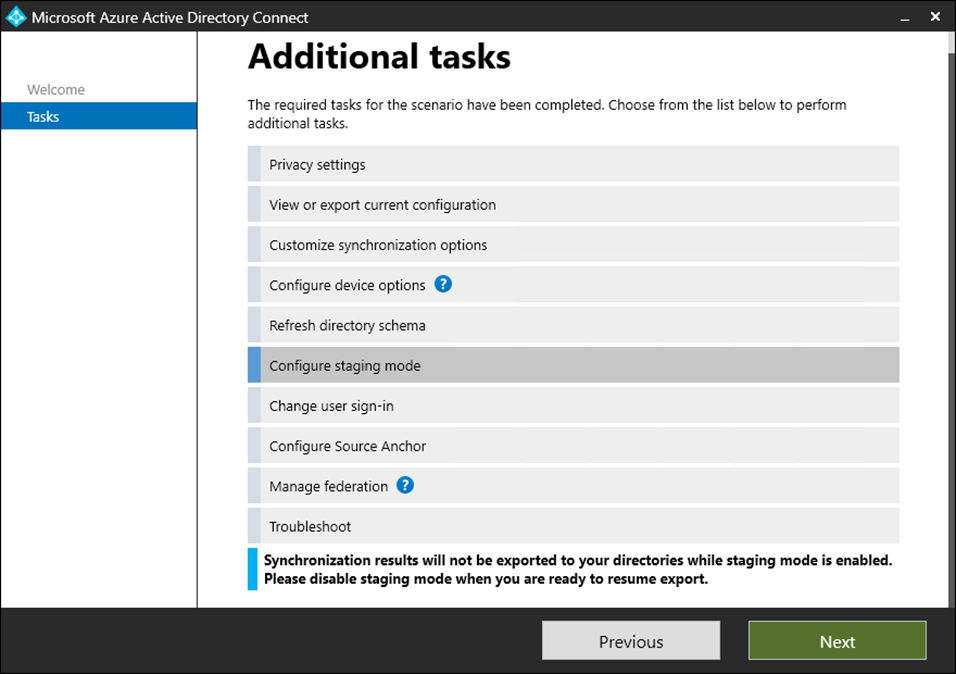
40. On the Tasks page, select Configure staging mode and click Next.

41. On the Connect to Azure AD page, enter the Azure global admin account and password, click Next.
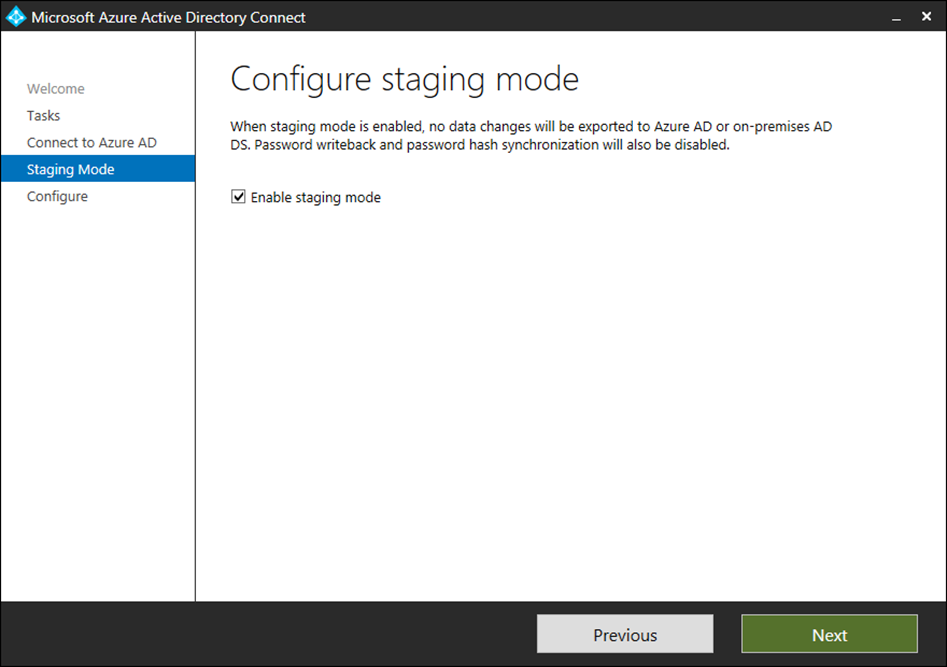
42. Enter password and click Sign in.
43. Open your authentication app and enter the number, click Yes.
44. On the Configure staging mode page, select Enable staging mode and click Next.
45. On the Ready to configure page, select Start the synchronization process when configuration completes and click Configure.
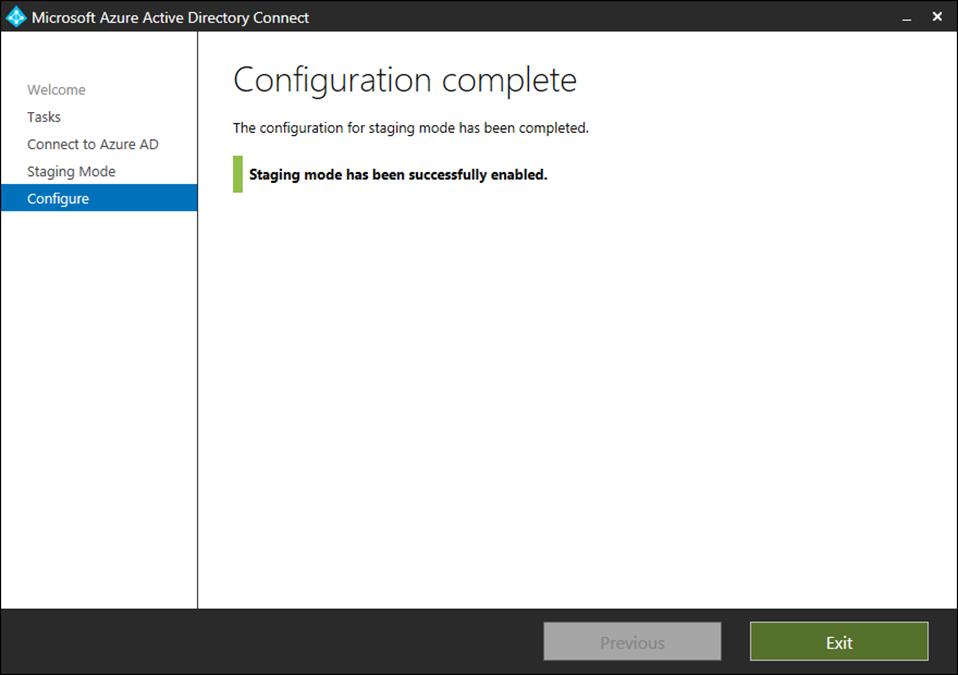
46. Click Exit on the Configuration complete page.
47. Login to the new server.
48. Open the Azure AD Connect and click Configure.
49. Select Configure staging mode on the Additional tasks page and click Next.
50. On the Connect to Azure AD page, enter the Azure AD global administrator or hybrid identity administrator credentials, click Next.
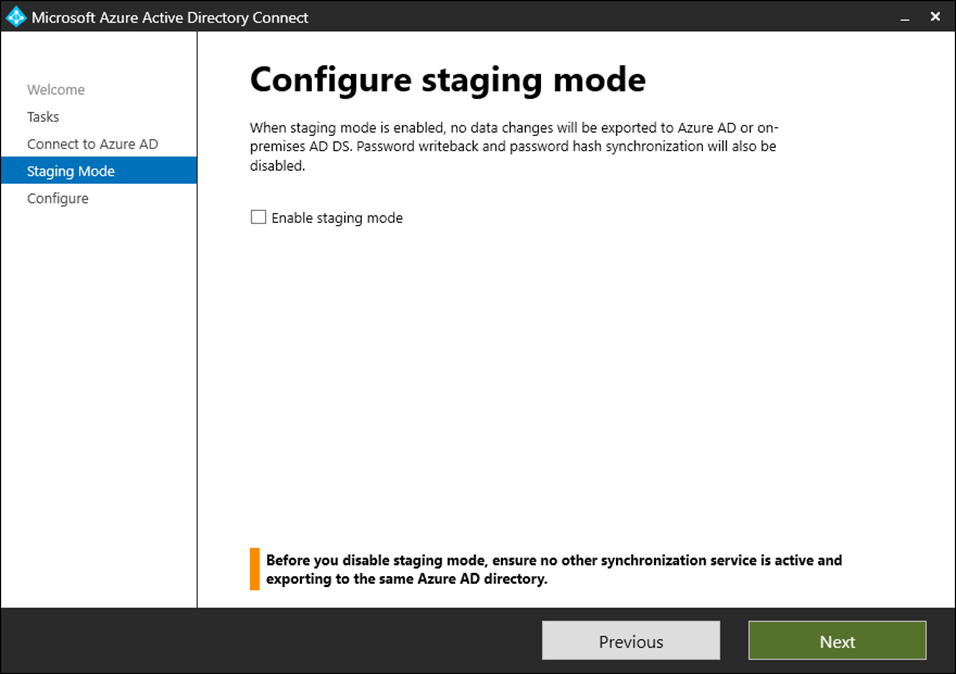
51. Enter password and click Sign in.
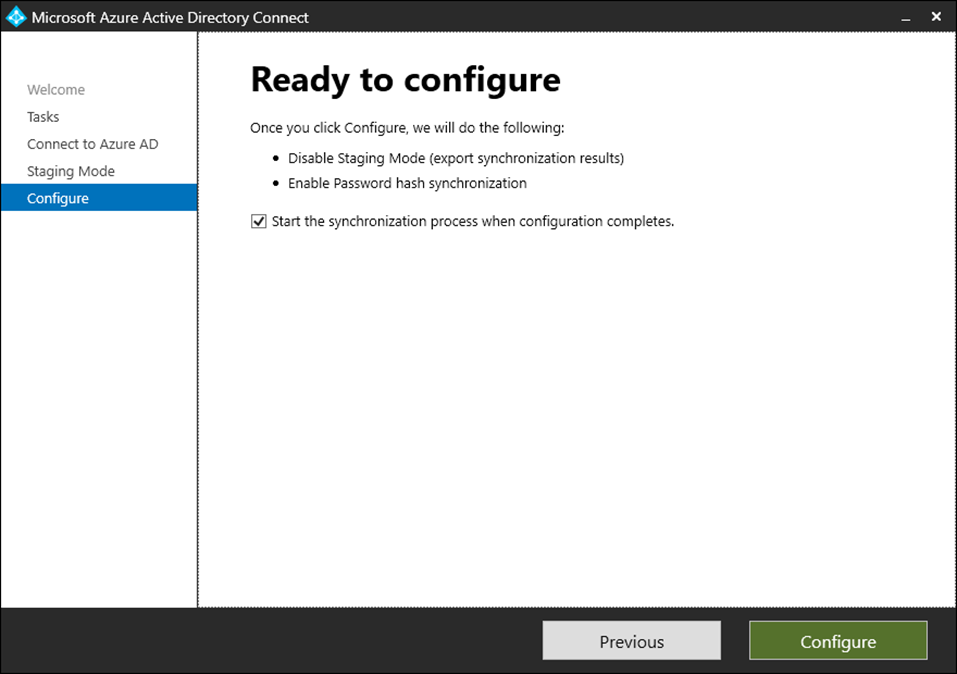
52. Enter the number at Authenticator app and click Yes.
53. Unselect Enable staging mode on the Configure staging mode page and click Next.
54. Select Start the synchronization process when configuration completes on the Ready to configure page and click Configure.
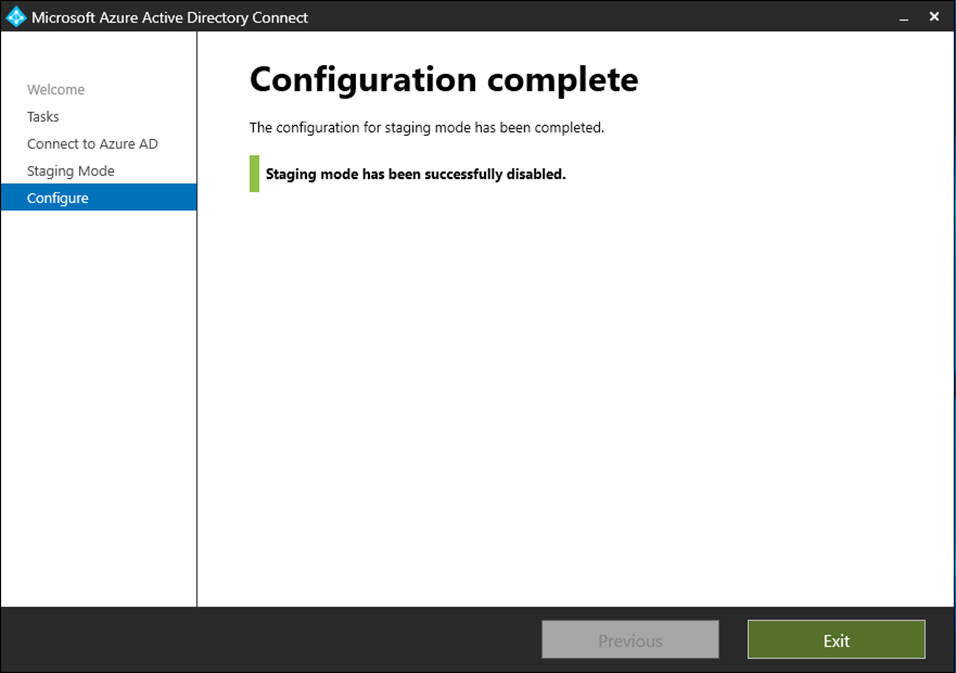
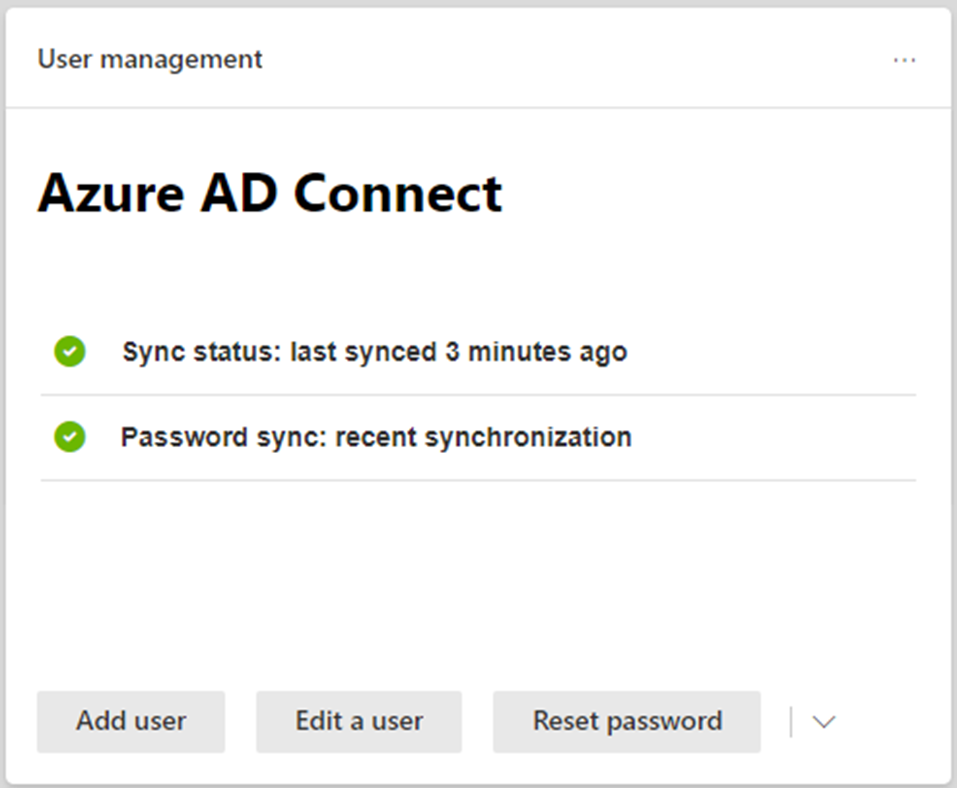
55. Click Exit on the Configuration complete page.
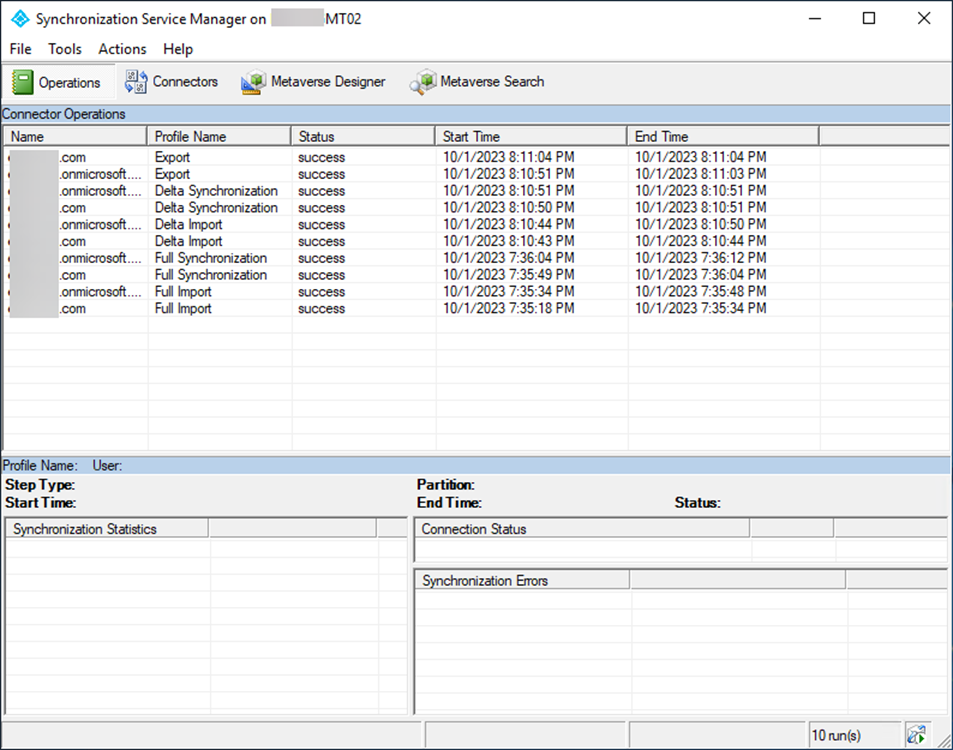
56. Open Synchronization Service Manager and ensure all status show success.
57. Sign into the Microsoft 365 admin center and ensure Azure AD Connect sync status are good.
58. Verify Directory sync status.

59.Shut down the old server for a few days and then uninstall Azure AD Connect.
Hope you enjoy this post.
Cary Sun
X: @SifuSun
Web Site: carysun.com
Blog Site: checkyourlogs.net
Blog Site: gooddealmart.com