
Today, I am going to show you how to migrate Veeam server from Microsoft server 2012 R2 to Windows server 2019.
1.Login to the existing Veeam backup server.
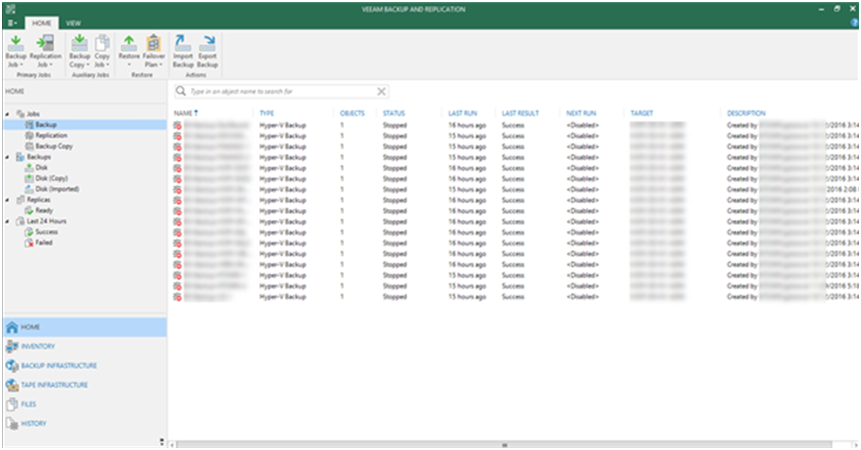
2.Open Veeam Backup and Replication console.
3.Make sure all jobs are successfully, and then disable them.
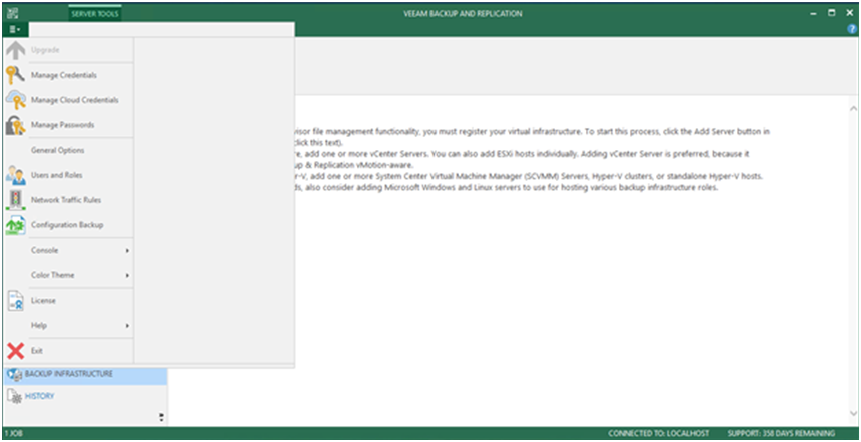
4.On the Console menu page, Select Configuration Backup.
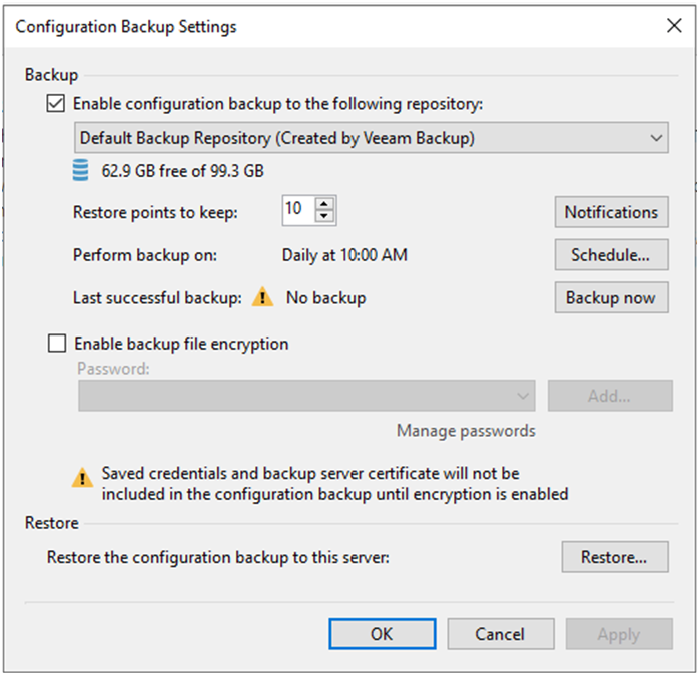
5.On the Configuration Backup Settings page, click Backup now.

6.Make sure backup completed, copy the configuration backup file from the old Veeam server to the new Veeam server.
7.login to the new Veeam Backup and Replication server.
8.Open Veeam Backup and Replication console.
9.On the Console menu page, Select Configuration Backup.
10.On the Configuration Backup Settings page, click Restore.
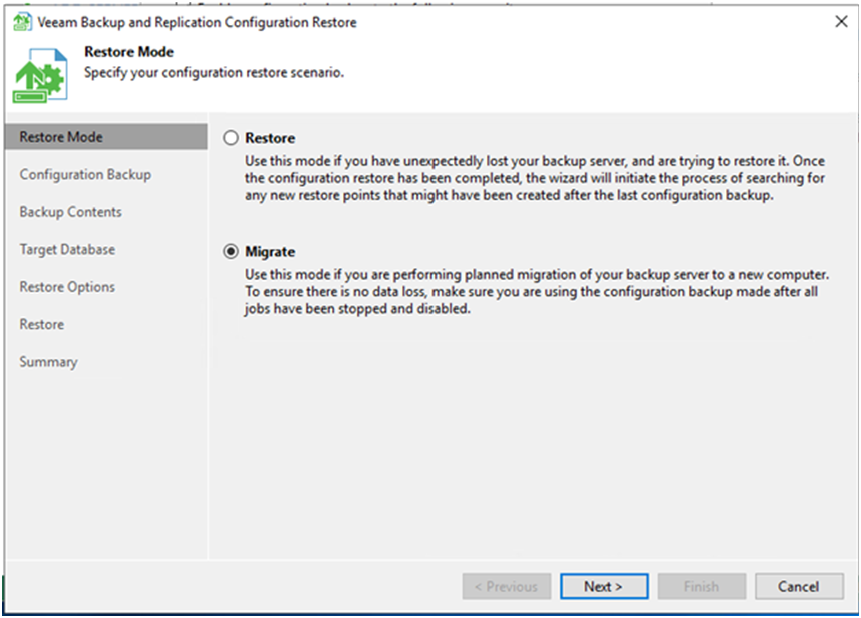
11.On the Restore Mode page, select Migrate, click Next.
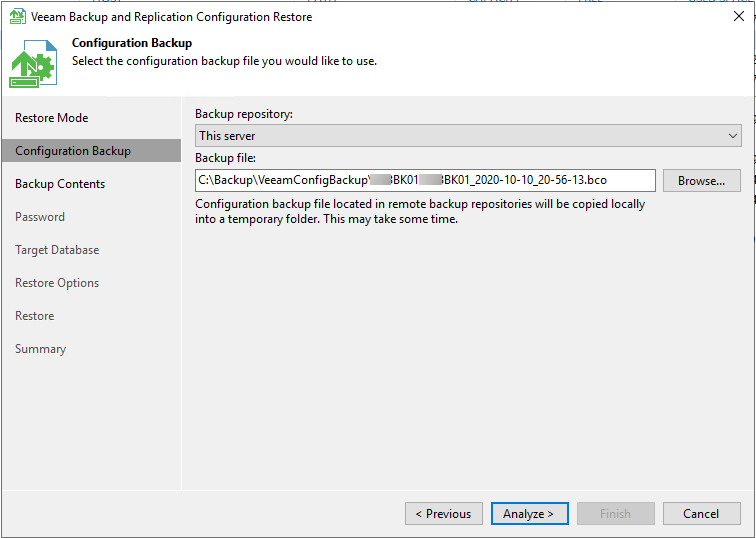
12.On the Configuration Backup page, click Browse and select the recently backup file, click Analyze.
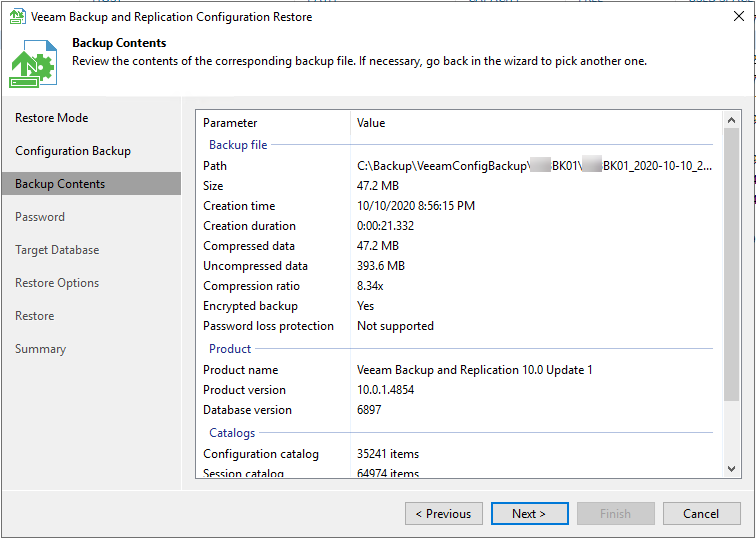
13.On the Backup Contents page, click Next.
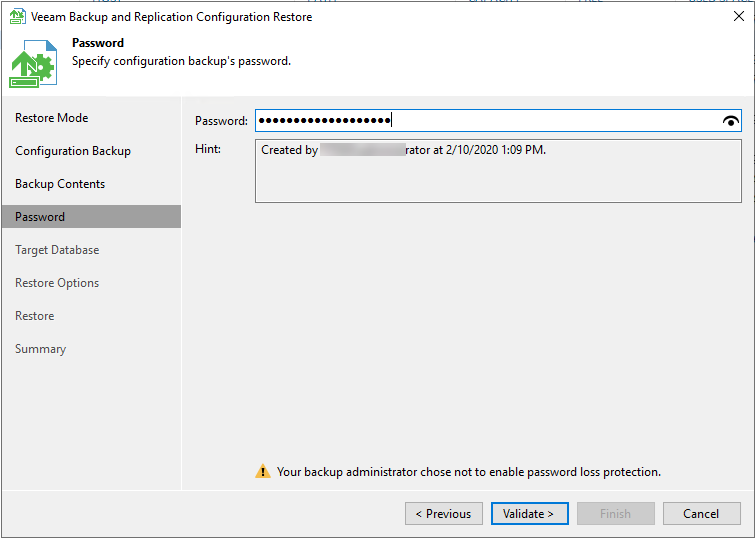
14.On the Password page, enter configuration backup file encrypted password, click Validate.
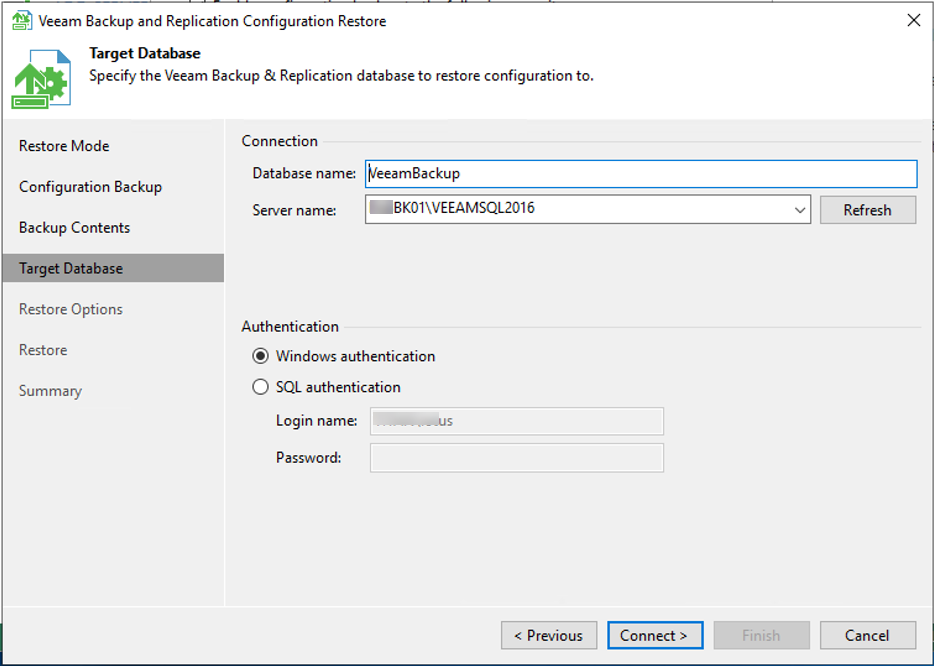
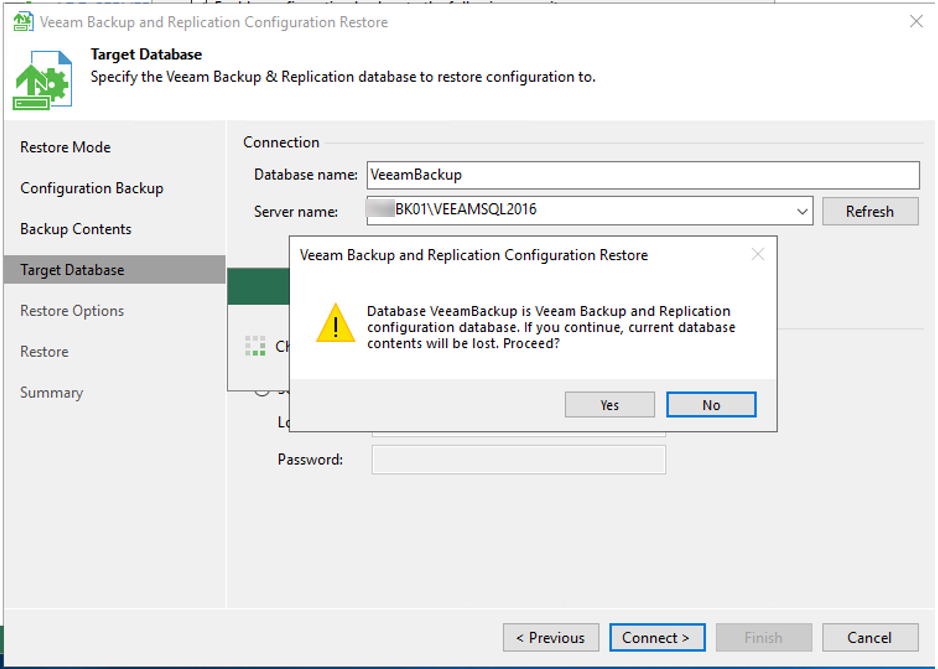
15.On the Target Database page, keep the default settings, click Connect.
16.On the warning page, click Yes.
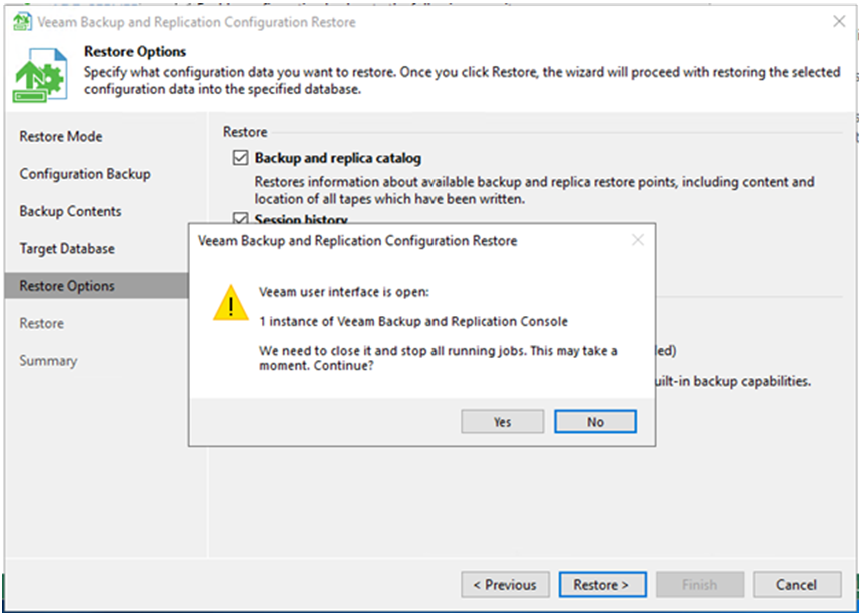
17.On the Restore Options page, keep the default settings, click Restore.

18.On the warning message, click Yes to allow Veeam to close it.
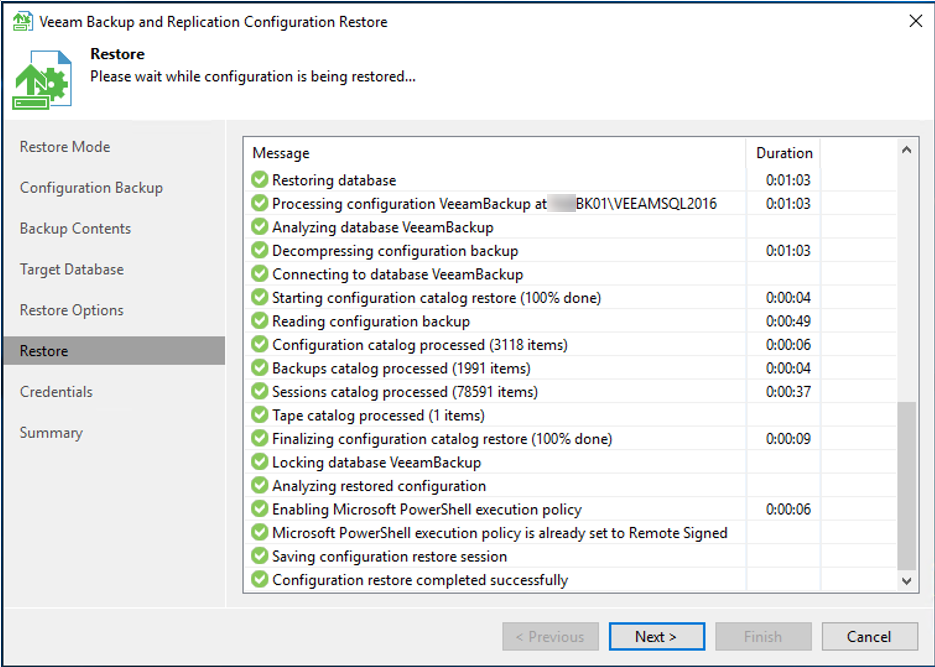
19.Make sure Restore succeeded, click Next.
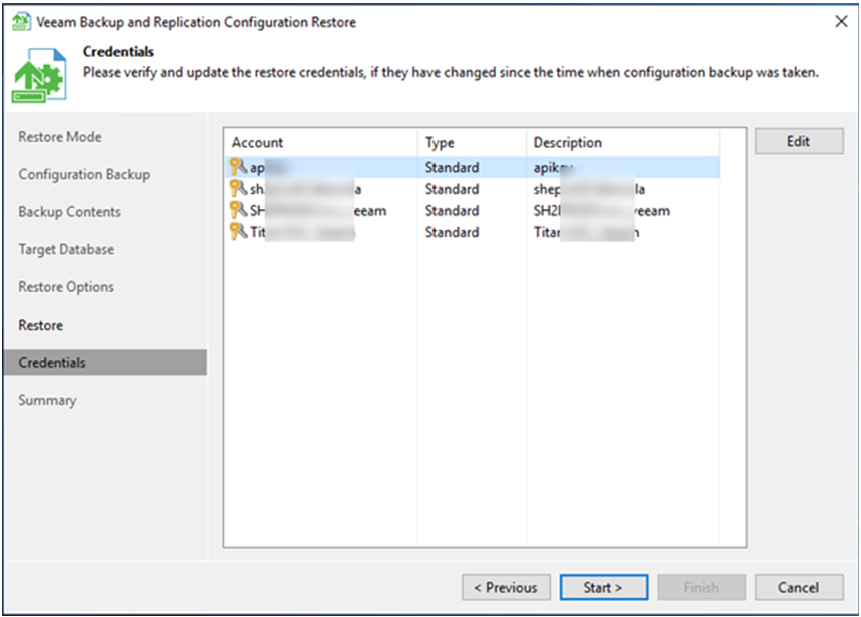
20.On the Credentials page, you need to Edit all credentials for typing their password, click Start.
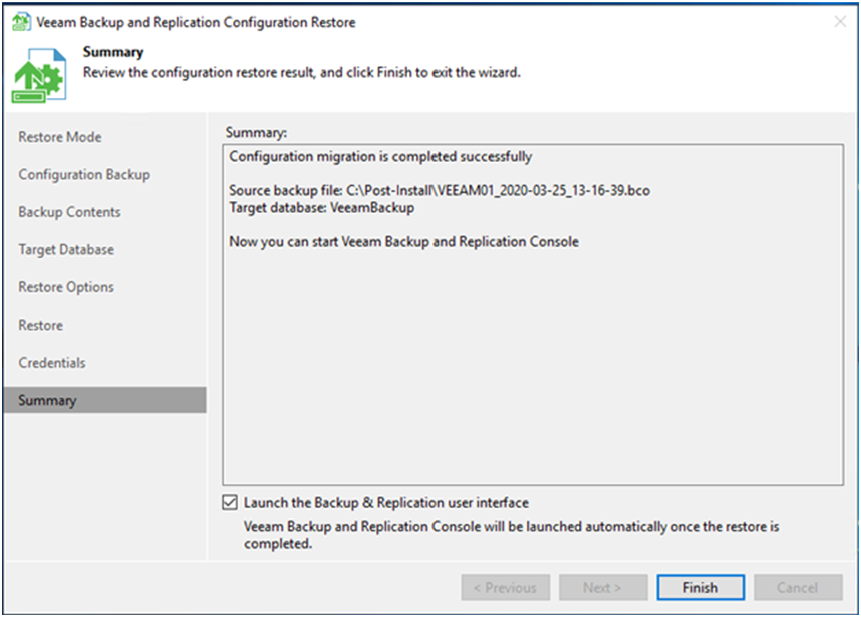
21.On the Summary page, verify Configuration migration is completed successfully, click Finish.
22.Renable all jobs.
Hope you enjoy this post.
Cary Sun
Twitter: @SifuSun
Web Site: carysun.com
Blog Site: checkyourlogs.net
Blog Site: gooddealmart.com