
You can restore VM files (XML, VMCX, VMRS, VMGS, VHD, VHDX) if they become corrupted. This option is an excellent alternative to restoring the entire VM. You can only restore a single VM file.
When you perform a VM file restore, the VM file is restored directly from regular image-level backups without de-staging VM images from backups first. VM files can be converted to either the original or a new location.
Note:
If you recover a VMCX file and import it to Microsoft Hyper-V, the VM will be registered under the Veeam Recovery Checkpoint-(<GUID>) name. After import, you can rename the VM if required.
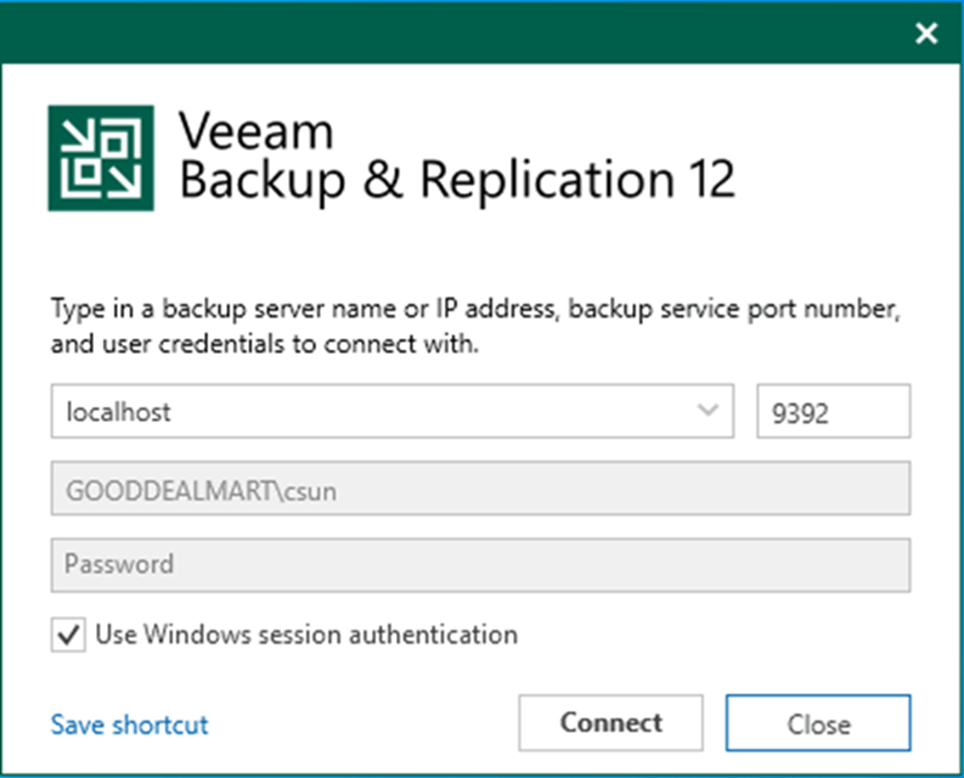
1. Login to the Veeam Backup and replication manager server.
2. Open the Veeam Backup & Replication 12 Console and click Connect.
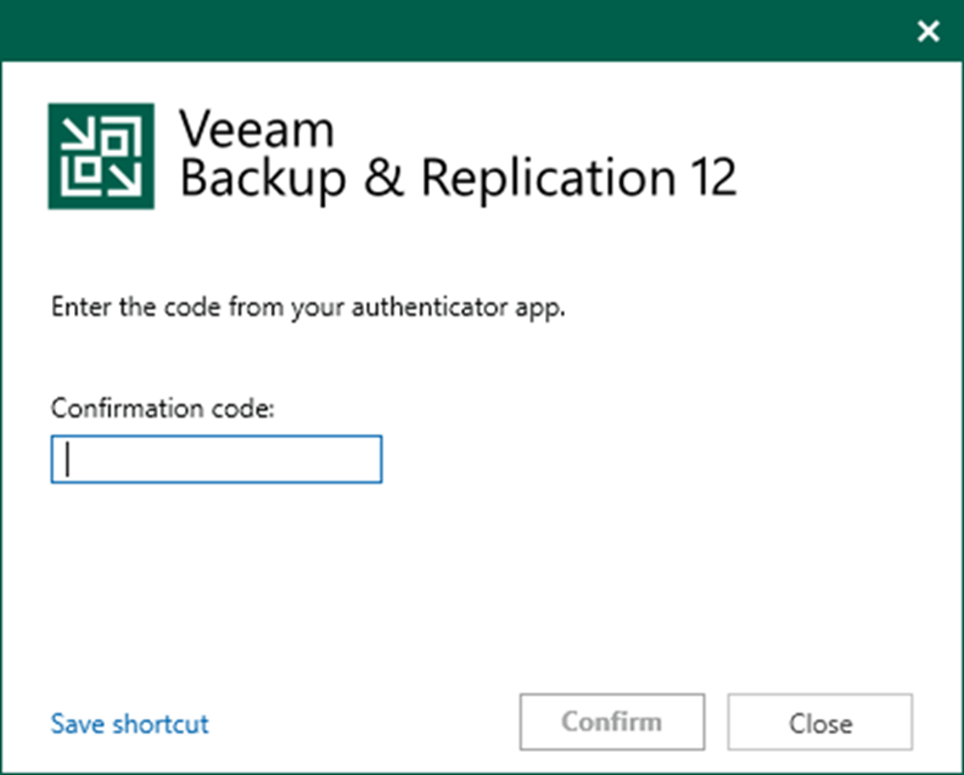
3. Enter the MFA Confirmation code and click Confirm.
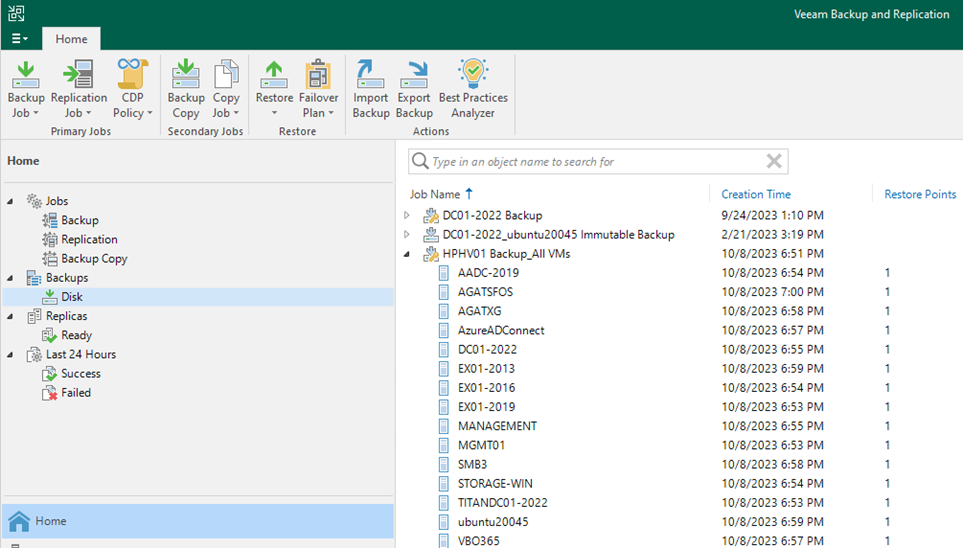
4. On the Home page, expand Backups.
5. Select the Disk and expand the backup job name.
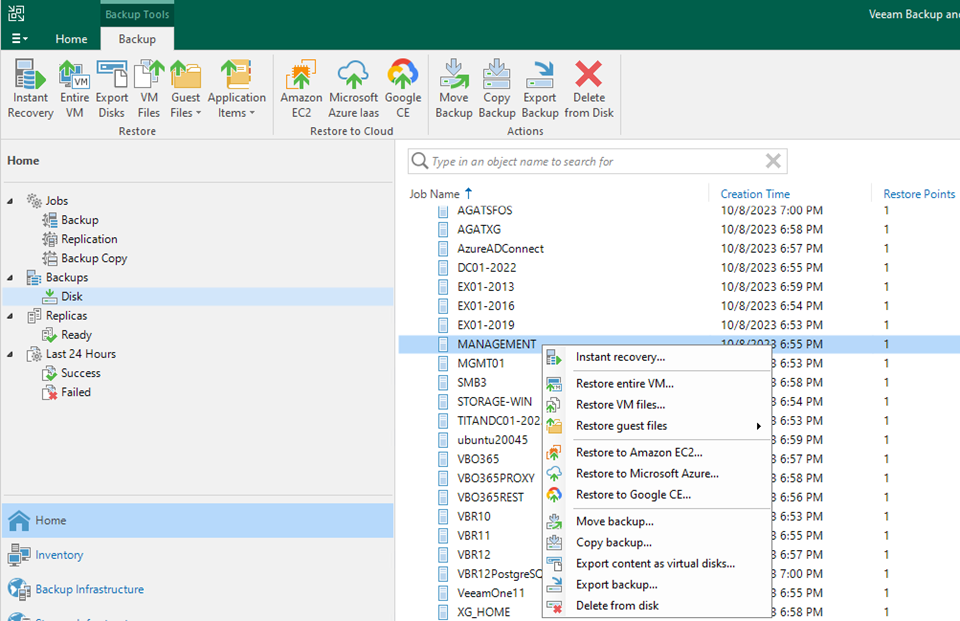
6. Right-click the virtual machine and select Restore VM files.
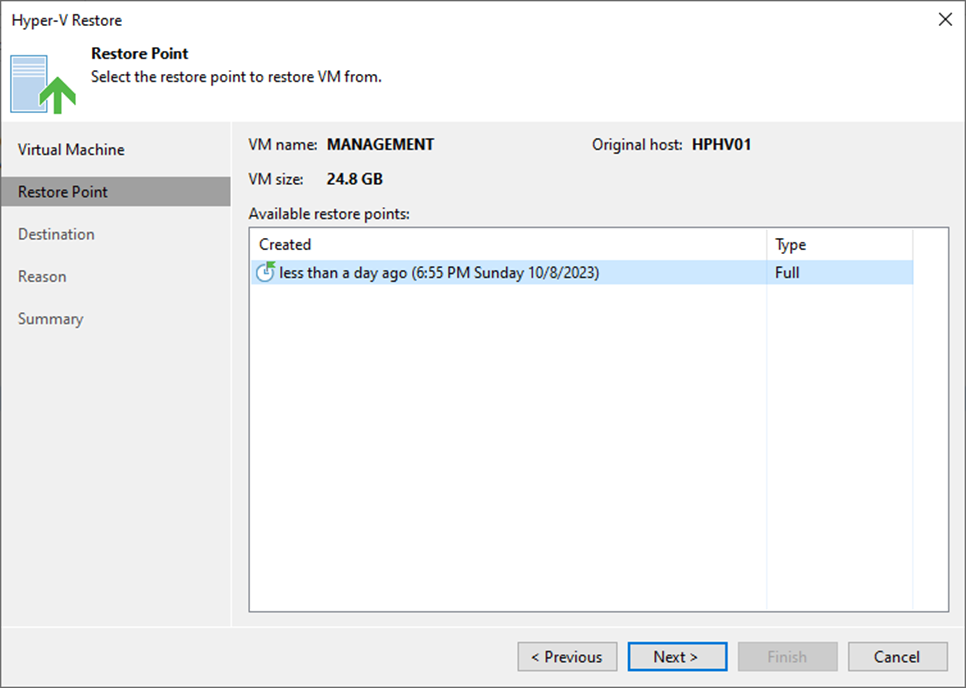
7. Select the restore point on the Restore Point page and click Next.
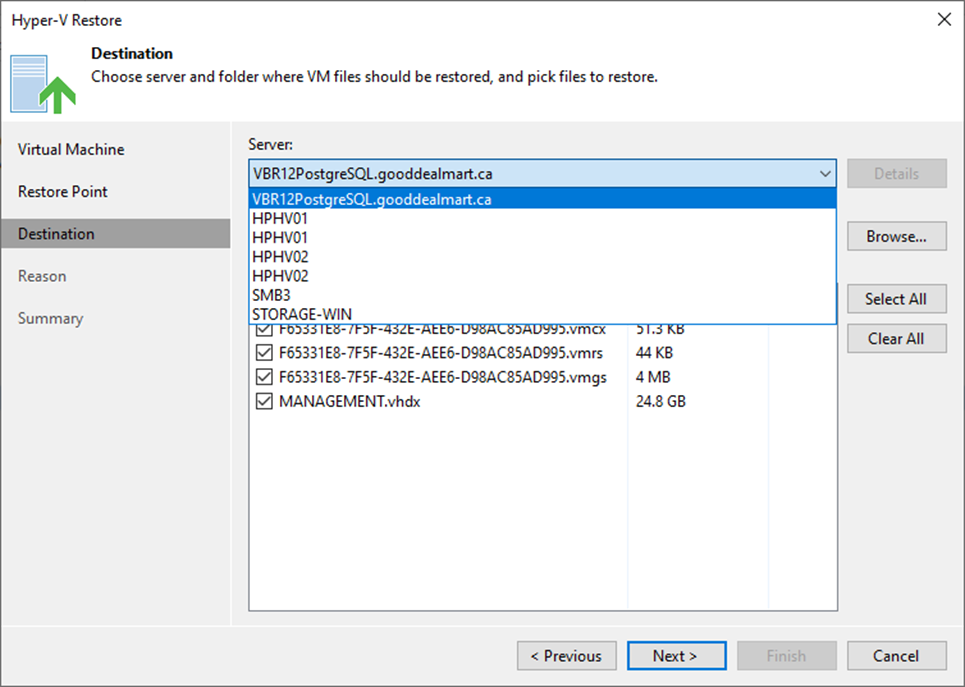
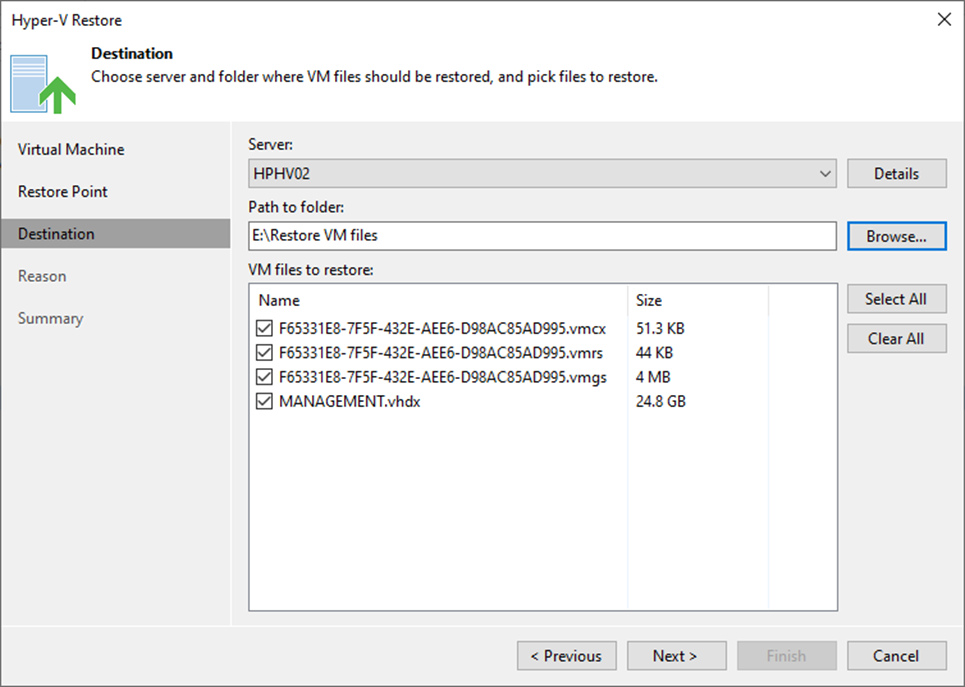
8. On the Destination page, select the server from the drop-down list.
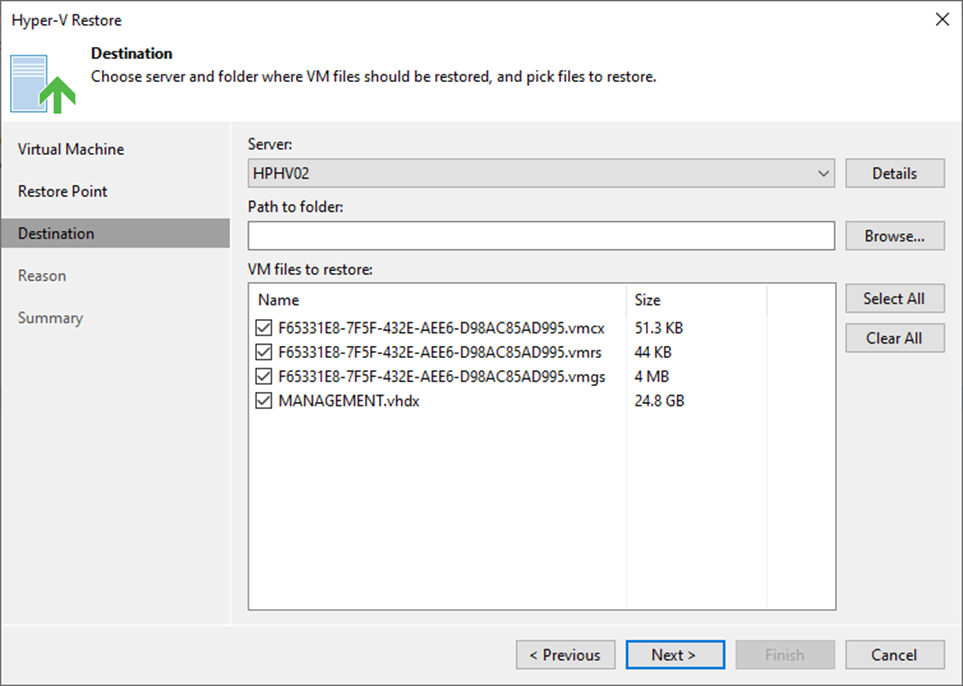
9. Click Browser in the path to folder session.
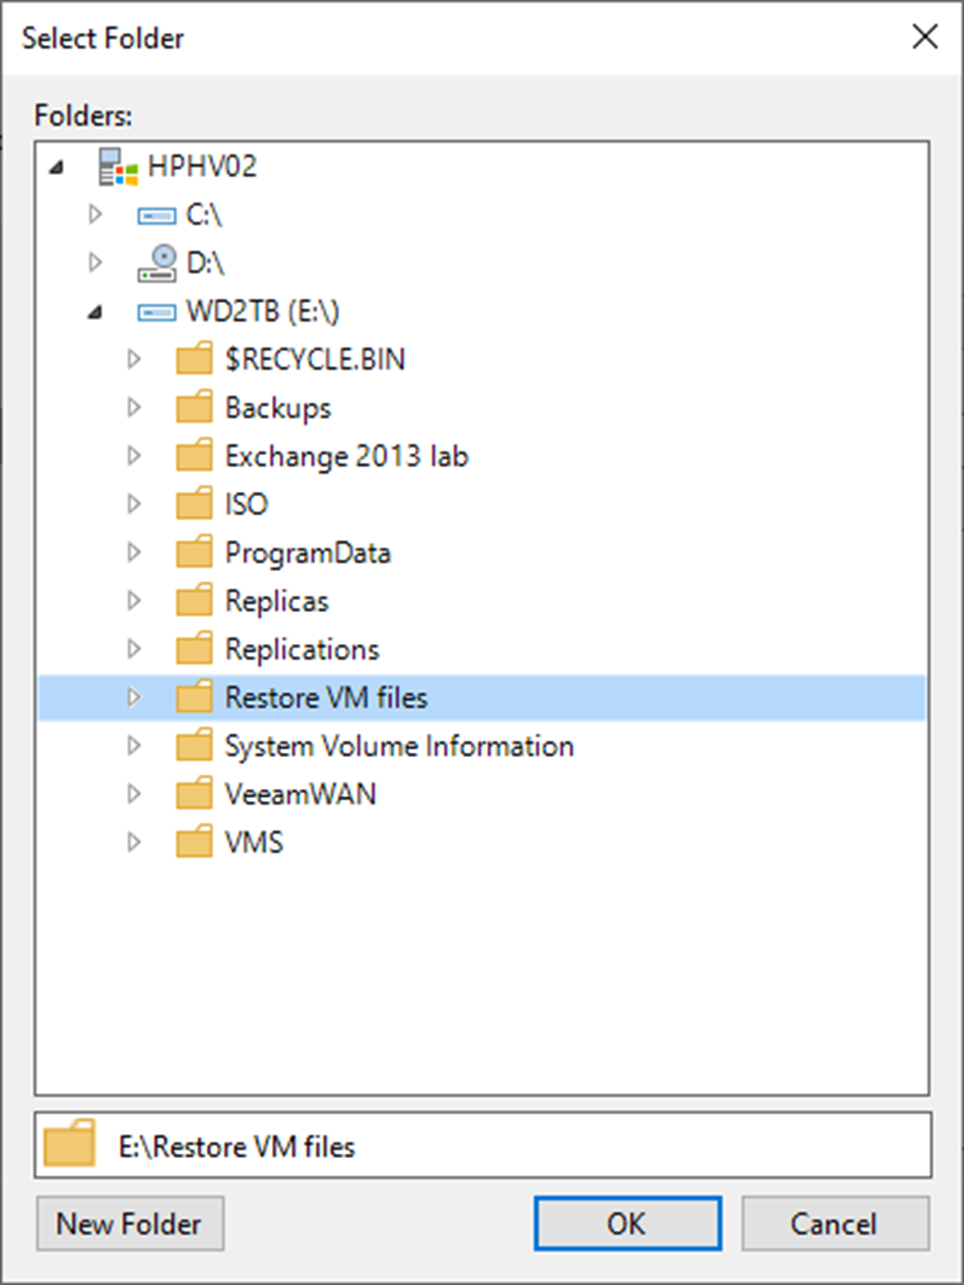
10. On the Select Folder page, select the target folder. Click OK.
11. Select the files checkbox from the VM files to restore list and click Next.
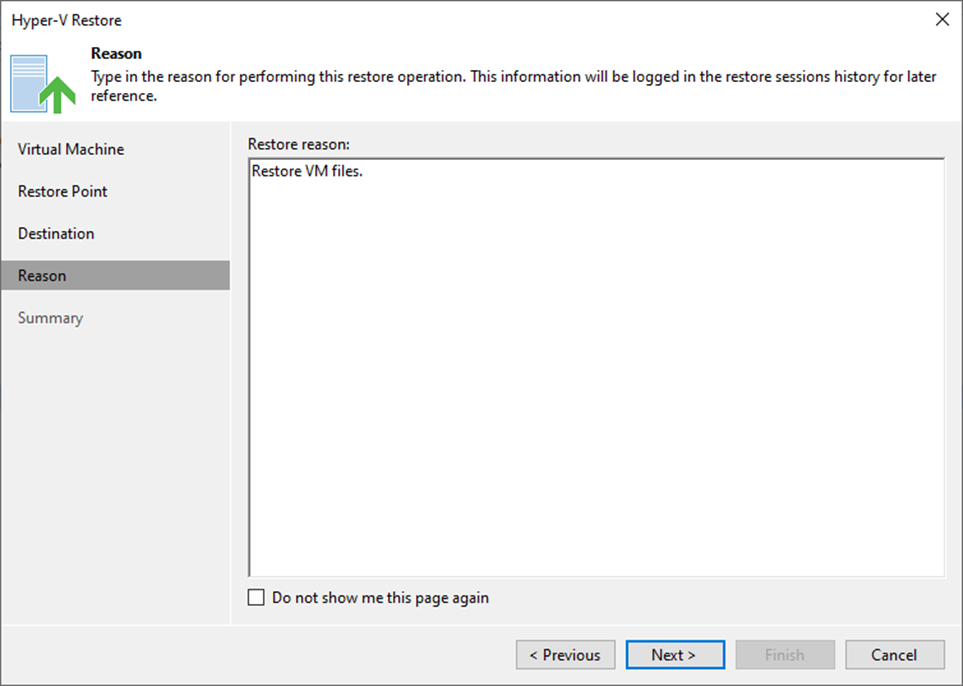
12. On the Reason page, enter the reason for restoring the selected VMs and click Next.
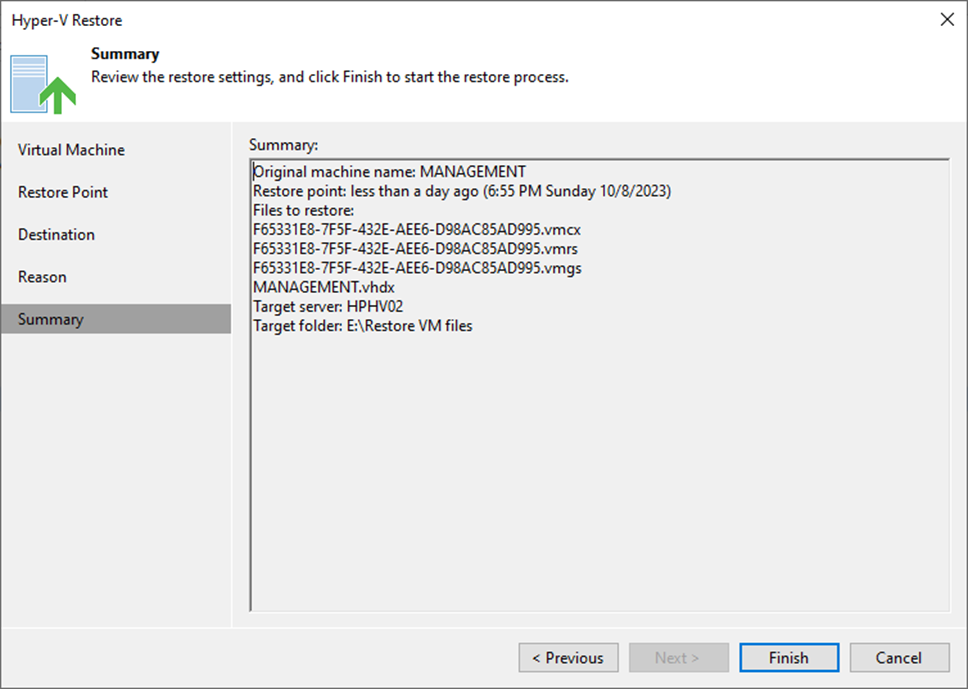
13. On the Summary page, click Finish.
14. On the Restoring VM page, select log, ensure the restore VM files are completed successfully and click Closed.
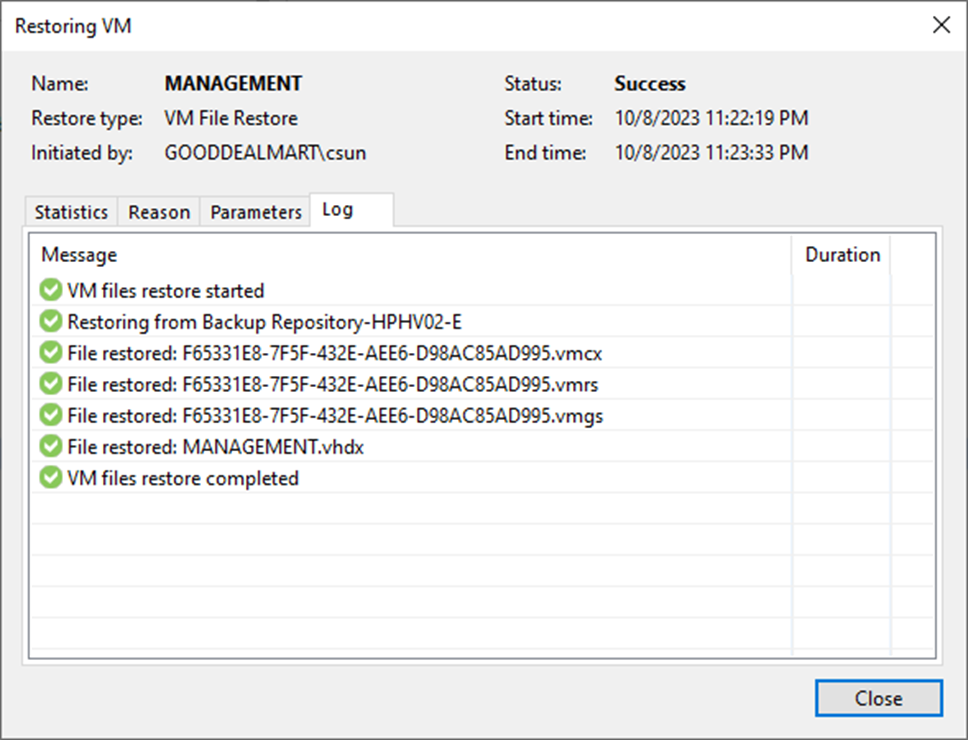
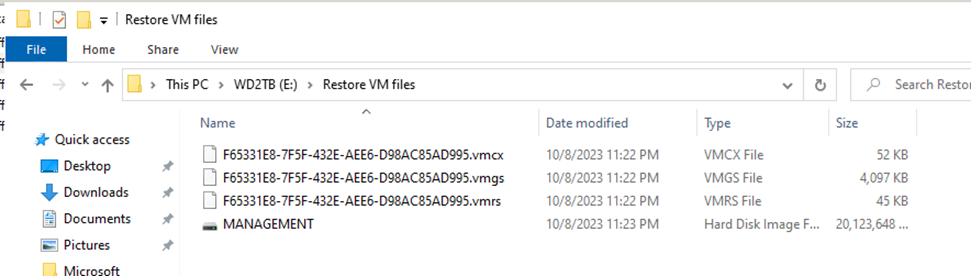
15. Verify restored VM files.
I hope you enjoy this post.
Cary Sun
X: @SifuSun
Web Site: carysun.com
Blog Site: checkyourlogs.net
Blog Site: gooddealmart.com