
I was doing daily checking for servers as usual. There are two SSD drives happen lost communication at Storage Space Direct Server, this is not good, because those two SSD drives are the cache of Storage Space Direct.
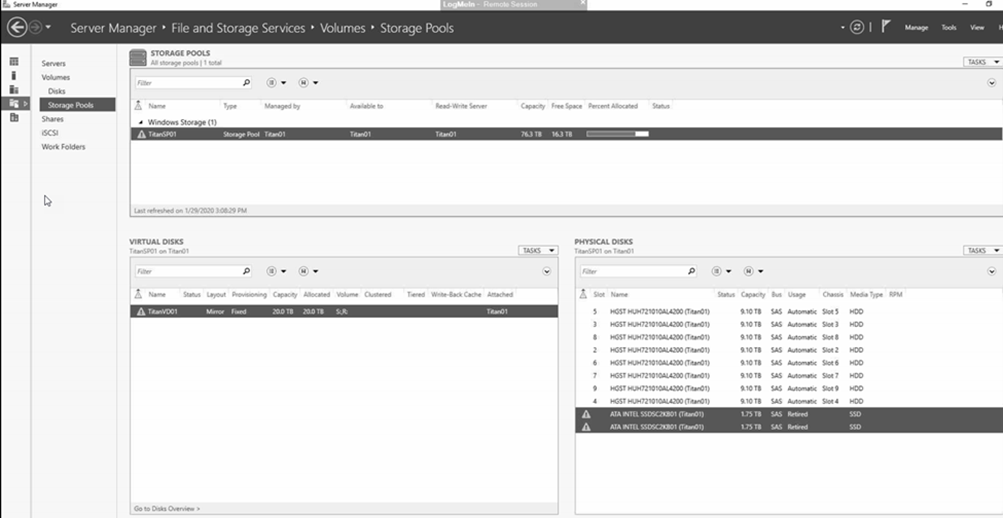
We need to replace those SSD drives after discussed with support Engineer of Server hardware Vendor. Today, I am going to show you how to step by step to replace SSD Journal disks.
-
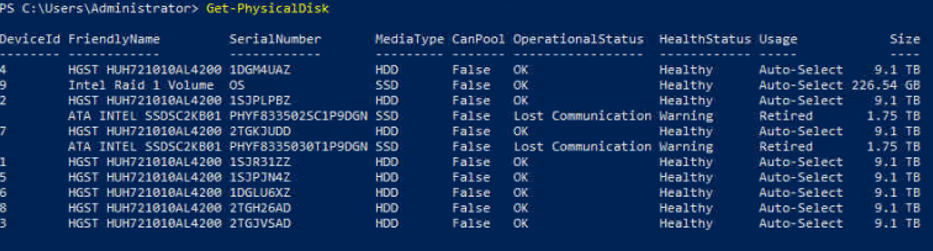
Open Windows PowerShell, type follow PowerShell cmdlet to check the serial number of Journal Disks.
Get-PhysicalDisk

-
Type follow PowerShell cmdlet to set the variable for the Lost Communication SSD’s (if you are using S2D cluster, don’t do both at the same time)
$PD1 = Get-physicalDisk -SerialNumber "PHYF8335030T1P9DGN"

$PD2 = Get-physicalDisk -SerialNumber "PHYF833502SC1P9DGN"

-
Type follow PowerShell cmdlet to retire the Lost Communication Drives (if you are using S2D cluster, don’t do both at the same time).
Set-PhysicalDisk -inputobject $PD1 -usage retired

Set-PhysicalDisk -inputobject $PD2 -usage retired

-
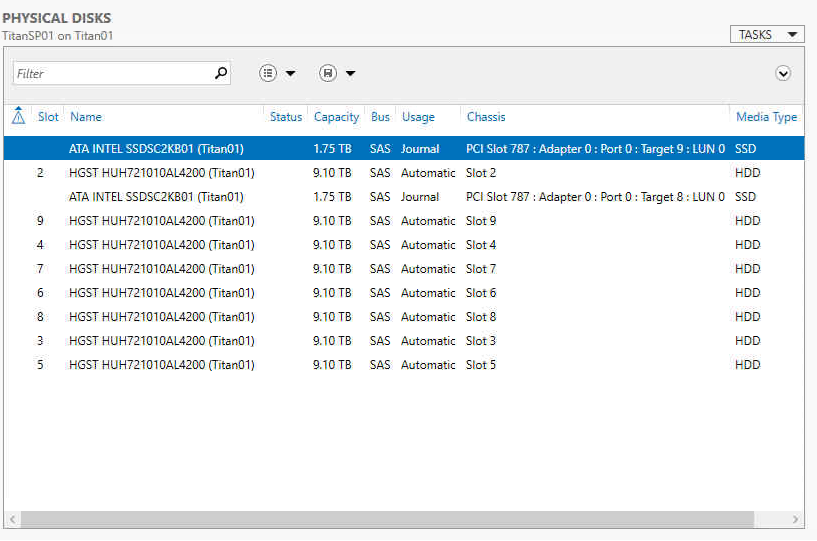
Type follow PowerShell cmdlet to make sure SSDs Usage status are Retired.
Get-PhysicalDisk
- Physically remove the 2 Retired Drives from Server Chassis and Replace with the new ones.
-
Type follow PowerShell cmdlet to make sure the new SSDs show up as CanPool True.
Get-PhysicalDisk -CanPool $true

-
Type follow PowerShell cmdlet to add those two new drives as Journal of the storage pool.
$PDAdd = Get-physicalDisk -CanPool $true

Add-PhysicalDisk -StoragePoolFriendlyName TitanSP01 -PhysicalDisks $PDAdd -Usage Journal

-
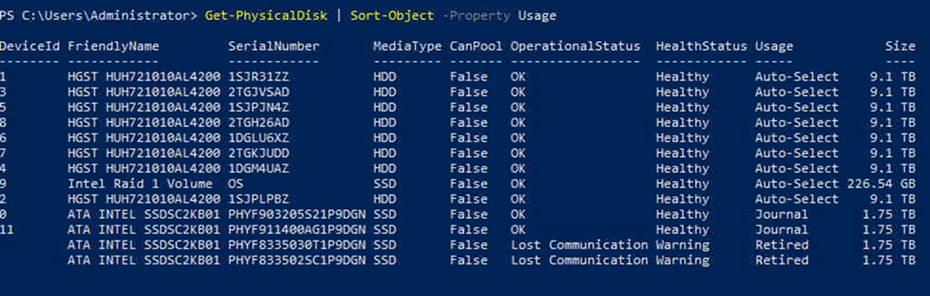
Use follow PowerShell cmdlet to check the Journal Configuration was Successful.
Get-PhysicalDisk | Sort-Object -Property Usage
-
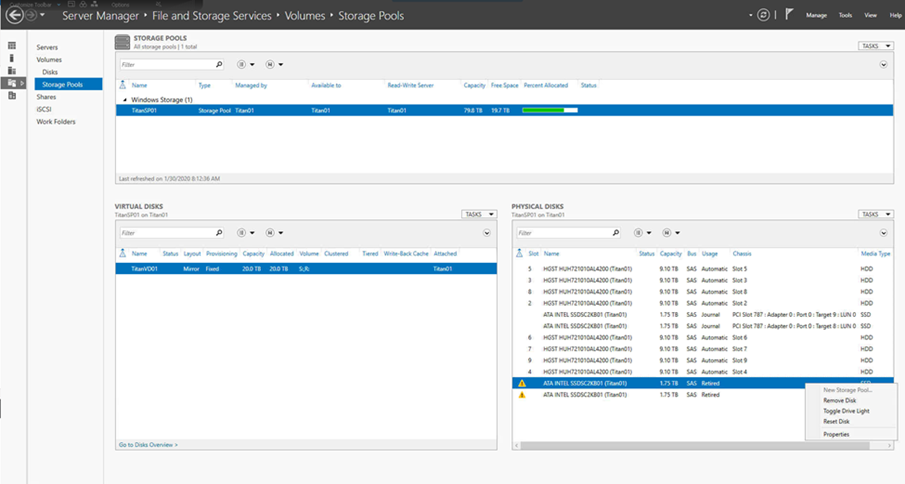
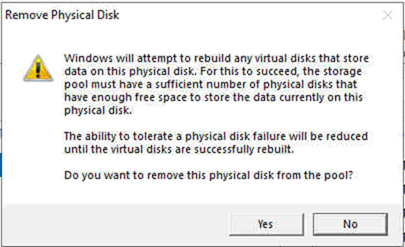
On the Server Manage Storage Pools page, select and right-click the lost communication SSDs, select Remove Disk to remove the Retired Drives from the Storage Pool.
-
Click Yes on the warning message.
-
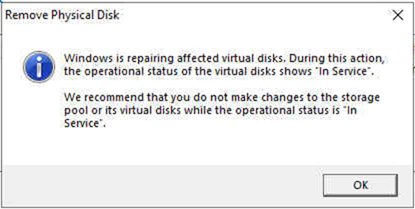
Click OK on the recommend page.
-
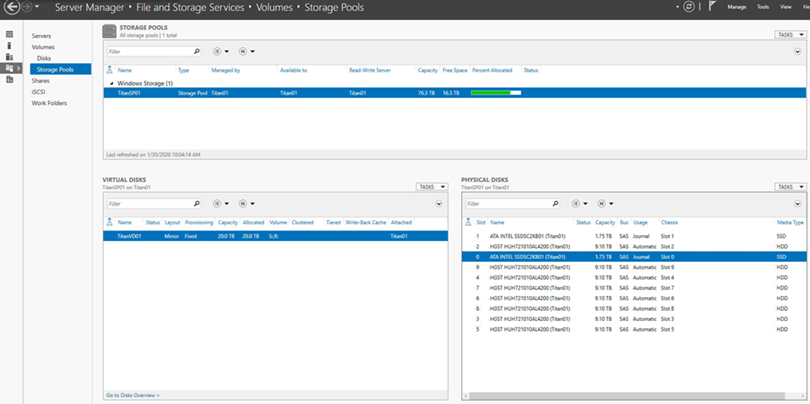
On the Server Manager Storage Pools page, the Physical Disks maybe not update right away.
-
Use follow PowerShell cmdlet to force update.
Update-StorageProviderCache -DiscoverLevel full

-
Everything should up and running and back to normal now.
Hope you enjoy this post.
Cary Sun
Twitter: @SifuSun