
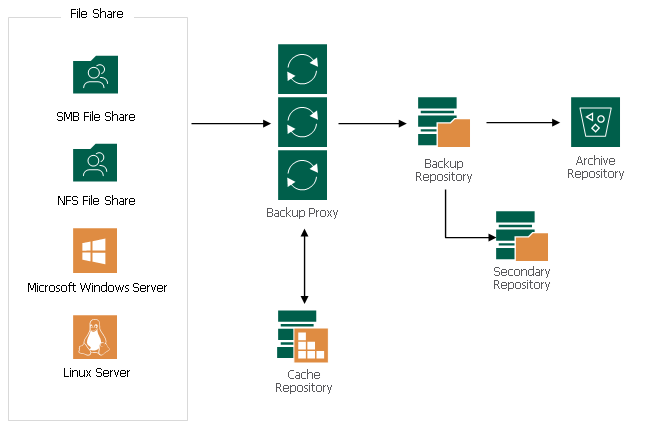
With Veeam Backup & Replication you can easily backup and restore content of various NAS file shares. The solution can be flexibly scaled to reliably protect massive amounts of data, even for the largest of enterprise organizations. Today, I am going to show you how to configure it.
1.Login to Veeam Backup Server.
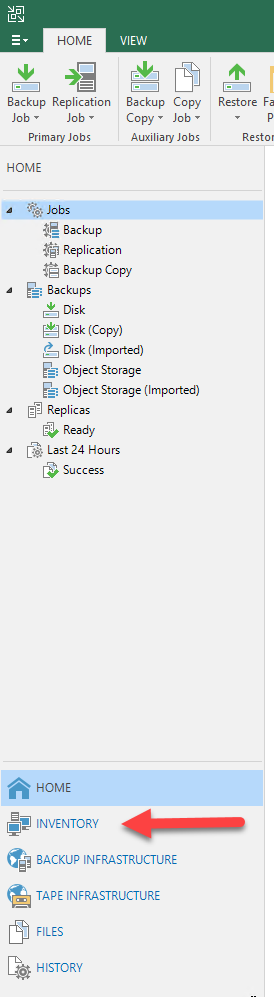
2. Open Veeam Backup and Replication console.
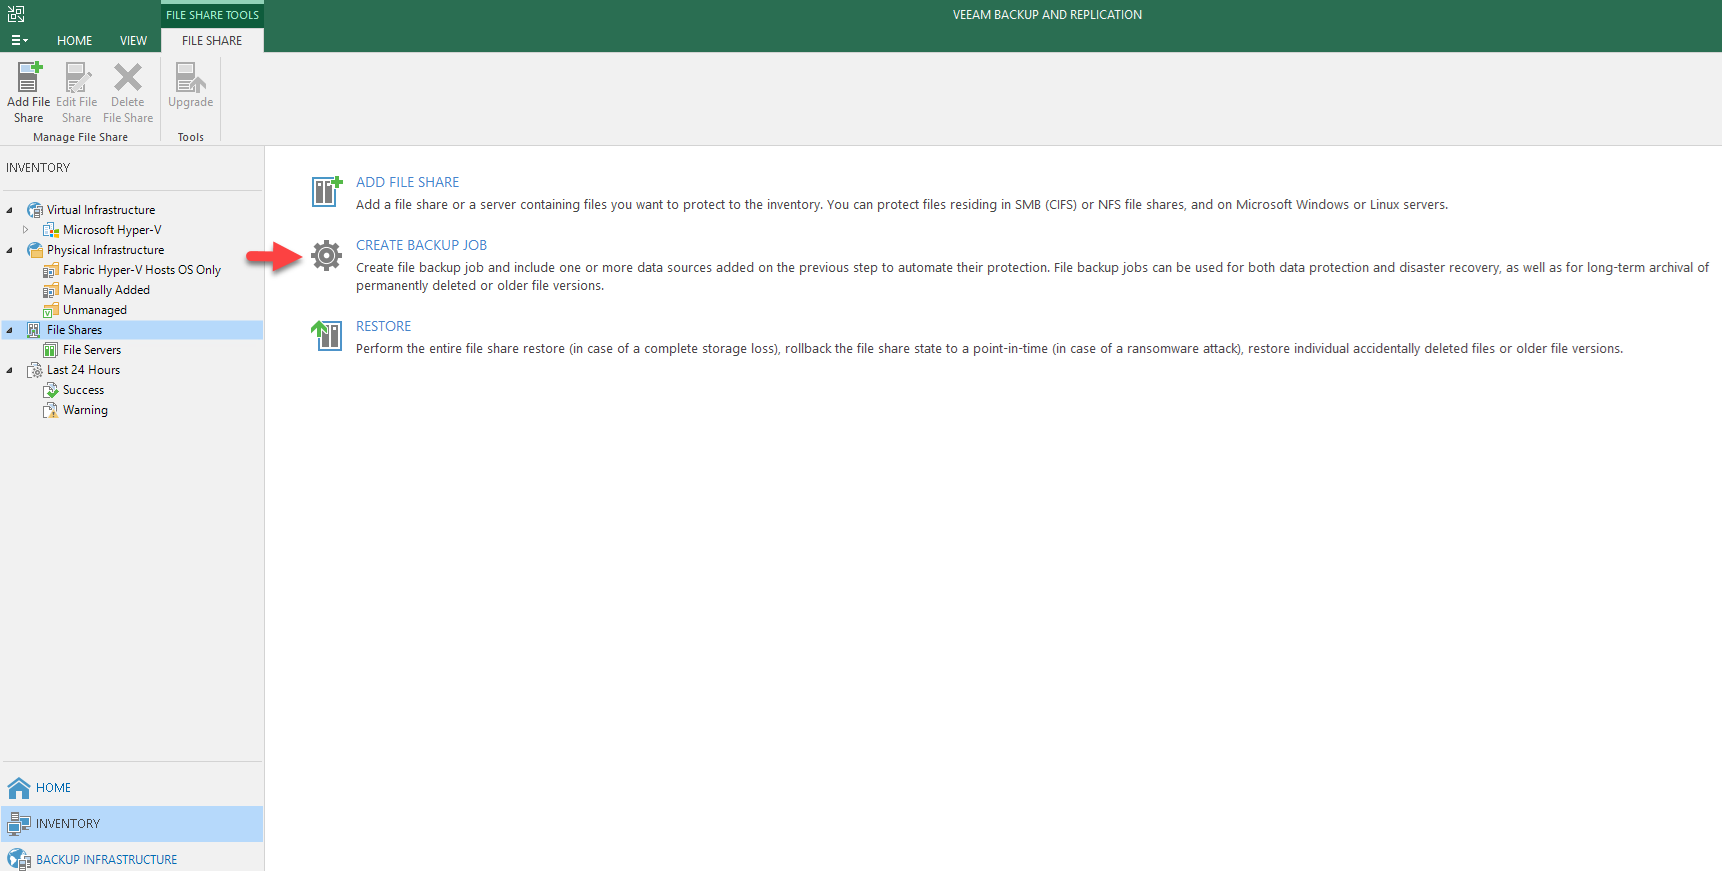
3. On the Home page, select INVENTORY.
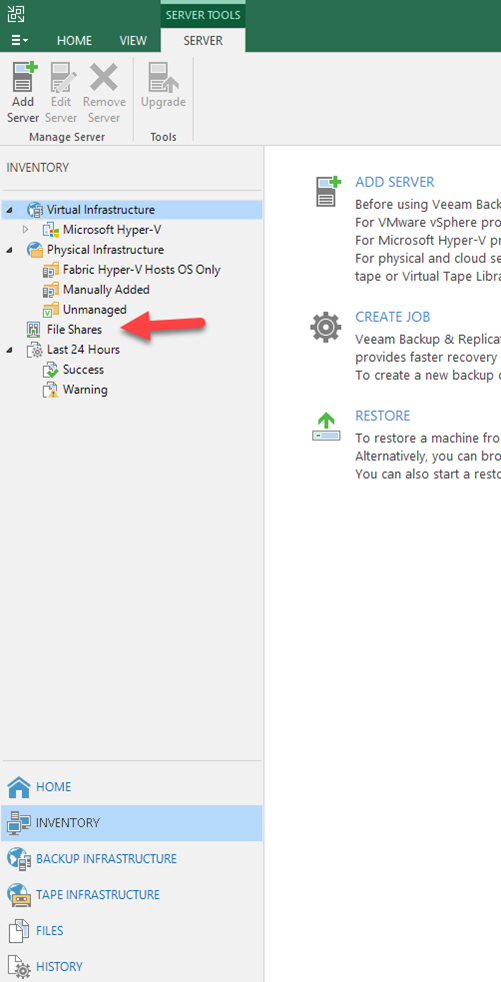
4. On the INVENTORY page, select File Shares.
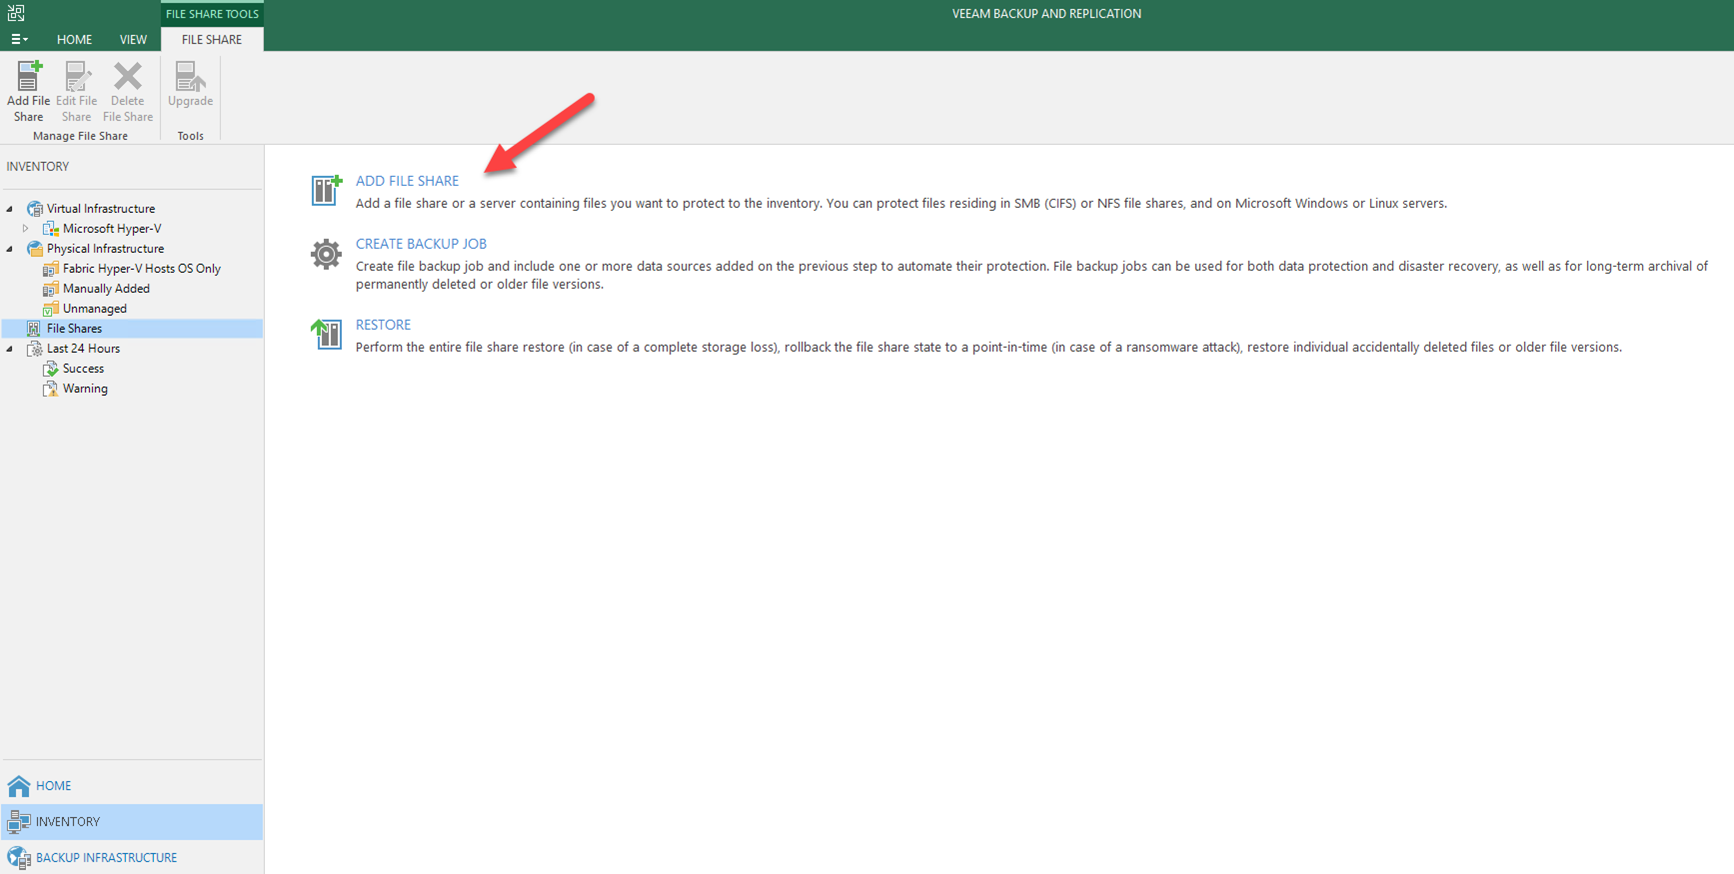
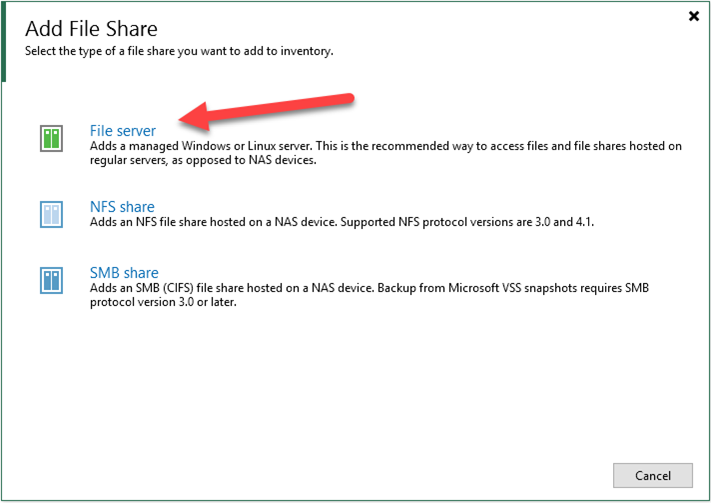
5. On the File Shares page, click ADD FILE SHAR.
6. On the Add File Share page, click File server.
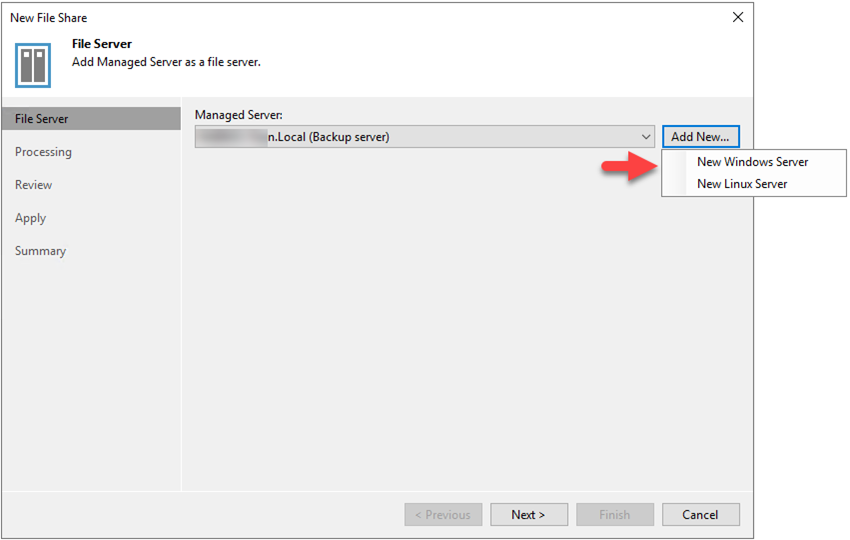
7. On the File Server page, click Add New, select New Windows Serve.
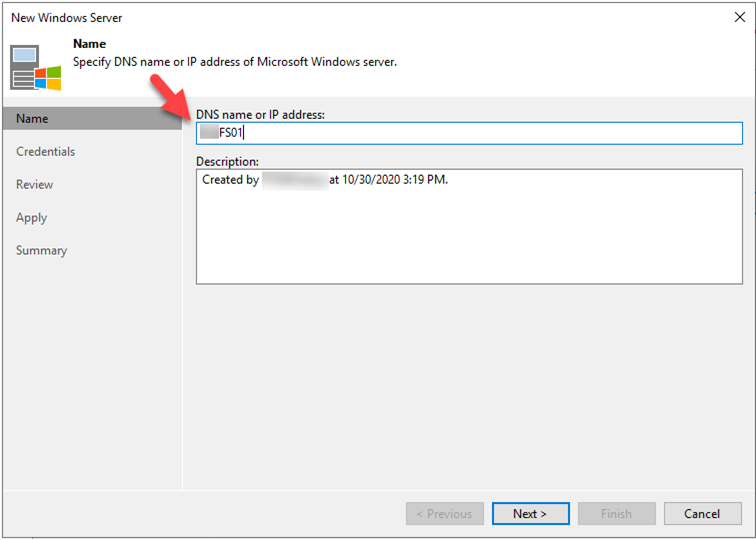
8. On the Name page, type the server’s name (or IP address), click Next.
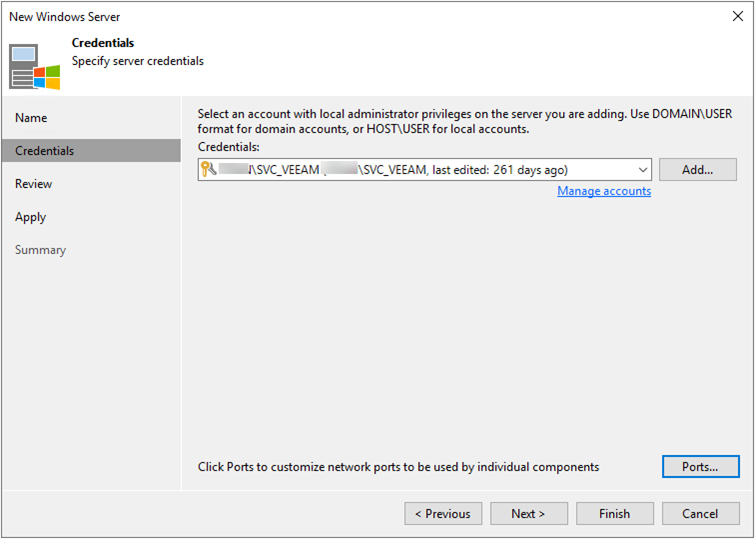
9. On the Credentials page, select the existing credential (or add new one), click Next.
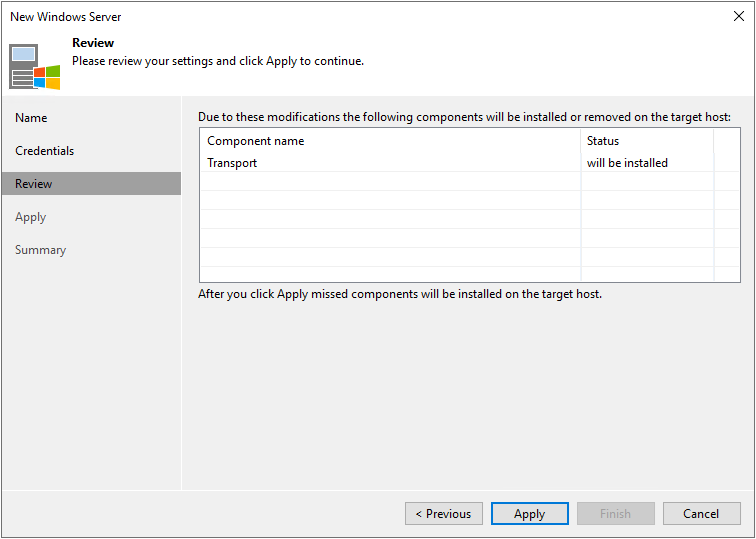
10.On the Review page, click Apply.
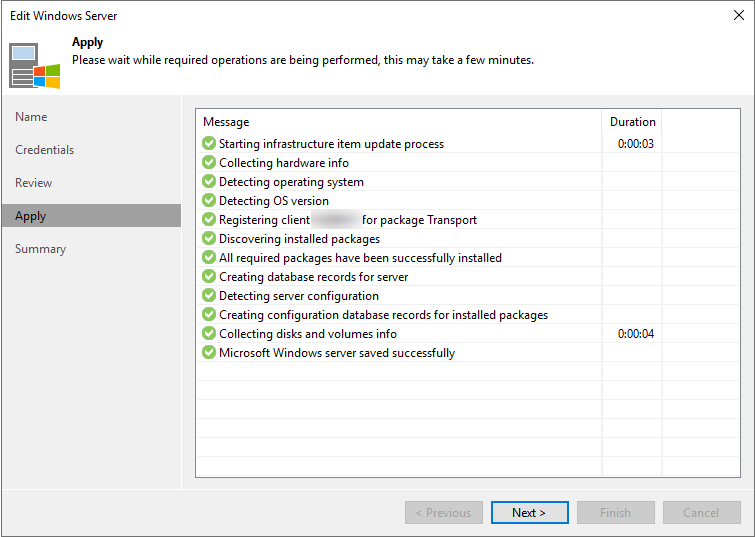
11.On the Apply page, click Next.
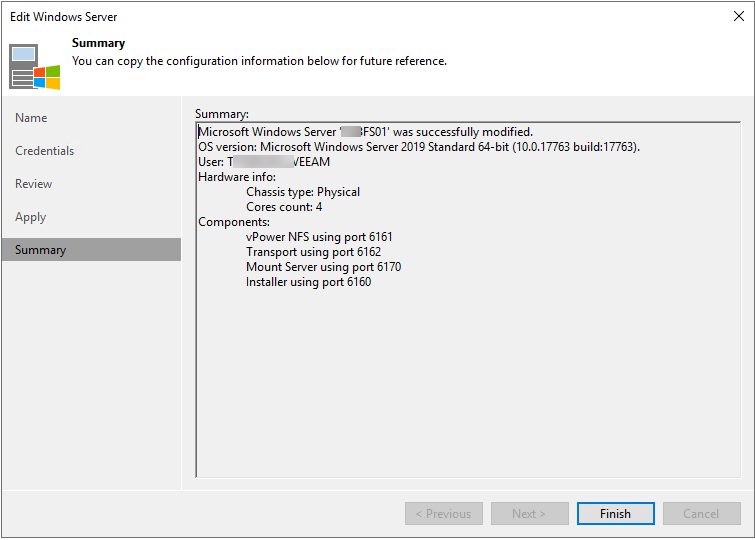
12.On the Summary page, click Finish.
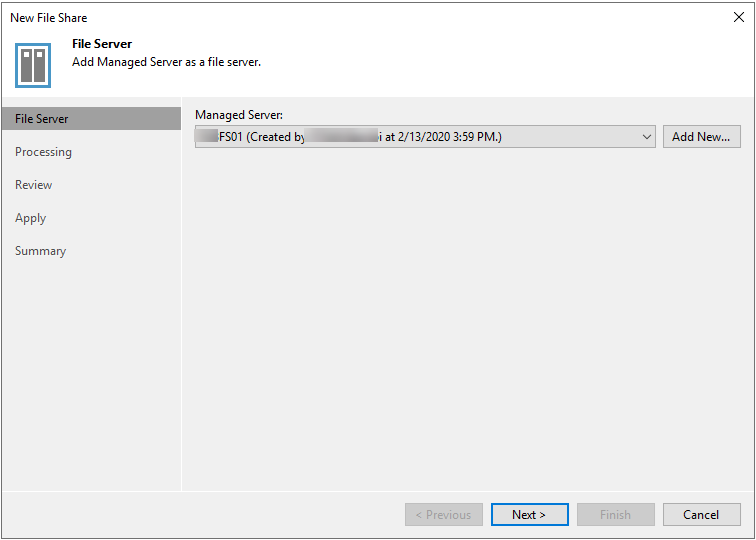
13.On the File Server page, click Next.
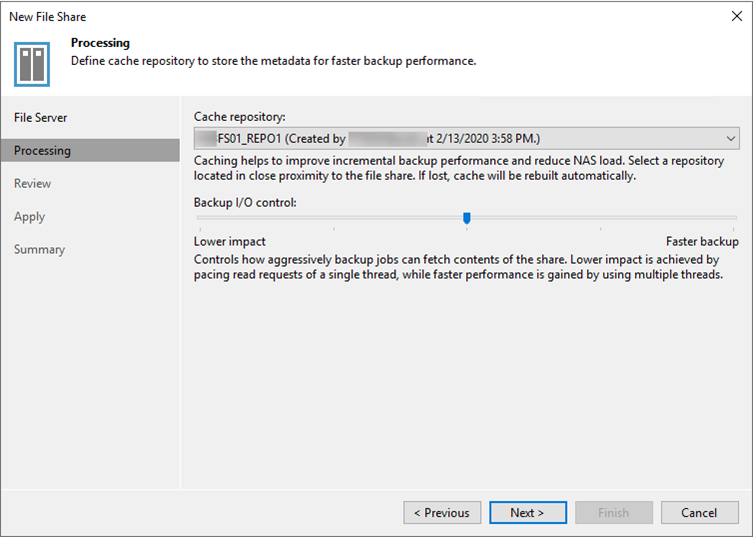
14.On the Processing page, select the repository located in close proximity to the file share, click Next.
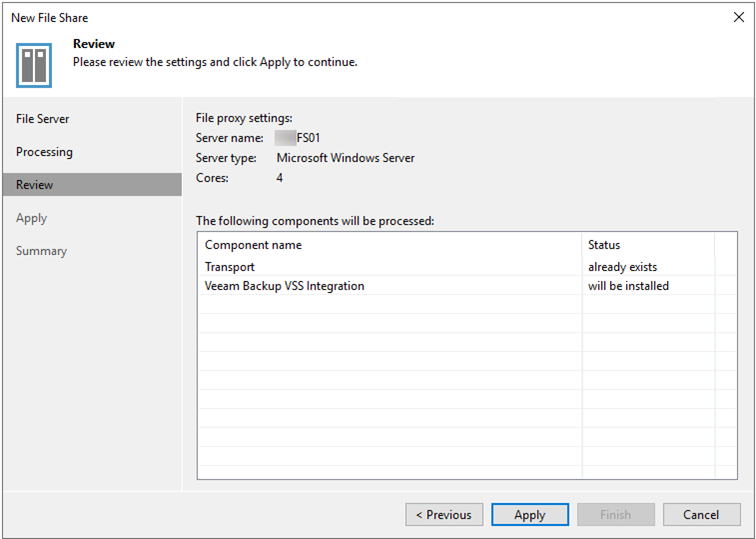
15.On the Review page, click Apply.
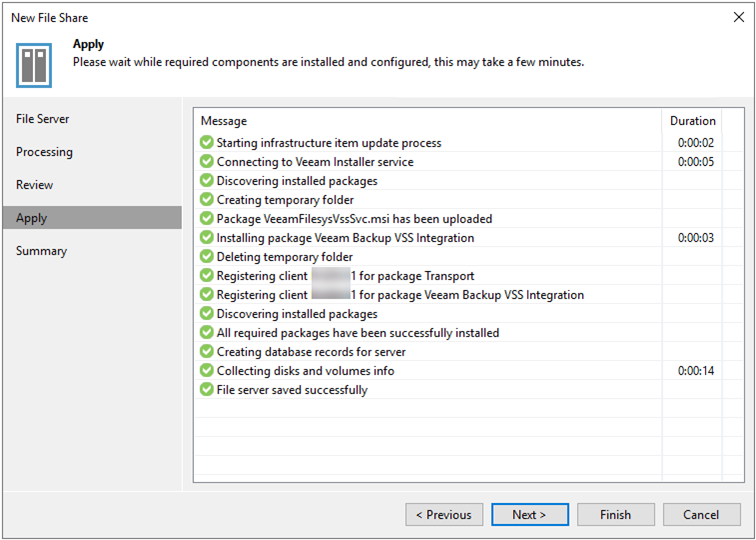
16.On the Apply page, click Next.
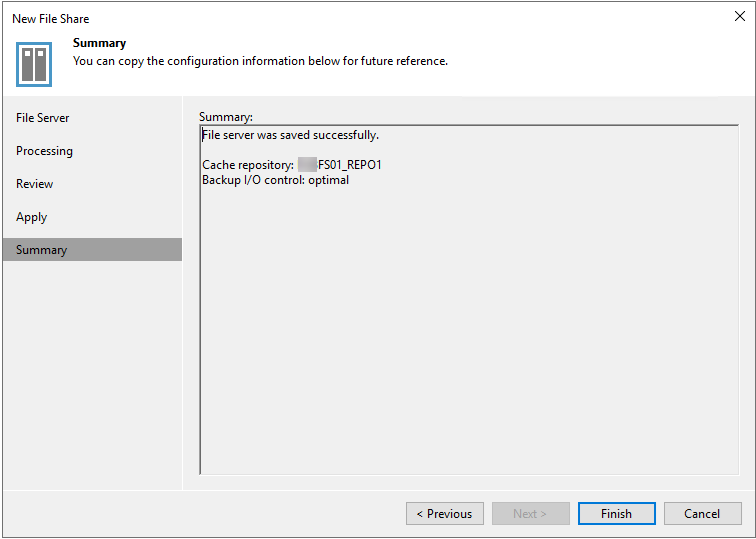
17.On the Summary page, click Finish.
18.On the File Shares page, click CREATE BACKUP JOB.
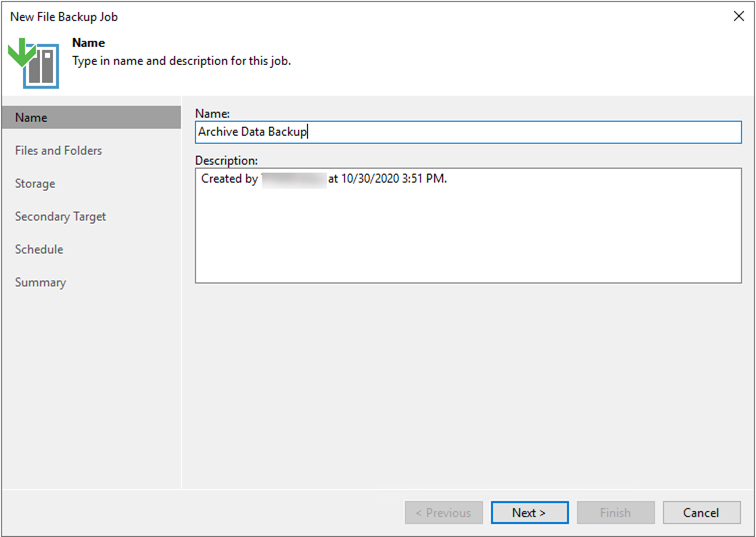
19.On the Name page, type the name for Backup Job, click Next.
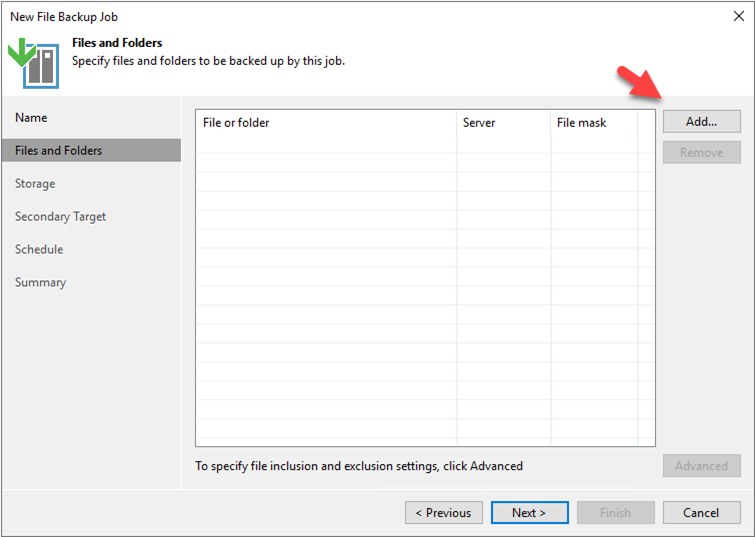
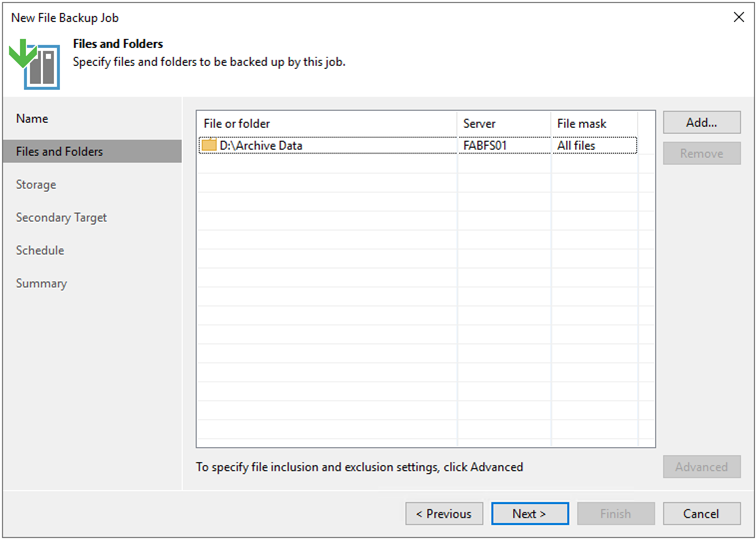
20.On the Files and Folders page, click Add.
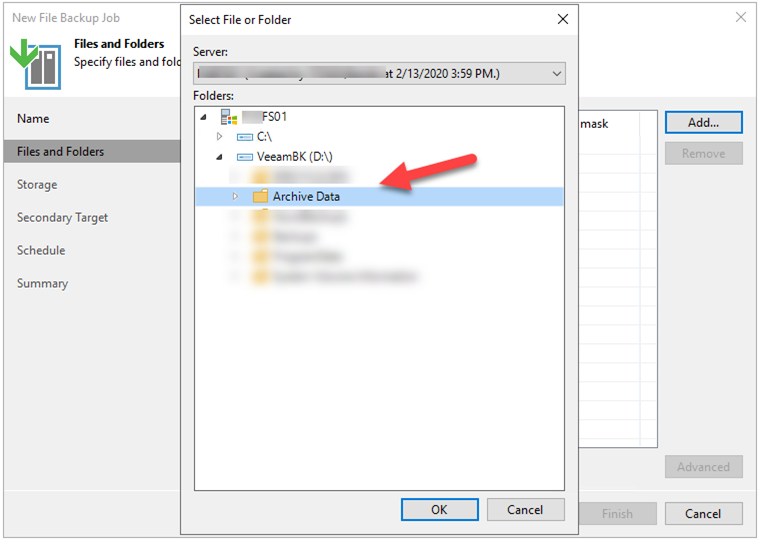
21.Select the Folders, click OK.
22.On the Files and Folders page, click Next.
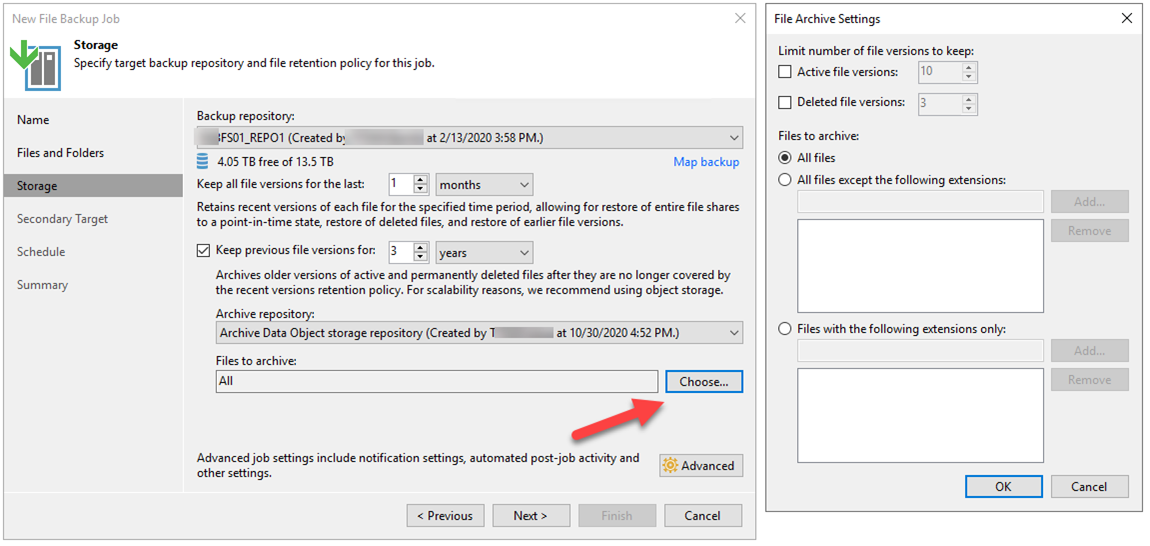
23.On the Storage page, configure below settings, click Next.
- Backup repository: Select a repository where backup files must be stored
- Keep all file version for the last: Specify how long copies of all recent file versions in the selected file share must be kept in the backup repository.
- Keep previously file versions: Specify the number of months or years during which backup files must be retained.
- Archive repository: Select the storage to be used as a repository to store archived files and folders.
- File to Archive: By default, all files deleted from the backup repository will be moved to the archive repository. If you do not need all the files in the archive, you can choose what files to keep.
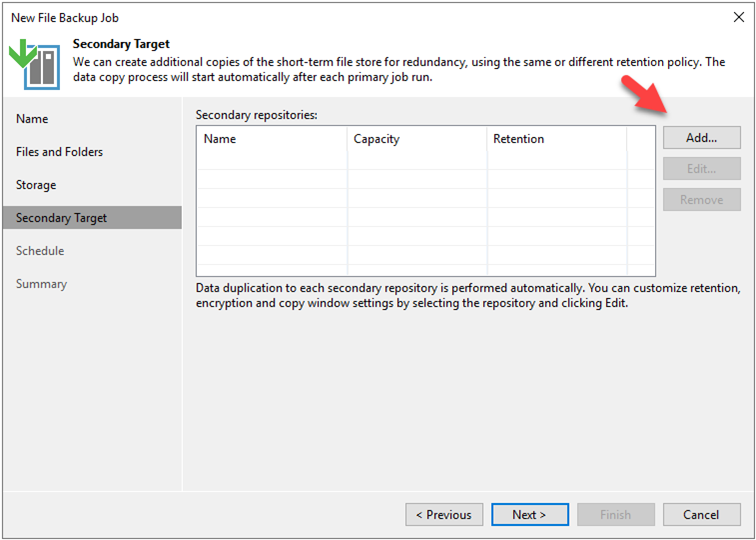
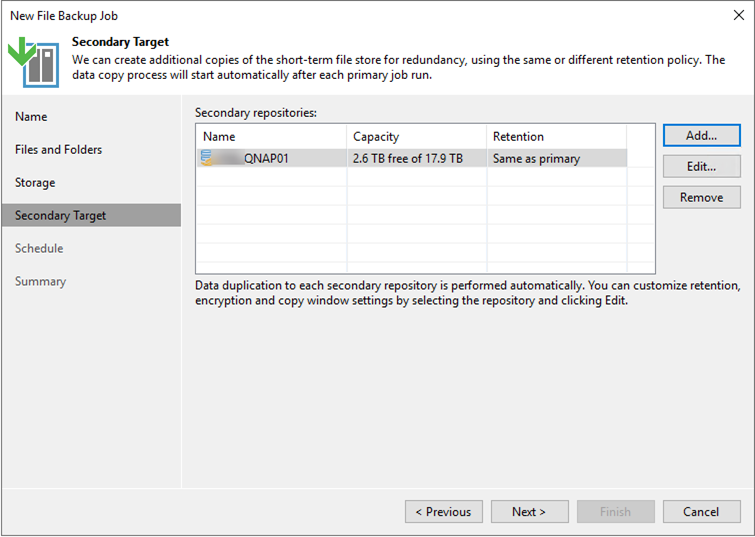
24.On the Secondary Target page, you can specify a secondary repository that will be used to store additional copies of backup files from the backup storage for redundancy. If you add a secondary repository, Veeam Backup & Replication will create a separate job for backup copy to it. The data copy process will start automatically after each primary job runs. Click Add.
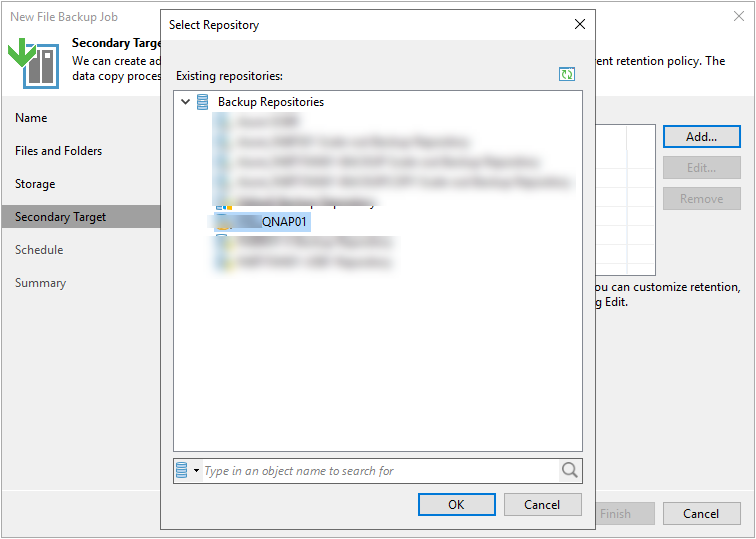
25.On the Select Repository page, select a repository as secondary target, click OK.
26.On the Secondary Target page, click Next.
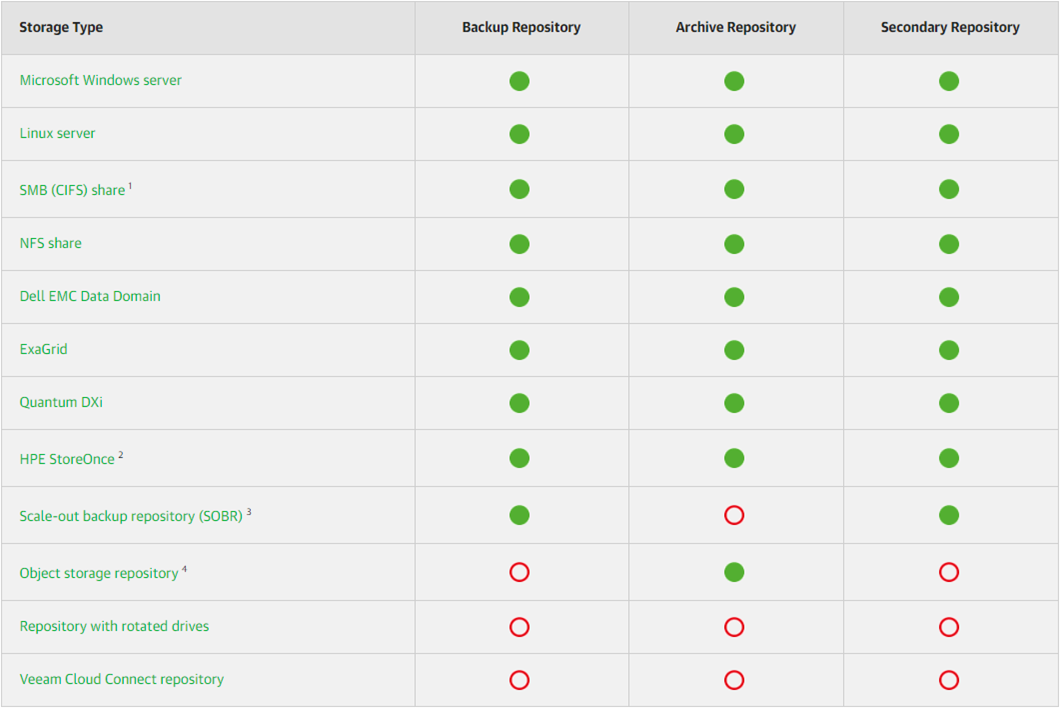
Note: The table below describes which roles can be assigned to the different storage types.
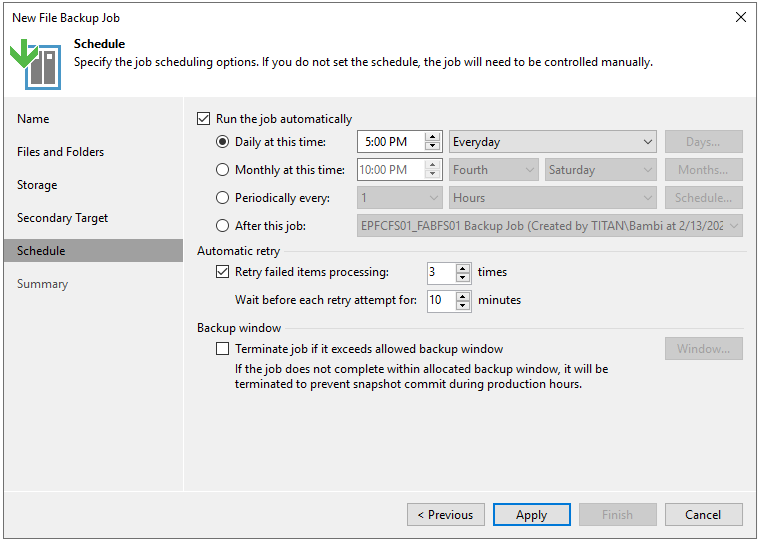
27.On the Schedule page, select the Run the job automatically and define scheduling settings for the job, click Apply.
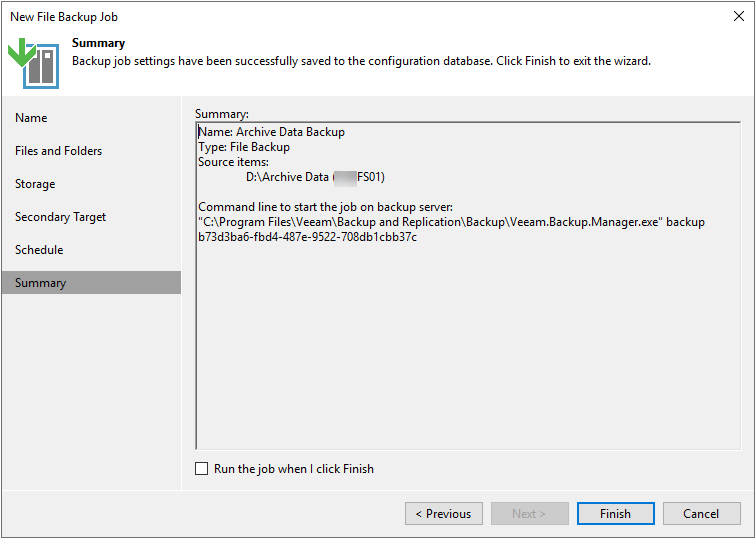
28.On the Summary page, click Finish.
Hope you enjoy this post.
Cary Sun
Twitter: @SifuSun
Web Site: carysun.com
Blog Site: checkyourlogs.net
Blog Site: gooddealmart.com