
If you would like to use csv file for migration exchange user mailboxes to another database, please follow below steps to complete it.
1.Login to Exchange 2016 Server Ex01.
2.Open Exchange admin center.
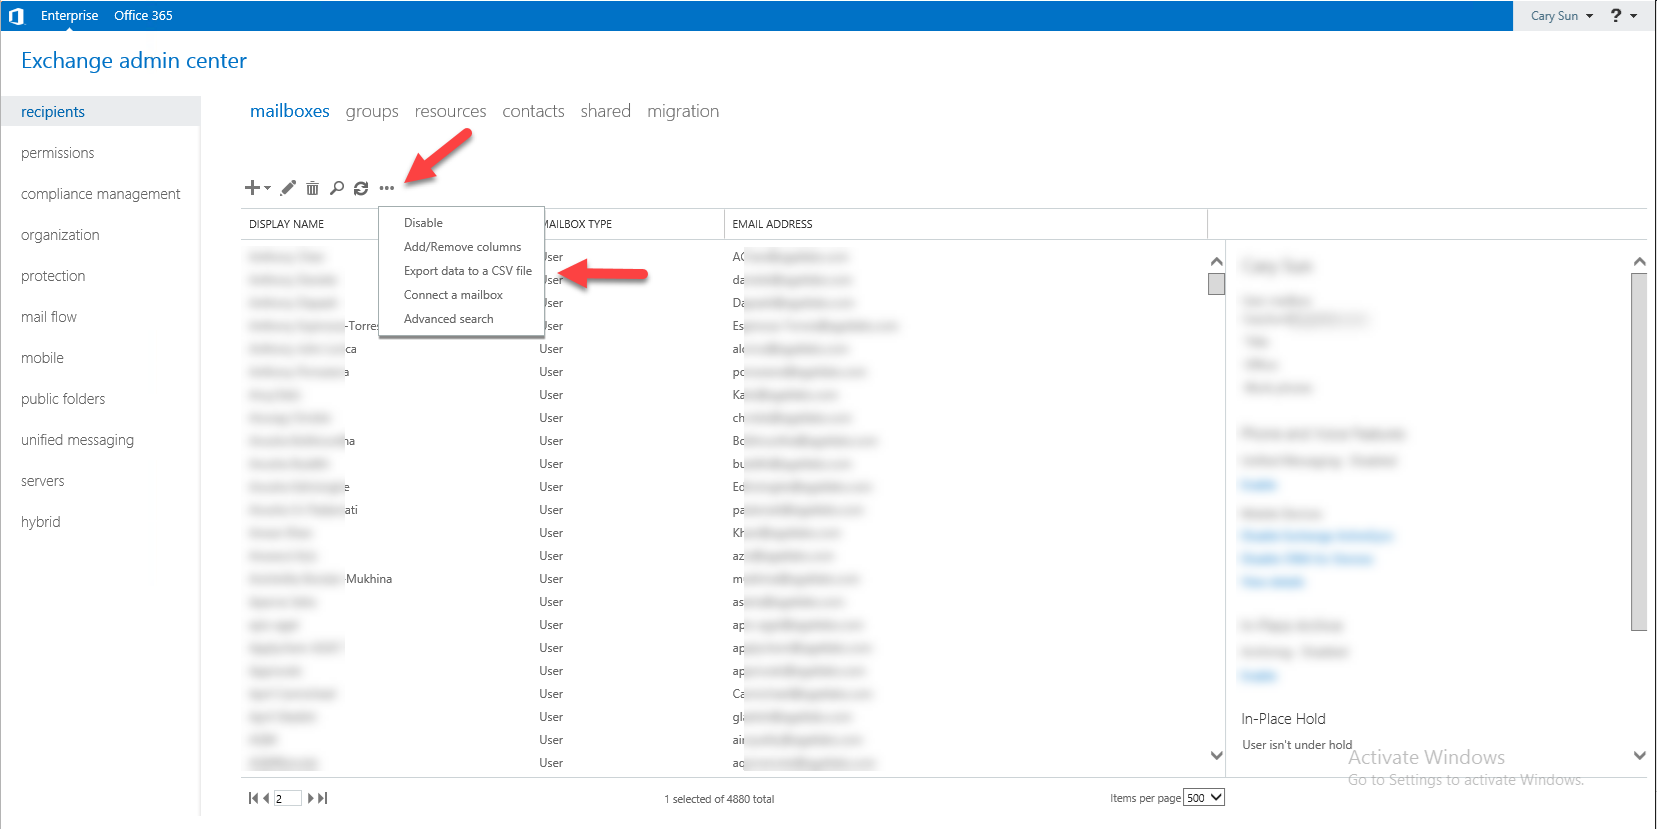
3.On the Exchange admin center, select recipients, click mailboxes.

4.On the mailboxes page, click options, click Export data to a CSV file.
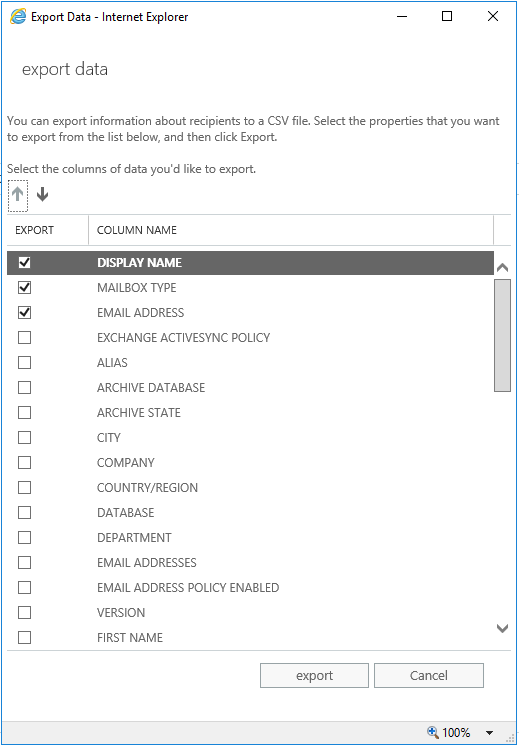
5.On the export data page, select DISPLAY NAME, MAILBOX TYPE, EMAIL ADDRESS, click export.
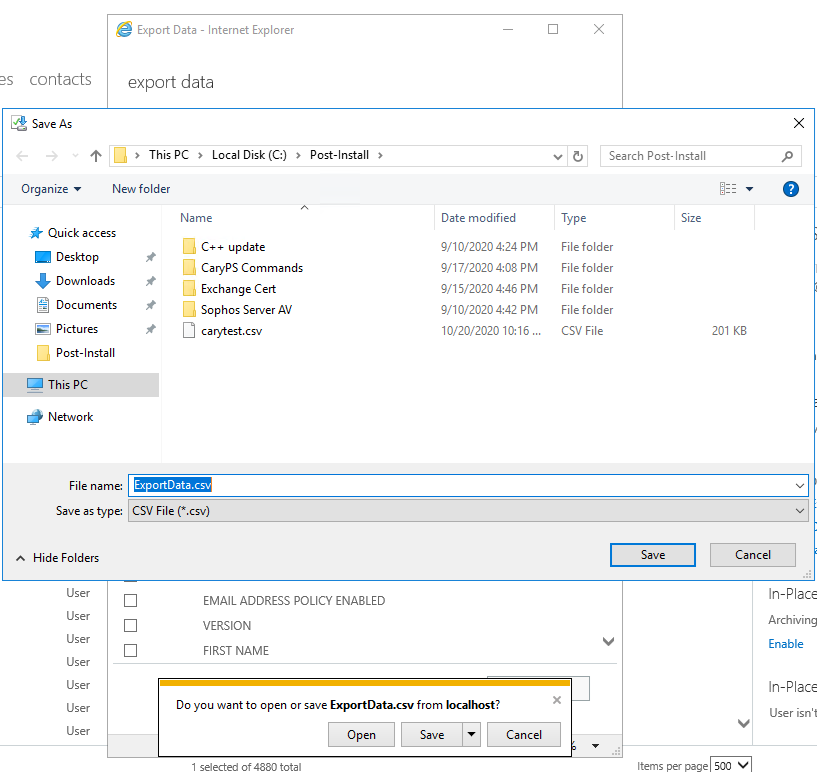
6.Save ExportData.csv to localhost, click Close.
7.Edit the CSV file, remove the space between EMAIL ADDRESS. I would recommend 10 users of list at each users migration wave.

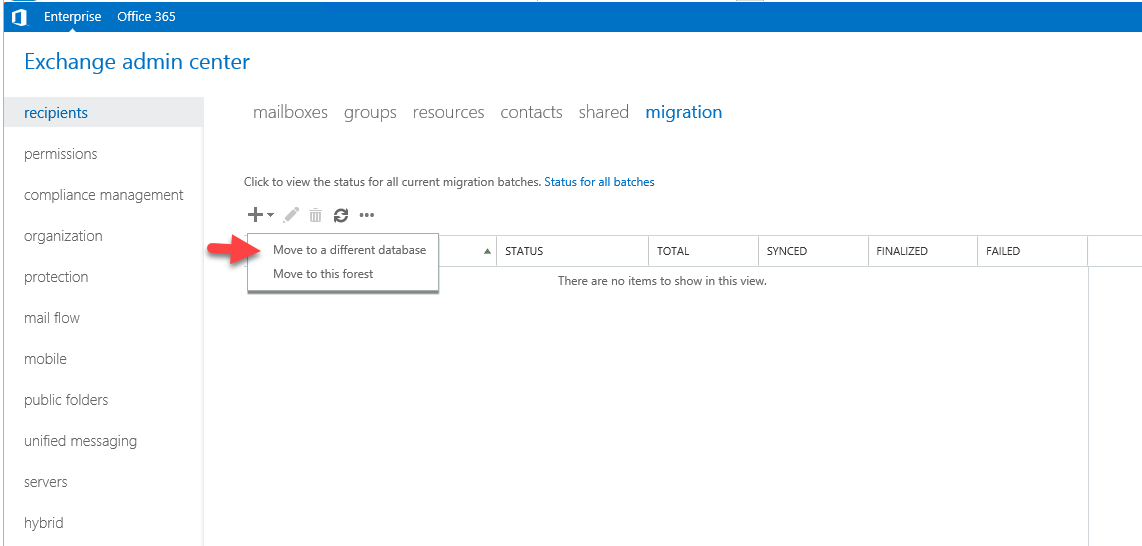
8.on the Exchange admin center page, select recipients, click migration.

9.On the migration page, select + add, click Move to a different database.
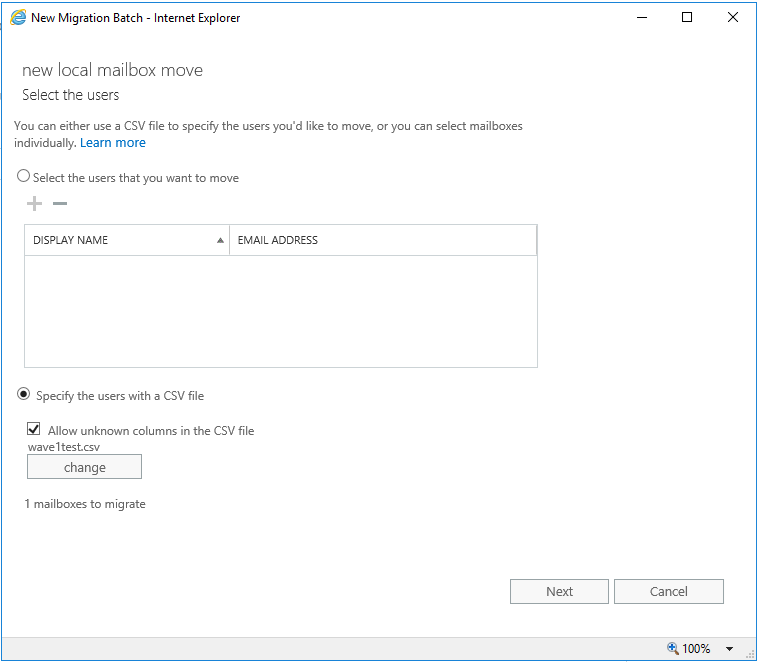
10.On the new local mailbox move page, select Specify the users with a CSV file, select Allow unknow columns in the CSV file, click Browse.

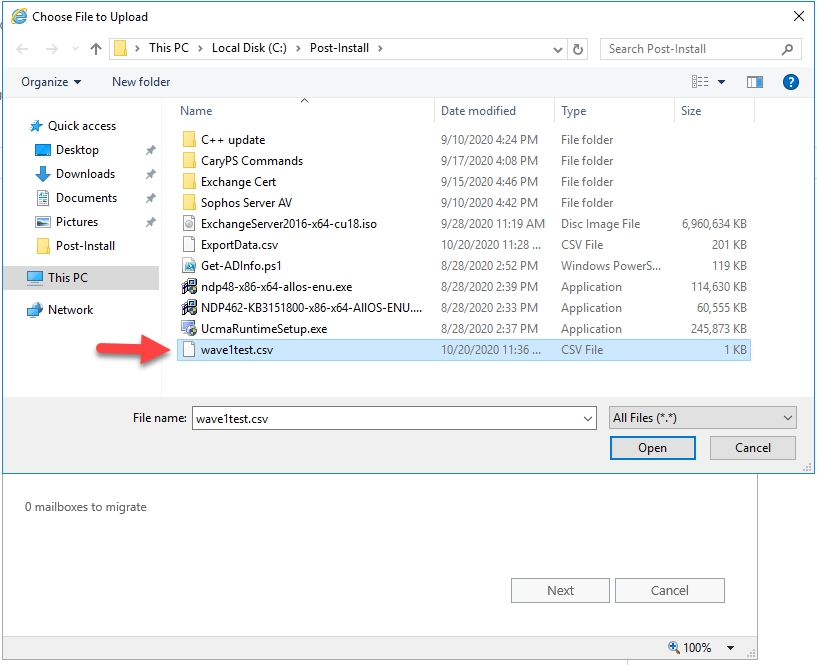
11.Select the new CSV file (In my case is wave1test), click Open.
12.On the select the users page, click Next.
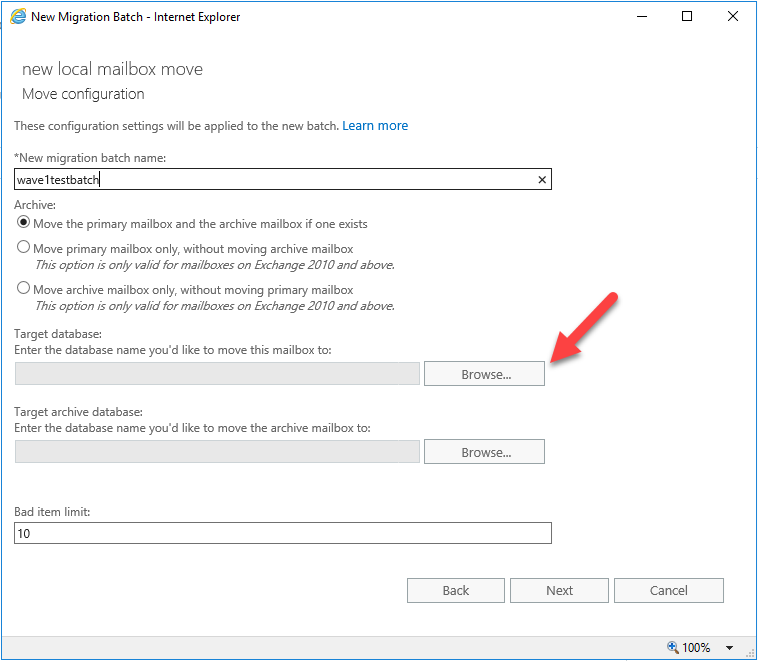
13.On the Move configuration page, type the batch name in the New migration batch name, select Move the primary and archive mailbox if one exists, click Browse at Target database.
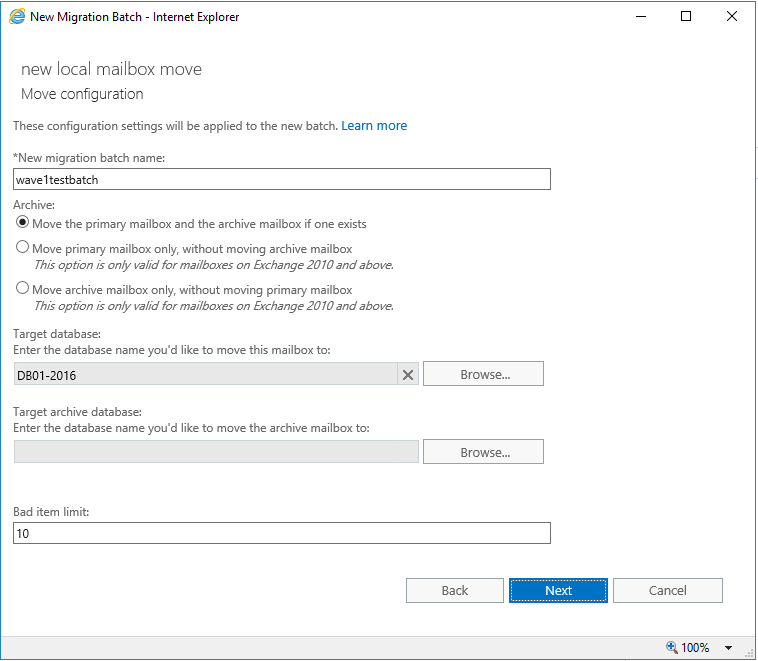
14.On the select Mailbox Database page, select the target mailbox database (in my case is DB01-2016), click add, click OK.

15.if you would like to move the archive mailbox to the different target database, you need to click Browse at Target archive database and select the database, click Next.
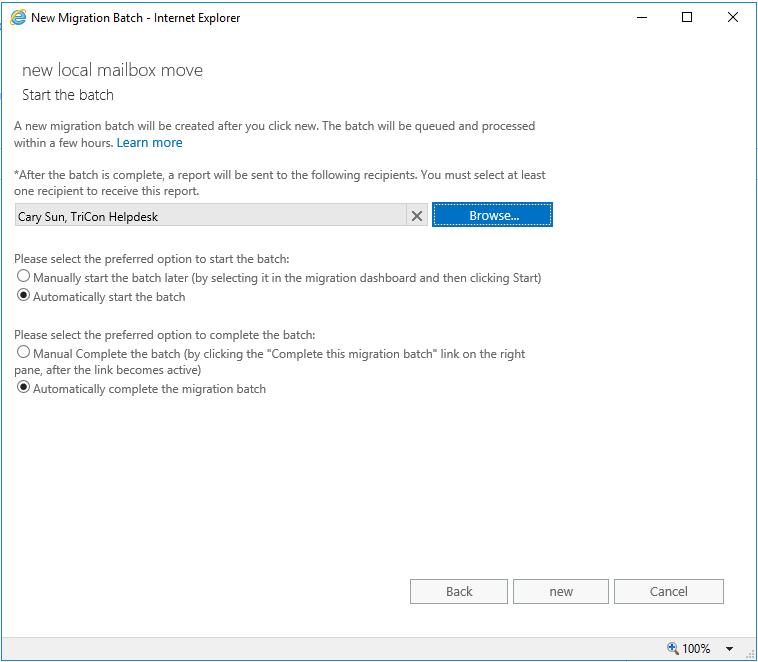
16.On the Start the batch page, you must select at least one recipient to receive the batch report, select Atomically start the batch, select Automatically complete the migration batch, click new.
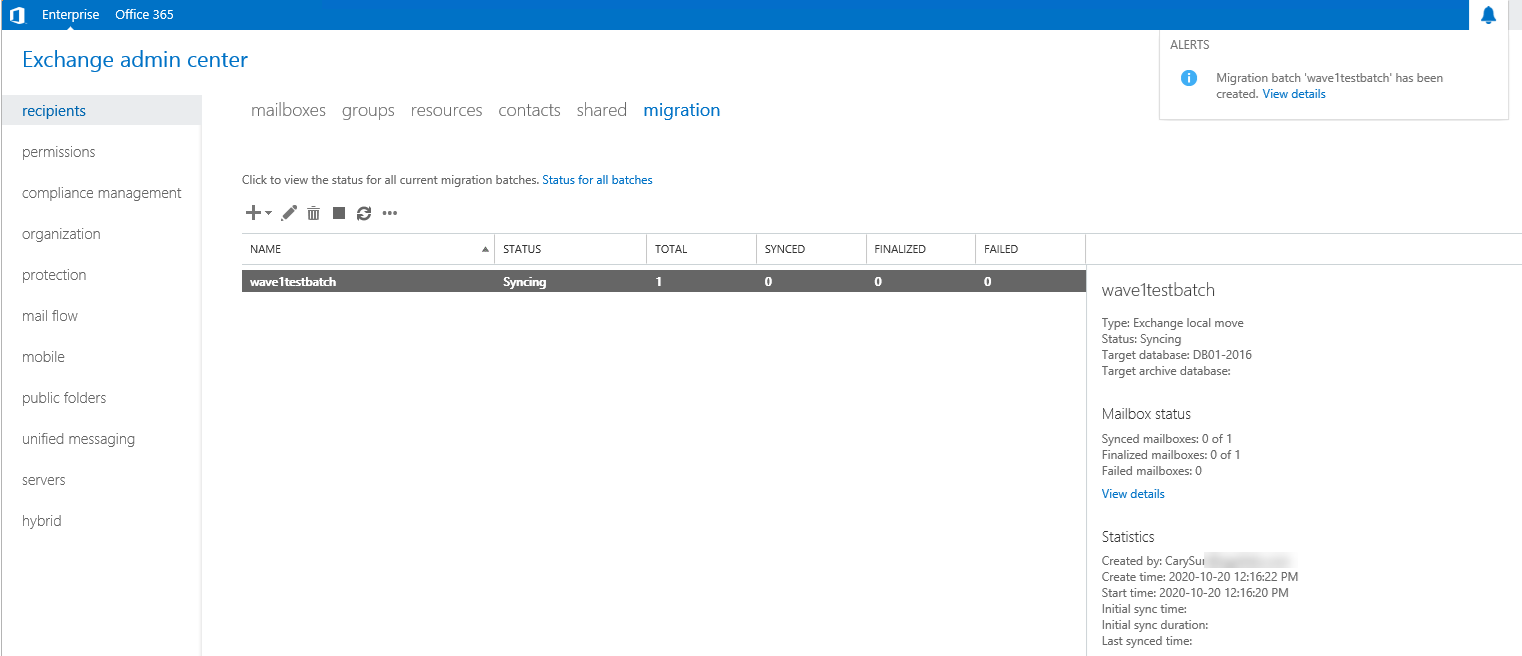
17.On the migration page, verify the batch status until the migration batch completed.
Hope you enjoy this post.
Cary Sun
Twitter: @SifuSun
Web Site: carysun.com
Blog Site: checkyourlogs.net
Blog Site: gooddealmart.com