
Are the domain users using Google chrome? Do they update their Google chrome? Today, I am going to show you how to use group policy to manage Google chrome auto update.
1.Login to Domain controller server.
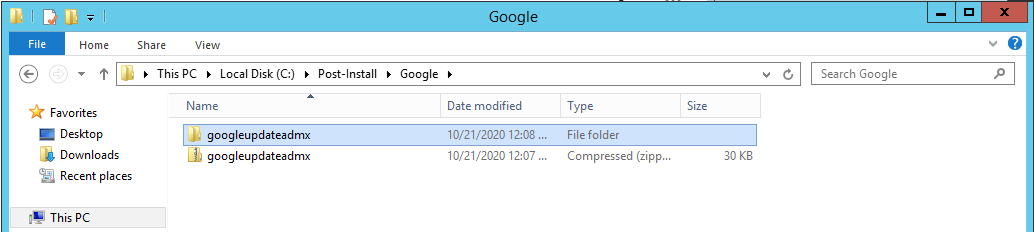
2.Download and unzip the Google update administrative template XML-based (ADMX).
https://dl.google.com/update2/enterprise/googleupdateadmx.zip
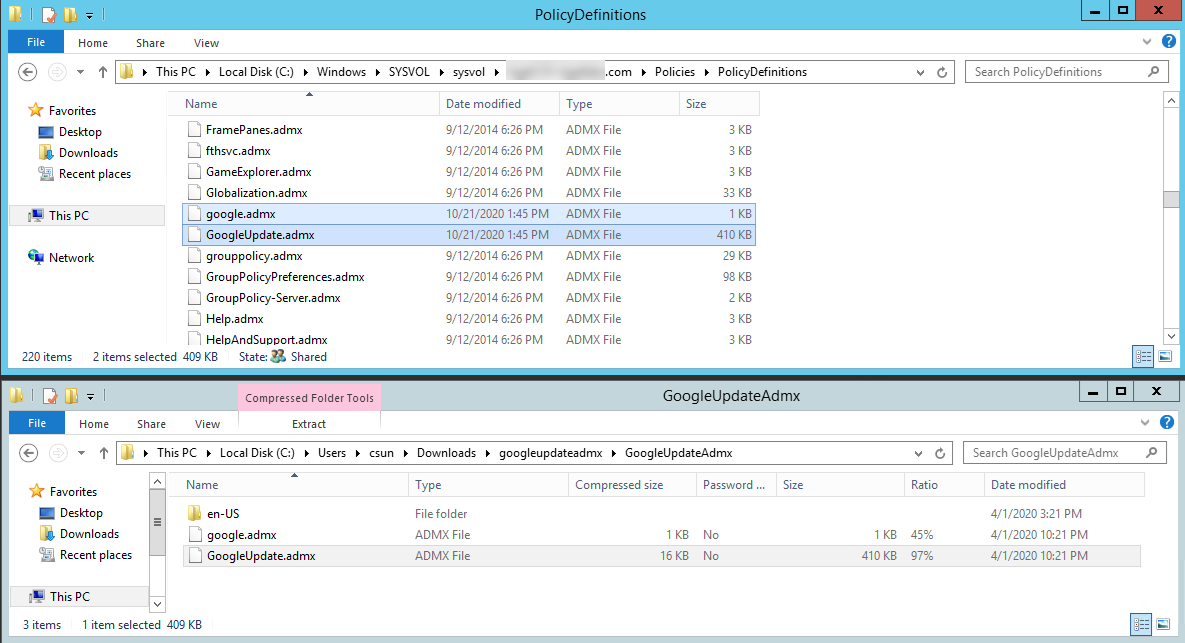
3.Copy google.admx and GoogleUpdate.admx to the Central Store Policy Definitions folder (C:\Windows\SYSVOL\sysvol\XXXX.com\Policies\PolicyDefinitions).
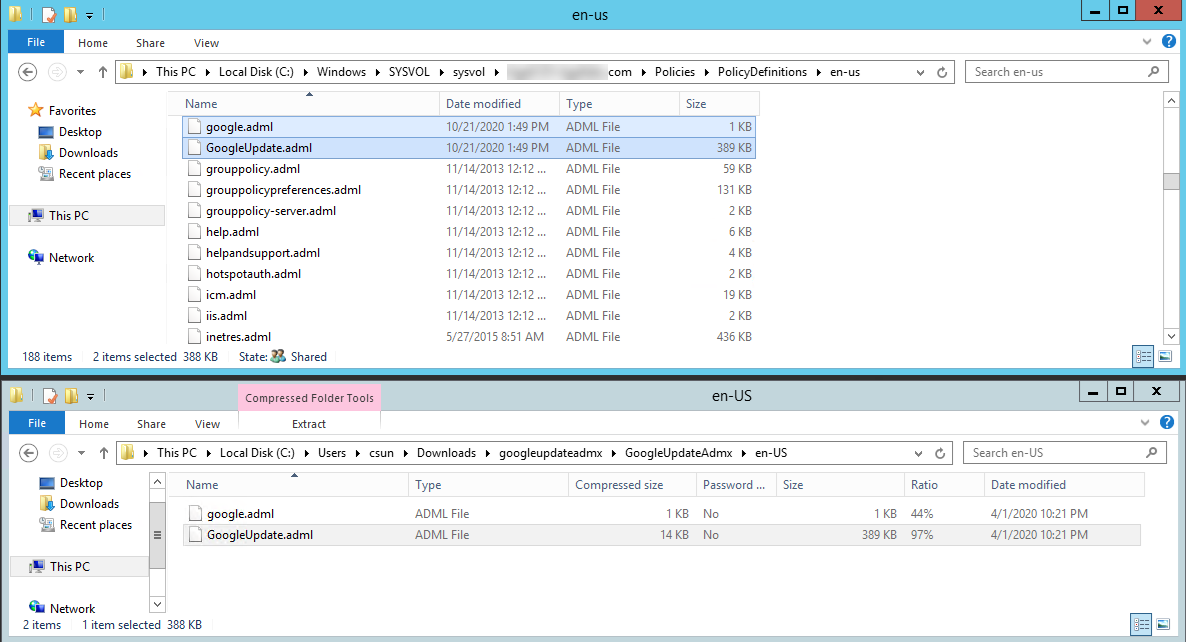
4.In the GoogleUpdateAdmx/en-US folder, copy the google.adml and GoogleUpdate.adml files to en-US folder of the Central Store Policy Definitions folder (C:\Windows\SYSVOL\sysvol\XXXX.com\Policies\PolicyDefinitions\en-us).
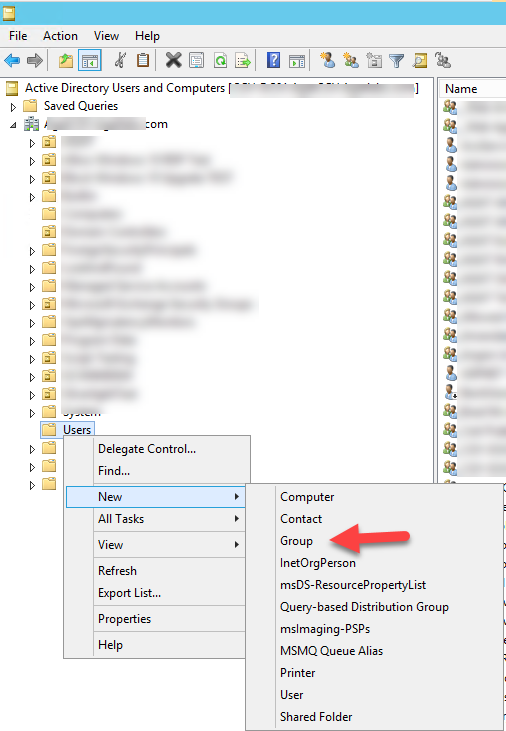
5.On the Server Manager, select Tools, click Active Directory Users and Computers.

9.On the Active Directory Users and Computers page, right -click Users OU, select New, click Group.
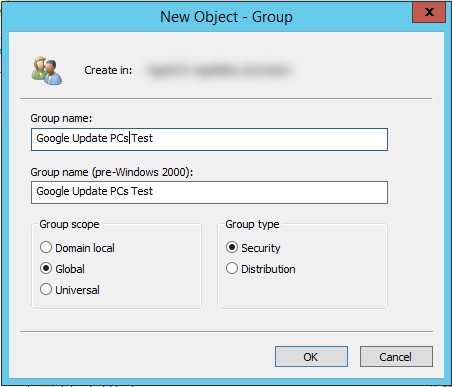
6.On the New Object – Group page, type the group name in the Group name field (in my case is Google Update PCs Test), select Global Group scope, select Security Group type, click OK.
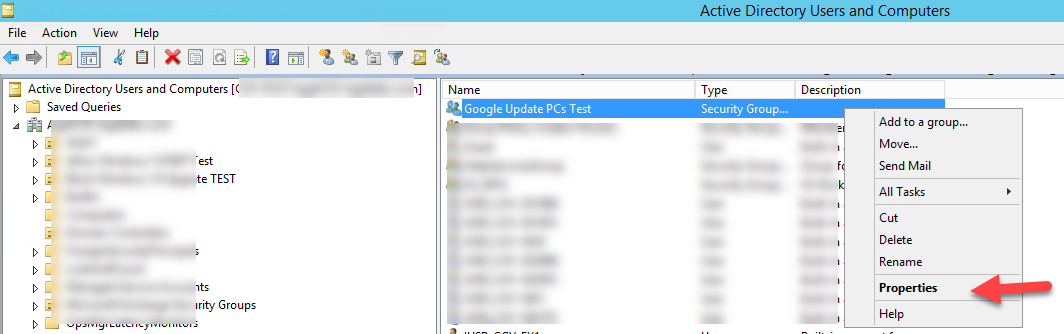
7.Right-click the new create pilot group, select Properties.
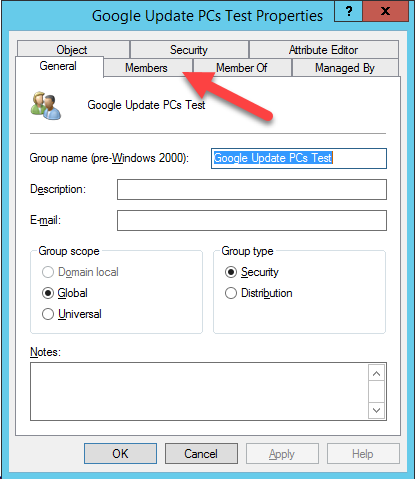
8.On the Properties page, select Members tab.
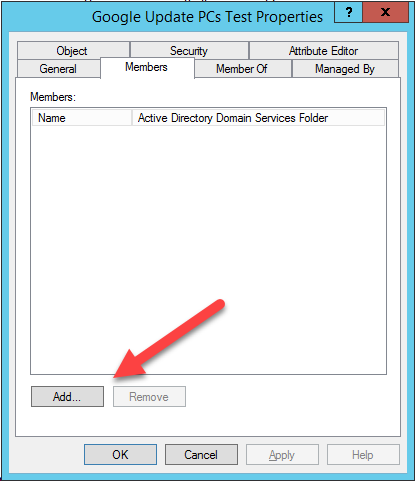
9.On the Members tab, click Add.
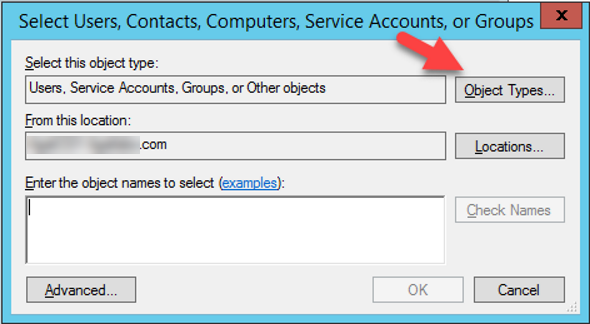
10.On the Select Users, Contacts, Computers, Service Accounts or Groups page, click Object Types.
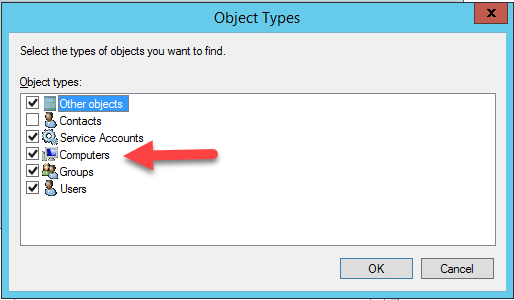
11.On the Object Types page, select Computers, click OK.
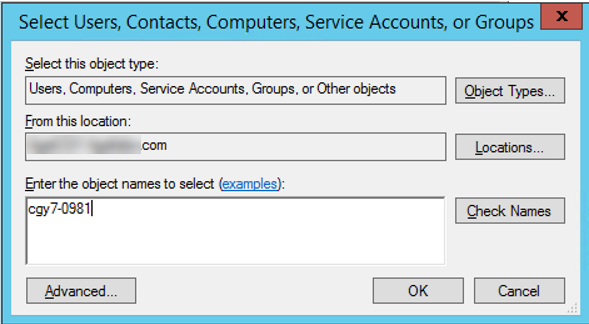
12.On the Select Users, Contacts, Computers, Service Accounts or Groups page, type the pilot machine name in Enter the object names to select, click OK.
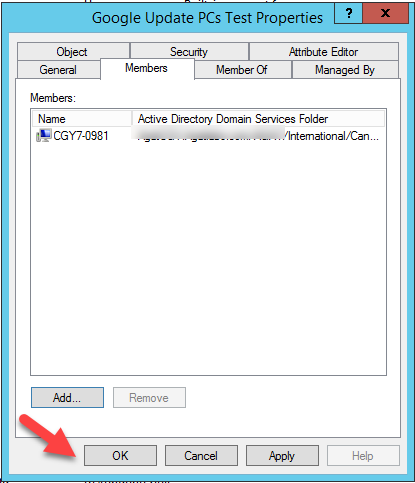
13.On the Properties page, verify the pilot machine was be added, click OK.
14.Open Server Manage, select Tools, click Group Policy Management.
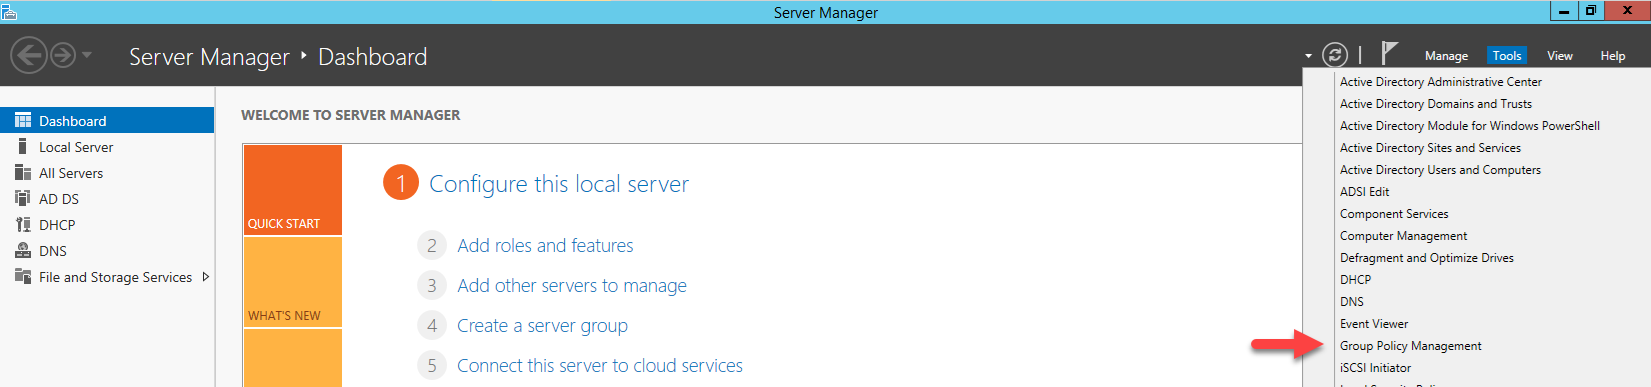
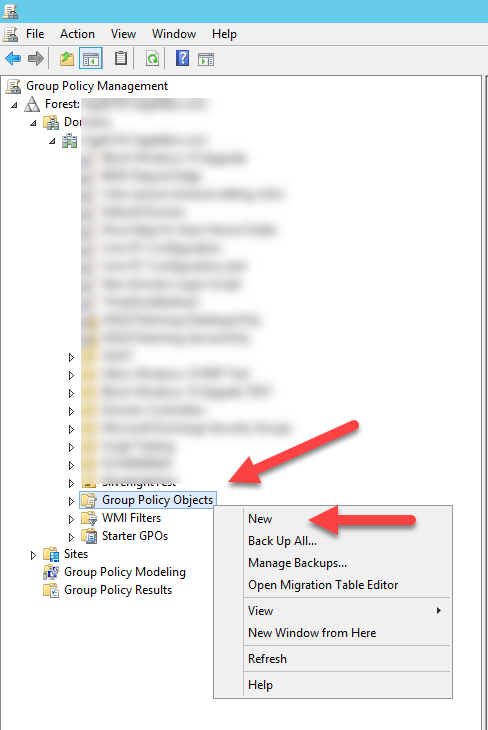
15.On the Group Policy Management page, right-click Group Policy Objects, select New.
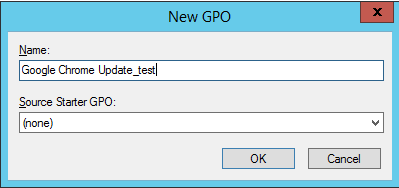
16.On the new GPO page, type GPO name in the Name field (in my case is Google Chrome Update_test), select none at Source Starter GPO, click OK.
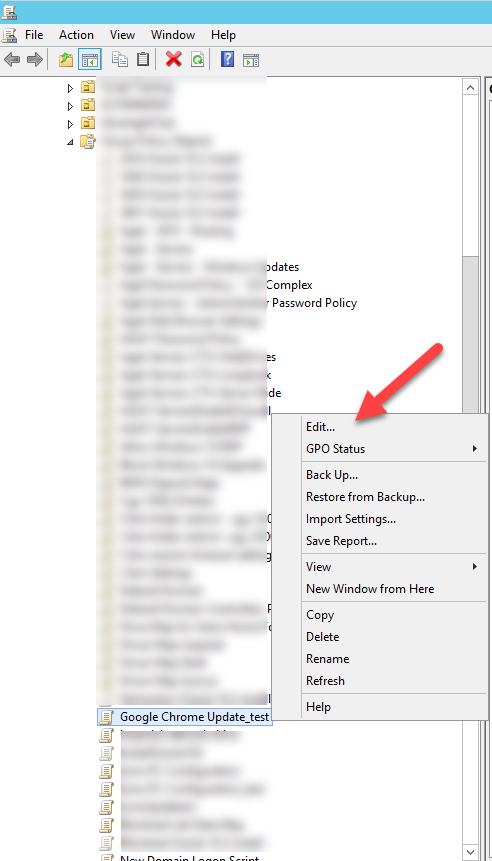
17.On the Group Policy Objects, right-click the Google Chrome Update_test object.
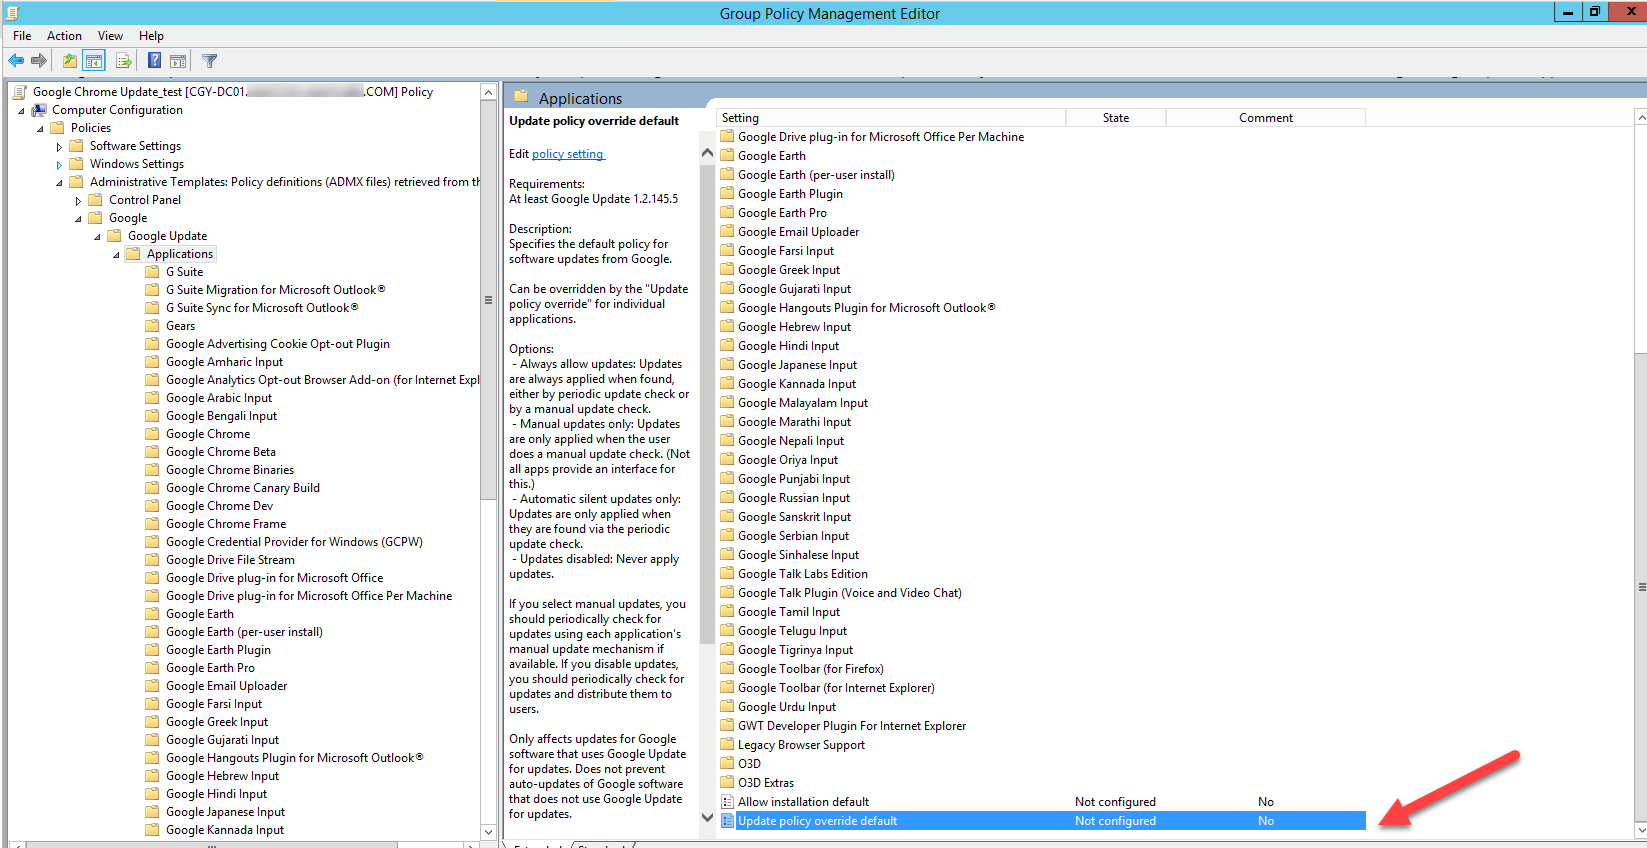
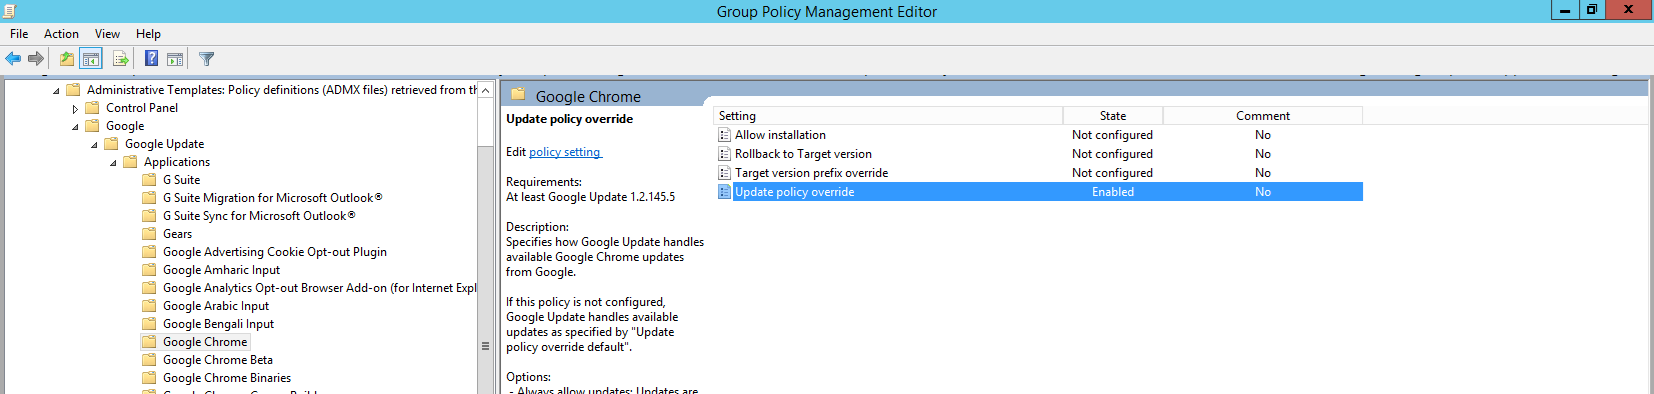
18.on the Computer Configuration page, expend Policies, expend Administrative Templates, expend Google, Expend Google Update, select Applications, double-click Update policy override default.
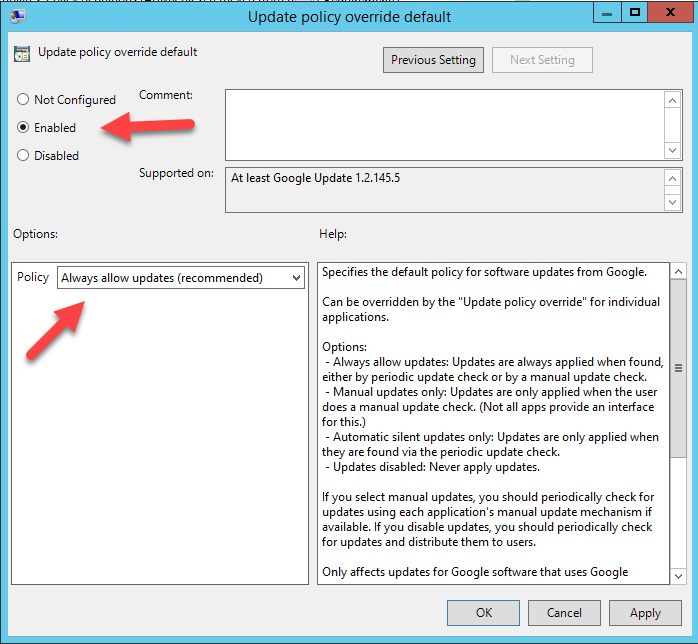
19.On the Update policy override default page, select Enabled, select Always allow updates (recommended) at Options, click OK.
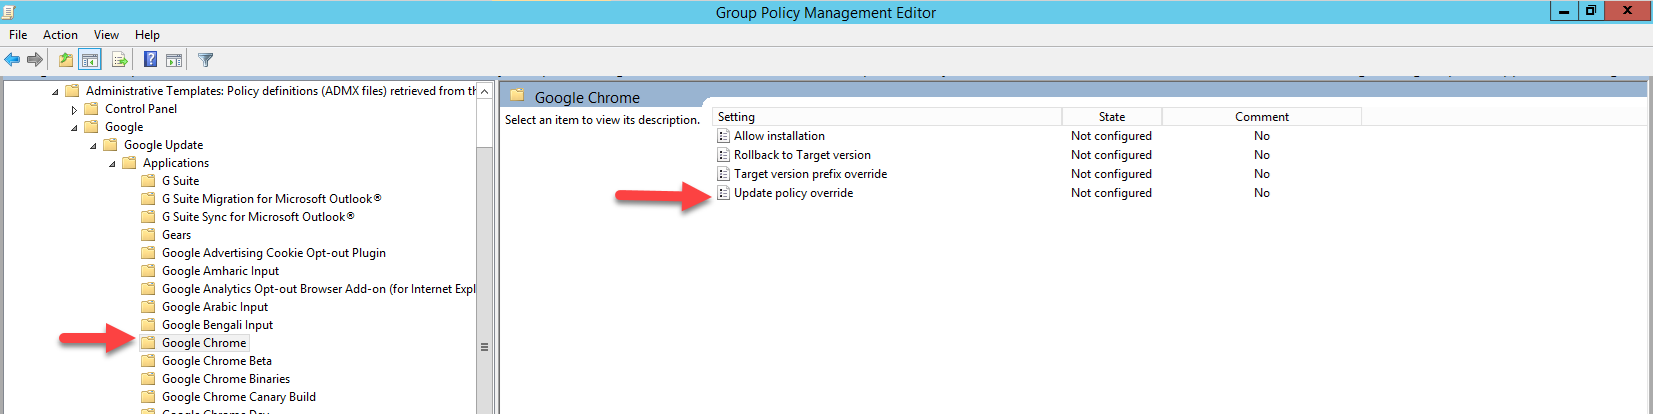
20.On the Applications page, select Google Chrome, double-click Update policy override.
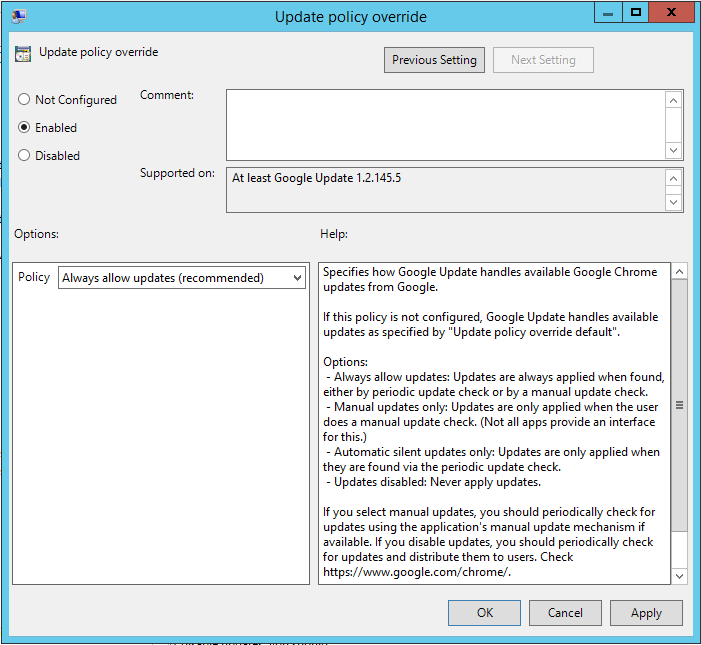
21.On the Update policy override default page, select Enabled, select Always allow updates (recommended) at Options, click OK.
22.Verify the settings, close Group Policy Management Editor.
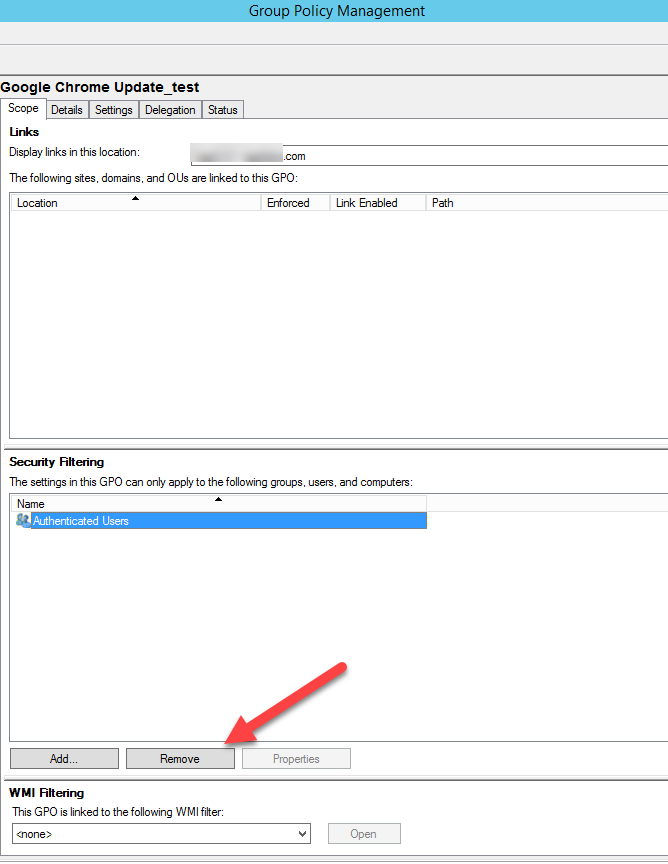
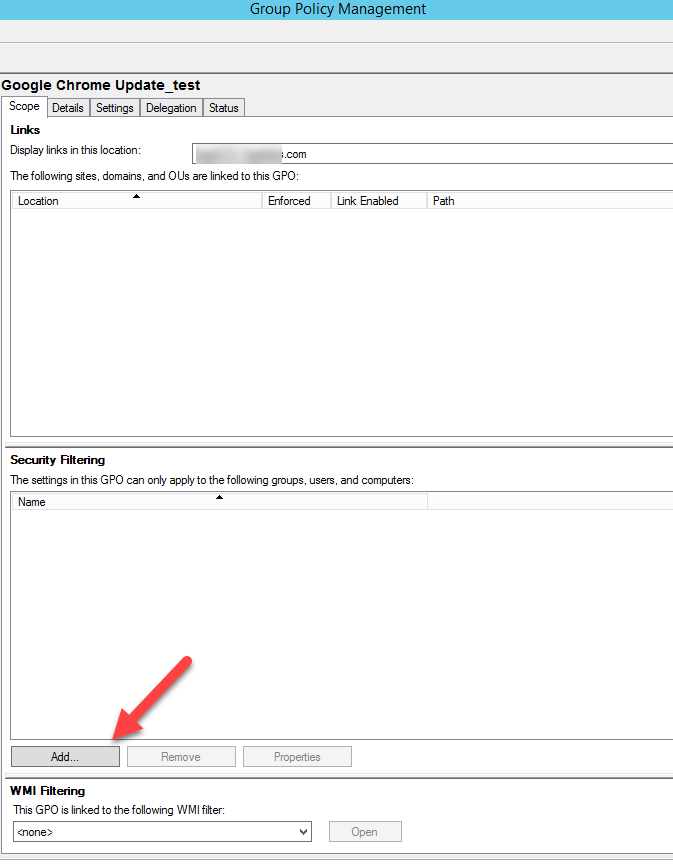
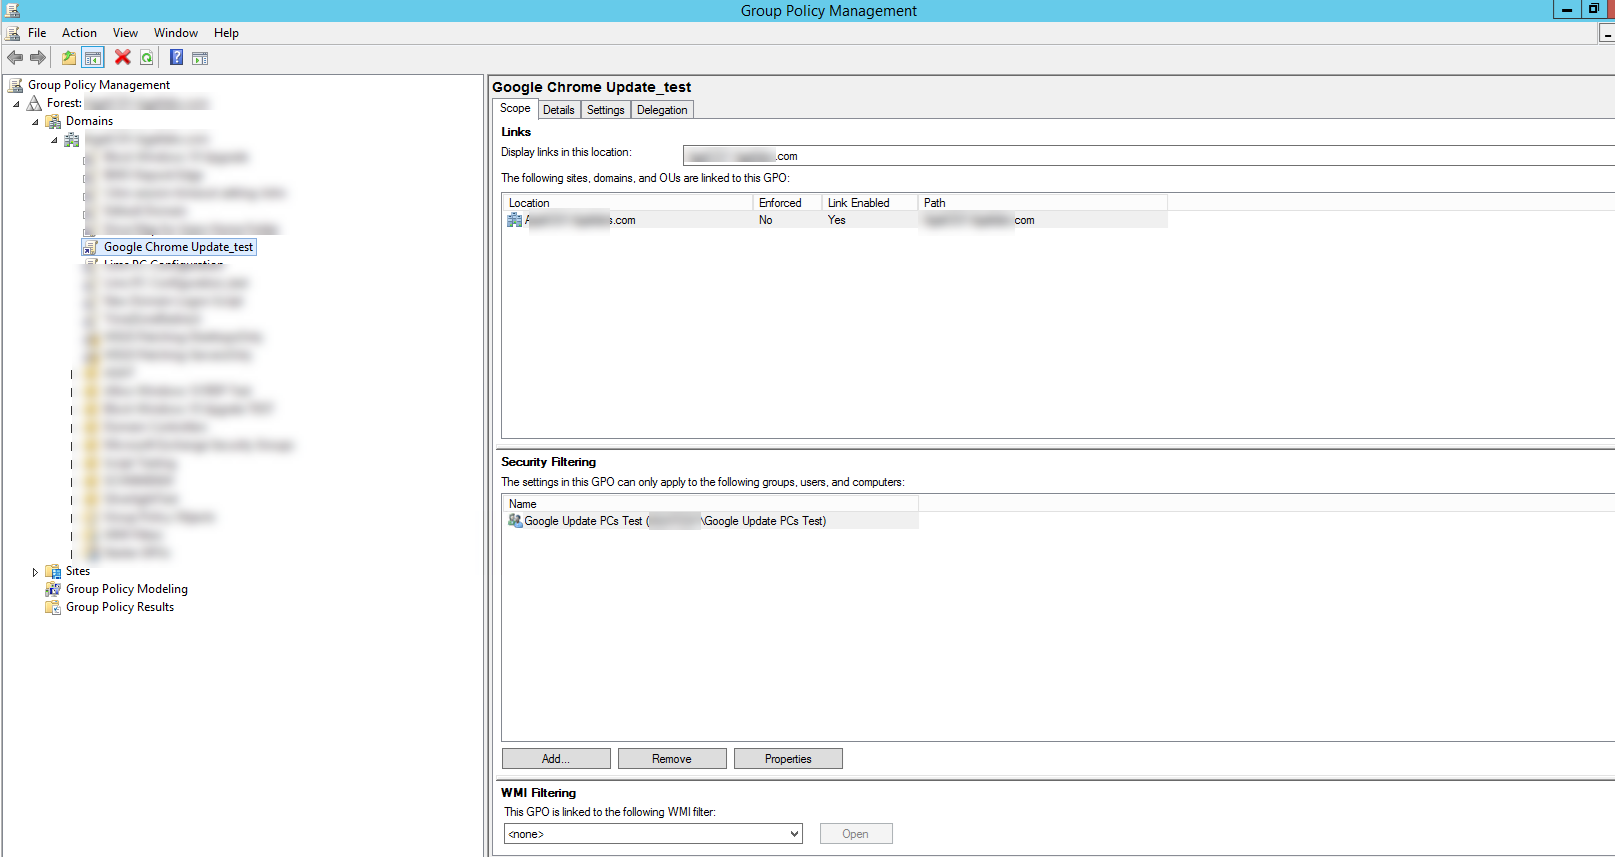
23.On the Google Chrome Update_test page, select Scope tab.
41.On the Security Filtering page, select Authenticated Users, click Remove.
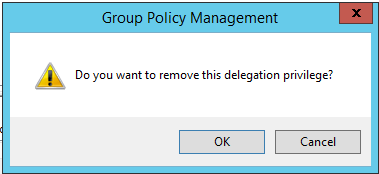
25.On the remove waring page, click OK.
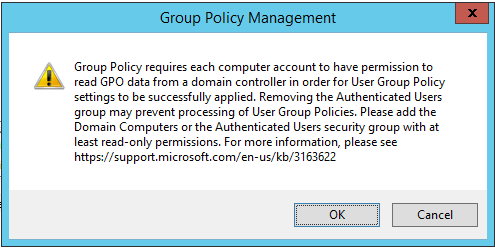
26.On the Group Policy requires warning message, click OK.
27.On the Security Filtering page, click Add.
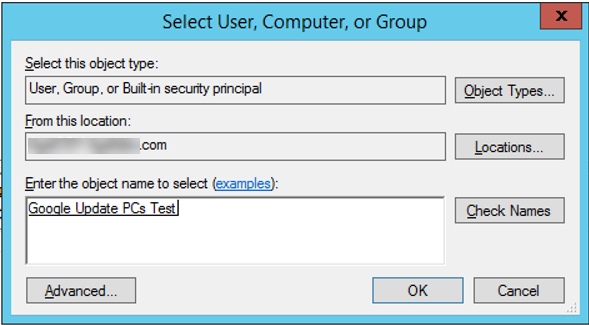
28.On the Select User, Computer, or Group page, type Google Update Pcs Test in the Enter the object name to select field, click OK.
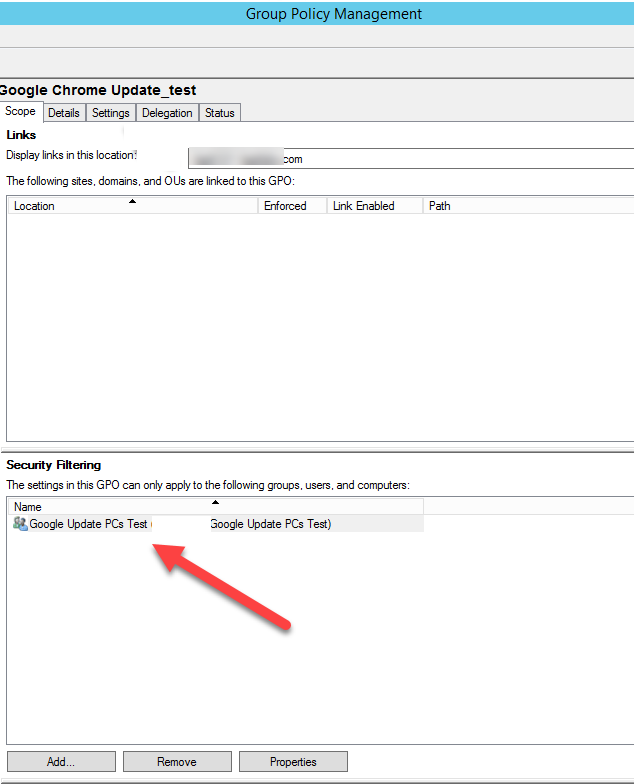
29.Verify the Google Update PCs Test security group was bee added into Security Filtering.
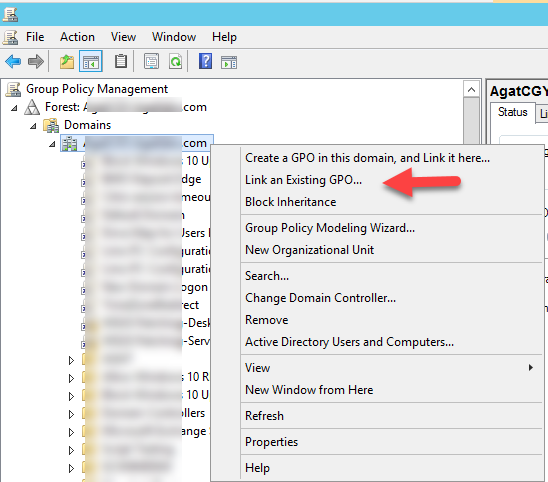
30.On the Group Policy Management page, right-click the domain name (or test OU), select Link an Existing GPO.
31.On the Group Policy objects, select Google Chrome Update_test, click OK.
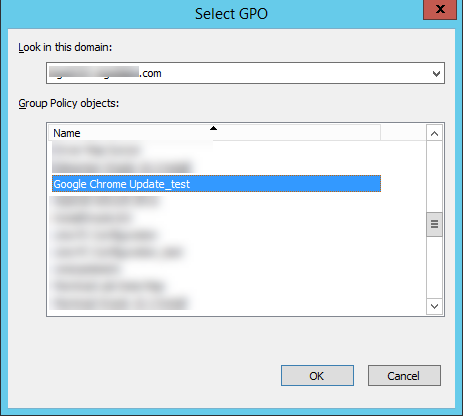
32.Verify the GPO link to Domain.
Hope you enjoy this post.
Cary Sun
Twitter: @SifuSun
Web Site: carysun.com
Blog Site: checkyourlogs.net
Blog Site: gooddealmart.com